Better Brownies Without Fancy Equipment
- Why Brownies Fail at Home
- Choose Ingredients for Texture
- Mixing Method That Works
- Pan, Oven, and Timing
- Flavor Variations That Stay Balanced
- Storage, Serving, and Consistency Checks
Why Brownies Fail at Home
Brownies look simple, but most home batches miss the target because of a few repeat mistakes. The first is treating brownies like cake: overmixing after adding flour builds gluten, which pushes the crumb toward dry and bready instead of dense and fudgy. Another common issue is guessing doneness by time alone. Ovens vary, and brownies keep cooking from residual heat after you pull the pan out, so a “perfect” timer can still produce an overbaked tray. Ingredient choices also matter more than many recipes admit. Cocoa powders differ in fat content and acidity; chocolate bars vary in cocoa solids and sugar. Swapping one for another without adjusting can change texture and sweetness. Even the pan changes outcomes: a dark metal pan browns edges faster, while glass holds heat longer and can overcook the perimeter before the center sets. If you want consistent brownies, you need a method that controls mixing, temperature, and pan behavior rather than relying on luck.
Choose Ingredients for Texture
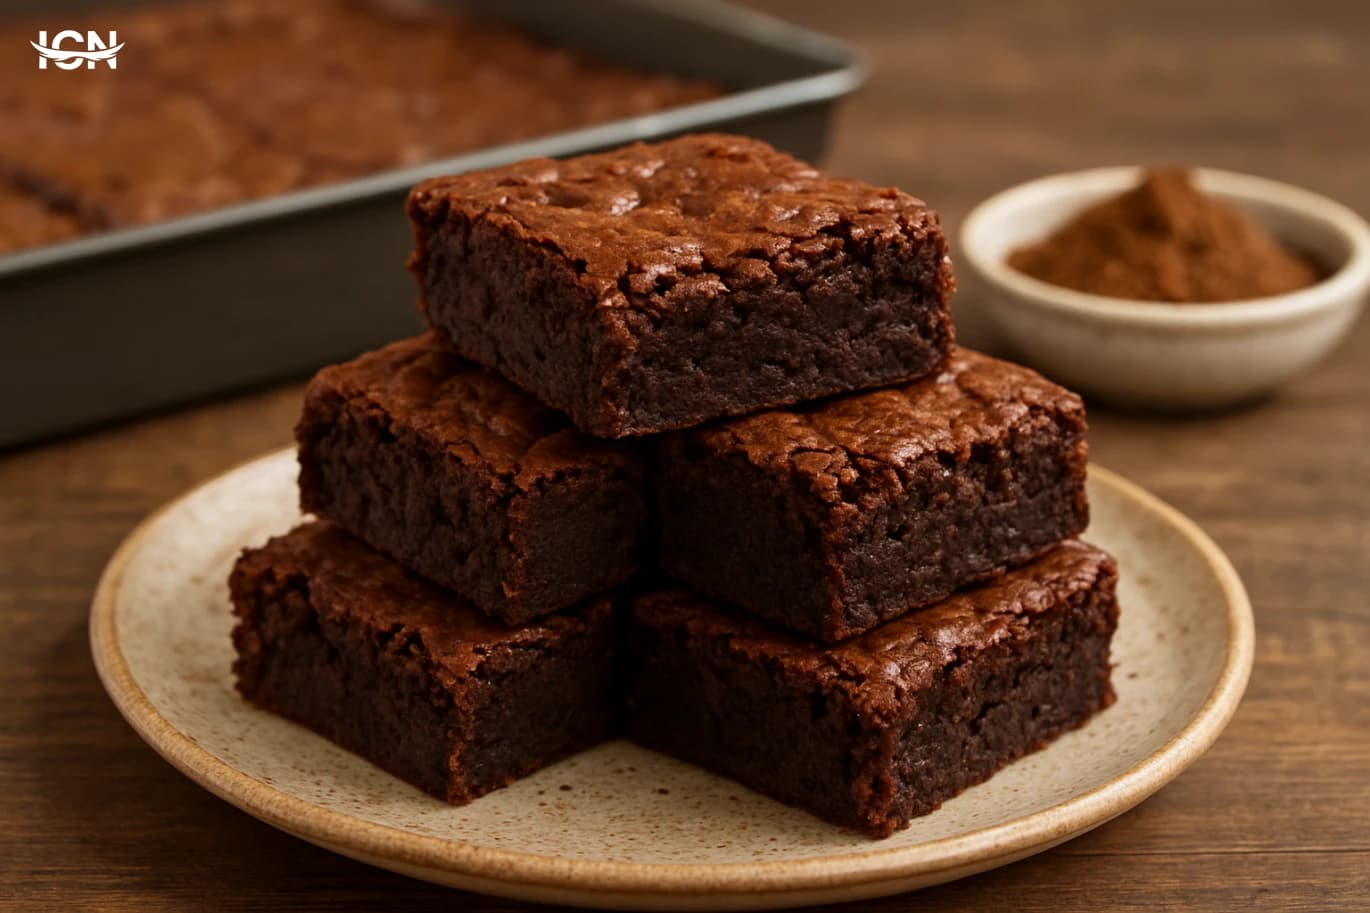
Start by deciding what you want: fudgy, chewy, or cakey. For fudgy brownies, prioritize fat and chocolate flavor. Use a mix of butter and chopped dark chocolate rather than cocoa alone; melted chocolate adds cocoa butter, which helps create a dense, smooth bite. If you prefer chewy brownies, a small portion of brown sugar can help because its moisture and molasses notes support a slightly elastic crumb. Eggs are the main structure builder. More eggs or aggressive whisking can push brownies toward a lighter, more cake-like interior. For a balanced tray, use room-temperature eggs and whisk just until the mixture looks glossy, not airy. Flour is a lever: less flour means denser brownies, but too little can make them greasy and fragile. A practical approach is to keep flour modest and add a small amount of starch-free cocoa for flavor without adding much structure. Salt and vanilla are not optional “extras.” A measured pinch of fine salt sharpens chocolate flavor and prevents a flat sweetness. Vanilla rounds the aroma, especially if you use high-cocoa chocolate that can taste sharp. Finally, pay attention to add-ins. Nuts, chocolate chunks, or dried fruit change moisture distribution. If you add a lot of mix-ins, reduce them slightly or increase batter volume to avoid dry pockets.
Mixing Method That Works
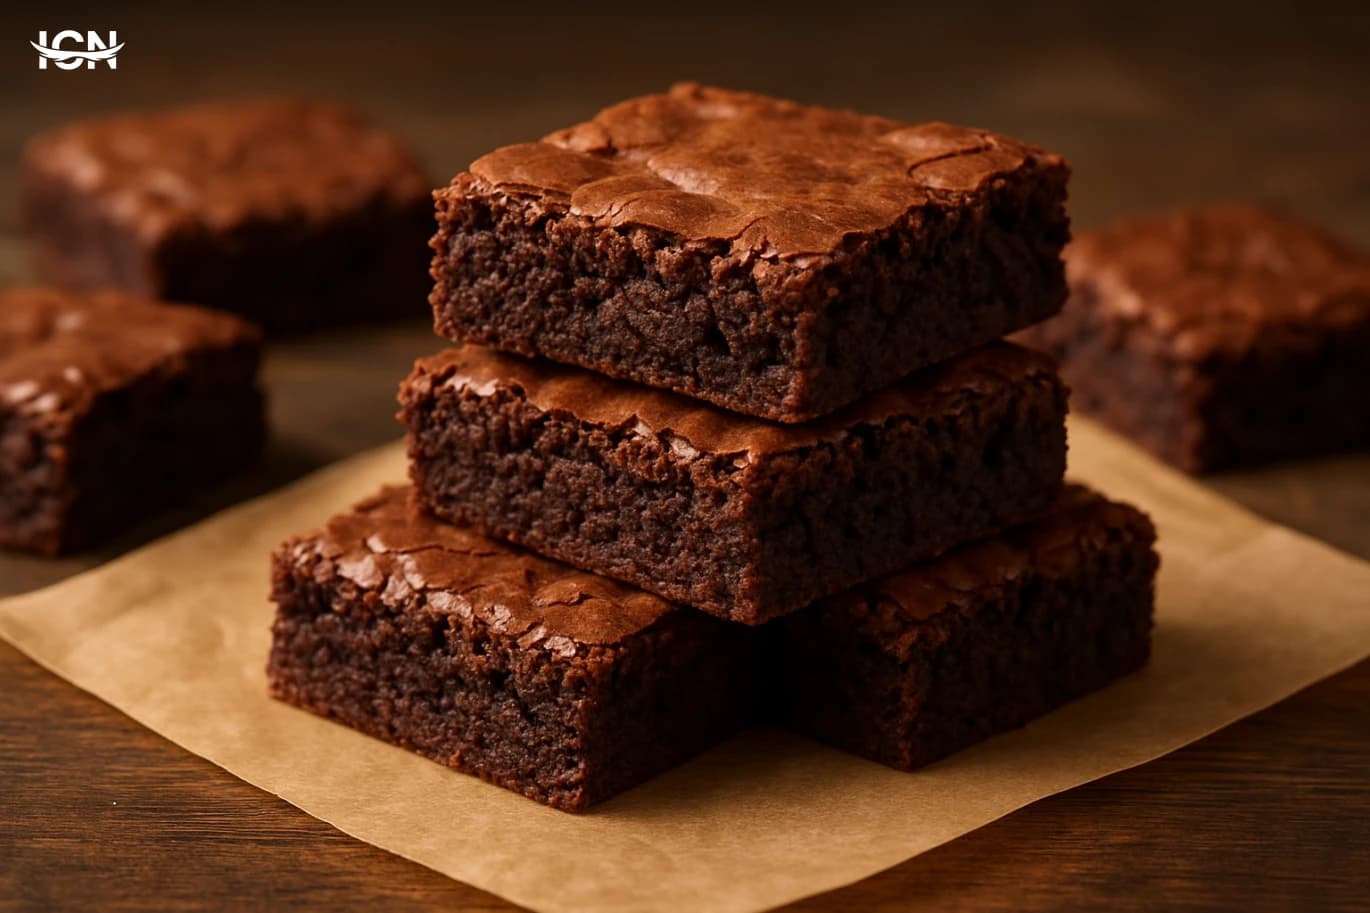
You can get professional-looking brownies with a bowl, a whisk, and a spatula if you follow a controlled sequence. Melt butter and chocolate gently, then let the mixture cool slightly so it does not scramble the eggs. In a separate bowl, whisk eggs with sugar until the surface looks shiny and the sugar starts to dissolve; this usually takes a couple of minutes by hand. The goal is not volume, but a smooth base that bakes evenly. Pour the warm chocolate mixture into the egg-sugar bowl and whisk just until uniform. Then switch to a spatula for dry ingredients. Sift flour, cocoa, and salt together if possible; it prevents cocoa clumps that create bitter spots. Fold the dry mix in with slow, deliberate strokes, stopping as soon as you no longer see dry flour. Overfolding is the fastest route to a tough brownie. If you want a crackly top, pay attention to the sugar. A portion of granulated sugar that dissolves into the egg mixture helps form a thin, glossy crust. Some bakers also add chocolate chips on top to encourage a shiny surface, but the core technique is dissolving sugar and avoiding overmixing after flour. Finally, rest the batter for 5–10 minutes before baking if your schedule allows. This short rest hydrates flour and can improve consistency without any special tools.
Pan, Oven, and Timing
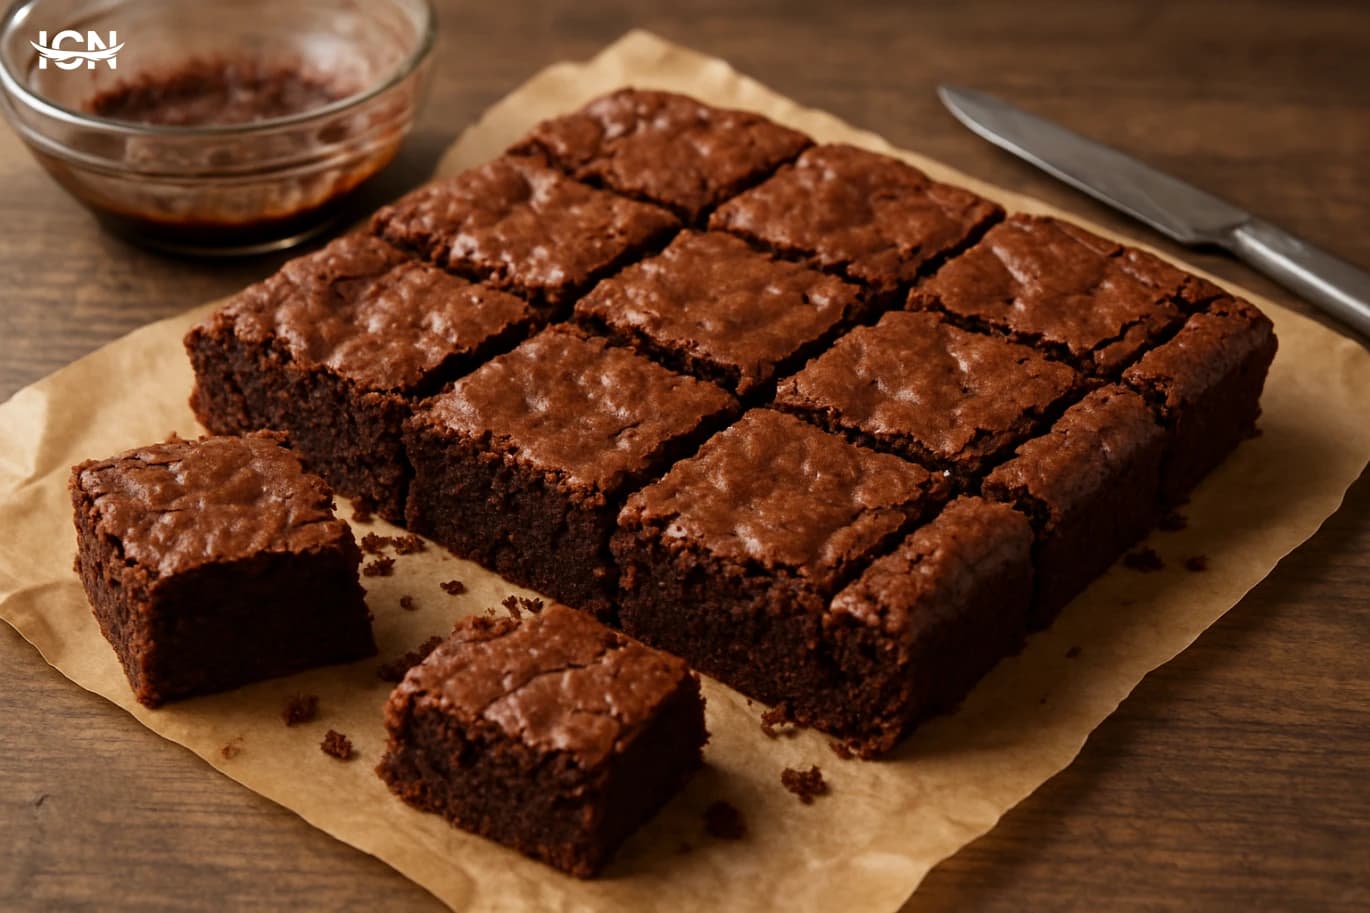
The pan is a major variable, so choose it intentionally. An 8-inch square metal pan is a reliable standard for thick brownies; a 9-inch pan makes thinner brownies that bake faster and can dry out if you do not adjust time. Line the pan with parchment paper with overhangs so you can lift the slab out for clean slicing. Greasing alone often leads to stuck corners and torn edges. Preheat fully. Brownies bake best when the oven is stable, not still climbing in temperature. If your oven runs hot, reduce the set temperature slightly rather than shortening time; fast heat can set edges before the center has time to rise and settle. Place the pan on the middle rack for even heat. For doneness, use multiple signals. The top should look set and slightly glossy, and the center should not wobble like liquid when you gently shake the pan. A toothpick test should come out with moist crumbs, not wet batter. Pulling brownies at this stage is not underbaking; it is planning for carryover cooking. Let the pan cool on a rack until just warm, then chill for cleaner cuts if you want sharp squares. Cutting too early is a common reason brownies look messy even when they taste fine.
Flavor Variations That Stay Balanced
Once your base method is consistent, variations become safer because you know what “normal” looks like. For a deeper chocolate profile, add a small amount of espresso powder; it does not make brownies taste like coffee, but it amplifies cocoa notes. For a cleaner sweetness, use a portion of dark brown sugar and keep vanilla steady. If you like a layered flavor, swirl in a thick dairy-based topping such as a lightly sweetened cream cheese mixture, but keep the swirl modest so the center still sets. Too much swirl adds moisture and can create a gummy middle. For texture, toasted nuts add crunch and aroma, but they also absorb some moisture; toast them briefly and cool before mixing in so they stay crisp. Seasoning can be subtle and effective. A small pinch of flaky salt on top after baking can sharpen flavor without making the brownies salty. Citrus zest works well with dark chocolate, but use it sparingly to avoid bitterness. The rule is simple: change one variable at a time, and keep total add-ins to a reasonable percentage of the batter so the brownies still bake evenly.
Storage, Serving, and Consistency Checks
Brownies often taste better the next day because flavors settle and the crumb firms up. Store them in an airtight container at room temperature for a couple of days, or refrigerate for longer storage if your kitchen is warm. If you refrigerate, let pieces sit for 10–15 minutes before serving so the texture softens. For freezing, wrap individual squares tightly and thaw at room temperature; this prevents the whole batch from drying out through repeated opening. For serving, clean cuts matter. Use a sharp knife warmed under hot water and wiped dry between slices. This simple step keeps the top crust intact and prevents dragging crumbs across the surface. If you plan to serve brownies with ice cream or fruit, consider baking them slightly more set so they hold their shape under toppings. To keep results consistent, take quick notes after each bake: pan size, oven temperature, bake time, and the doneness cues you observed. If a batch is too dry, reduce bake time by a few minutes or lower temperature slightly. If it is too gooey, extend baking in short increments and confirm your oven’s accuracy. This approach turns brownies from a hit-or-miss dessert into a repeatable, dependable recipe you can adjust with confidence.