Better Brownies Without Fancy Equipment
- Why brownies fail at home
- Choosing the right chocolate base
- Mixing method that protects texture
- Baking time, pan choice, and doneness checks
- Flavor upgrades that stay practical
- bookmark
Why brownies fail at home
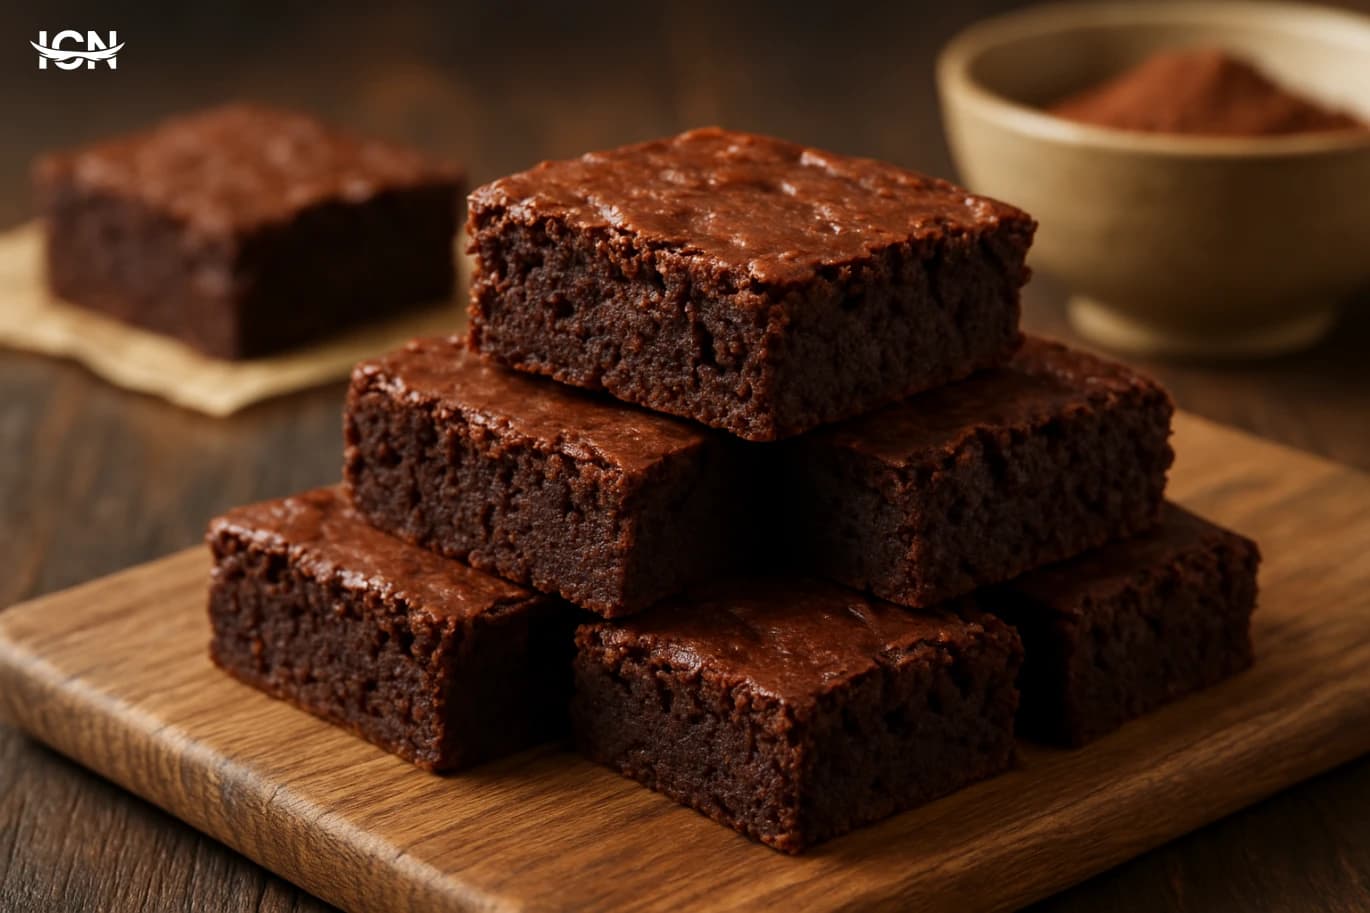
Brownies look simple, yet many home batches come out dry, greasy, or oddly cakey. The main reason is that brownies sit in a narrow zone between cake and fudge, and small choices push them to one side. Too much flour or overmixing develops structure and turns the center bready. Too much baking time, even by five minutes, drives off moisture and leaves a crumbly edge. On the other hand, excess butter or underbaking can create a slick layer that feels oily rather than rich. Another common issue is inconsistent oven heat: a hot spot browns the corners while the middle stays underdone. Even the pan matters; dark metal absorbs heat faster and can overcook the perimeter. Understanding these failure points helps you control texture without special tools, just by paying attention to ratios, timing, and a few practical checks.
Choosing the right chocolate base
The flavor of brownies is built on cocoa, chocolate, and fat, and each option changes both taste and texture. Cocoa powder gives a clean chocolate note and is easy to store, but it needs enough fat to avoid a dry finish. Natural cocoa is lighter and slightly sharper; Dutch-processed cocoa is darker and smoother. Melted chocolate bars add sweetness and a rounder flavor, and they also contribute cocoa butter that can make the crumb denser and silkier. A practical approach for reliable results is to combine both: cocoa for intensity and a modest amount of melted dark chocolate for depth. If you only use chocolate bars, the batter can become heavy and overly sweet unless you adjust sugar. If you only use cocoa, you may need a touch more butter or a spoon of neutral oil to keep the center moist. For most home kitchens, a 60–70% dark chocolate works well because it balances bitterness and sugar without requiring complicated recalculations.
Mixing method that protects texture
You can improve brownies more by changing how you mix than by buying new equipment. Start by melting butter with chocolate (or warming butter if using only cocoa) until just smooth, not scorching hot. This helps dissolve sugar later and creates a glossy batter. Whisk in sugar while the mixture is warm; the goal is to partially dissolve it so the top bakes into a thin, shiny crust. Add eggs one at a time and whisk until the batter looks thicker and slightly elastic, about 30–60 seconds per egg by hand. This adds enough structure to hold a fudgy center without turning cakey. Then switch to a spatula and fold in dry ingredients gently. Stop as soon as you no longer see dry streaks. Overmixing after flour goes in is the fastest route to a tough, cake-like bite. If you want mix-ins like walnuts or chocolate chips, fold them in at the very end so you do not keep stirring the batter.
Baking time, pan choice, and doneness checks
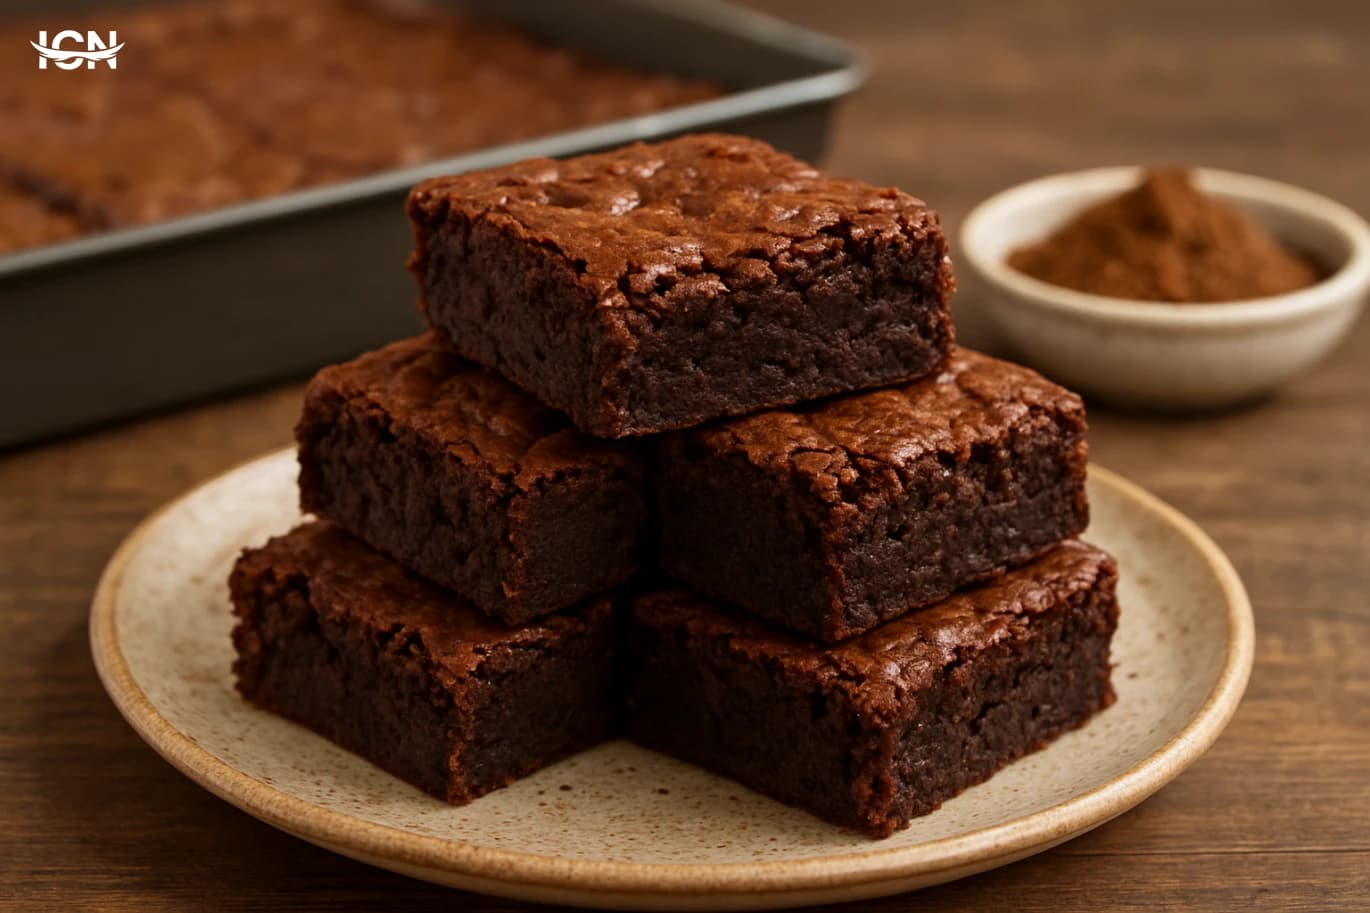
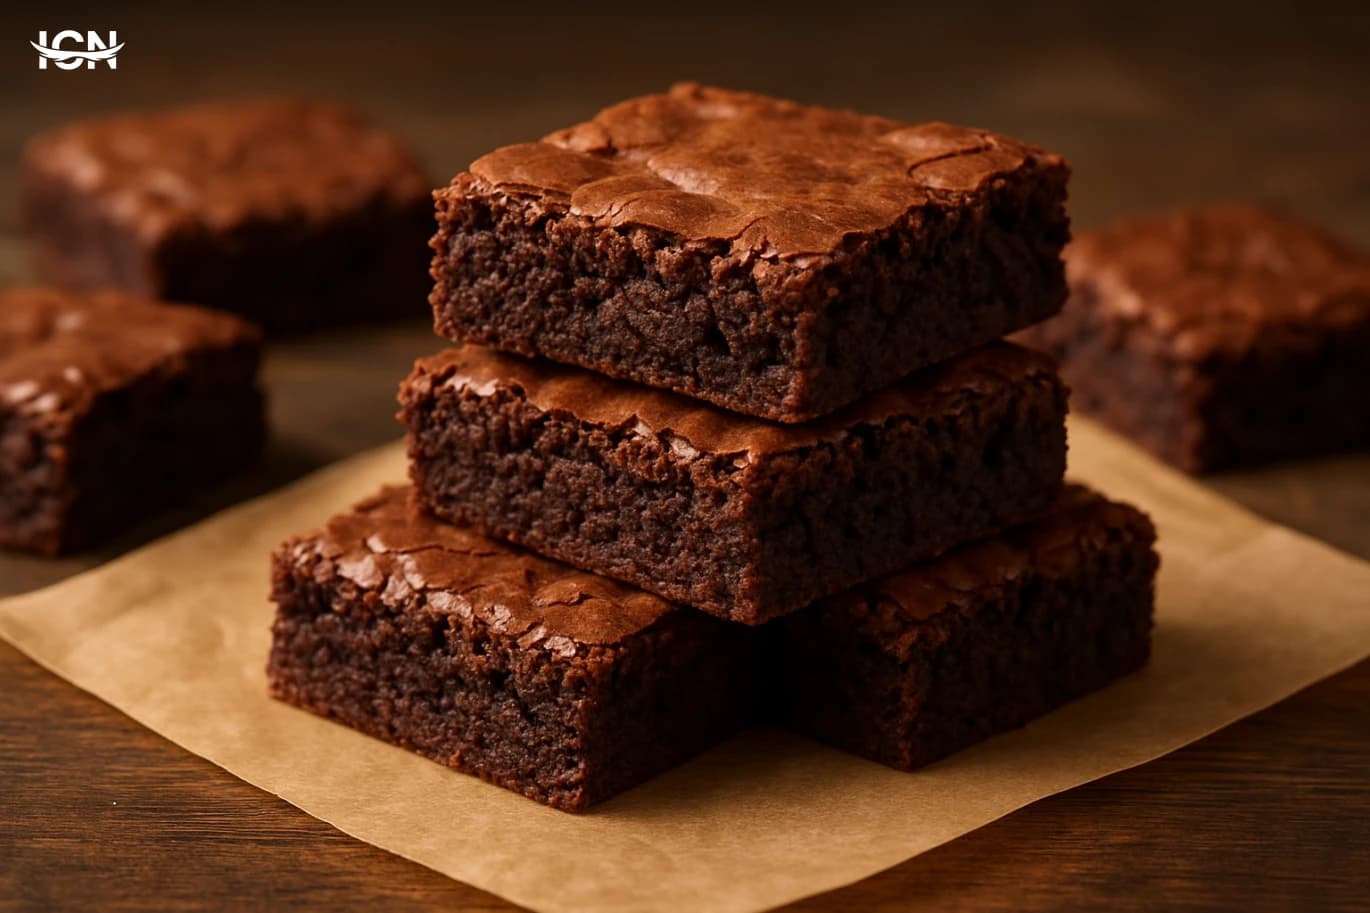
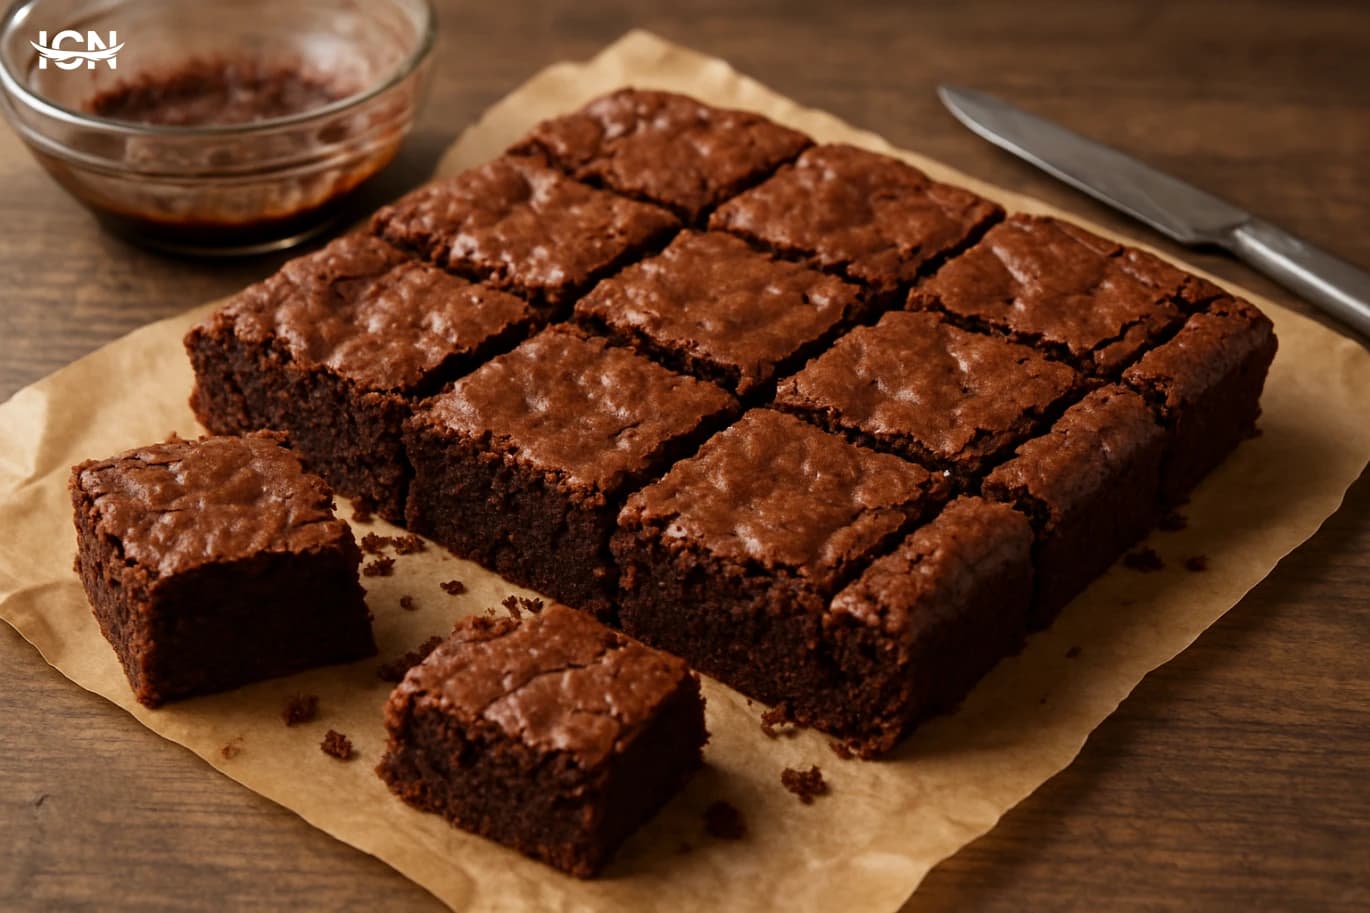
Most brownie problems show up in the oven, so a few controls make a big difference. Use a pan size that matches the recipe; a larger pan spreads batter thin and overbakes quickly, while a smaller pan makes a thick slab that may stay raw in the center. Lining the pan with parchment helps you lift the brownies out and cool them evenly, which reduces soggy bottoms. Bake in the middle rack and avoid opening the door early; sudden heat loss can sink the center. For doneness, do not rely on a perfectly clean toothpick. Brownies are done when the edges look set and slightly pulled from the pan, the top is matte with a few small cracks, and a toothpick inserted near the center comes out with moist crumbs, not wet batter. If the toothpick is clean, you likely went too far. Let the pan cool at least 30–45 minutes before cutting; the structure continues to set, and the texture becomes denser and more cohesive.
Flavor upgrades that stay practical
You can make brownies feel bakery-level with small, controlled upgrades rather than complicated decorations. A teaspoon of espresso powder deepens chocolate flavor without making the brownies taste like coffee. A pinch of flaky salt on top sharpens sweetness and improves the crust. For a cleaner finish, add vanilla after the butter-chocolate mixture cools slightly so the aroma stays noticeable. If you like a nutty profile, lightly toast walnuts or pecans for 6–8 minutes before folding them in; this prevents a raw, dusty taste. For a marbled look without extra equipment, drop spoonfuls of thick cream cheese mixture on top and swirl with a knife, but keep it limited so the brownies still bake evenly. Finally, consider portioning: cutting smaller squares and serving with fresh berries or a spoon of plain yogurt can balance richness and make the dessert feel intentional without adding heavy frosting.
bookmark
If you want a single repeatable plan, aim for a cocoa-and-dark-chocolate base, whisk sugar into warm melted butter, add eggs with brief vigorous mixing, then fold flour gently and bake until a toothpick shows moist crumbs. Use parchment, a correctly sized pan, and a cooling window before slicing. For quick personalization, choose one upgrade: espresso powder for depth, toasted nuts for crunch, or a light salt finish for contrast. Store brownies tightly covered at room temperature for up to three days; for longer storage, freeze individual squares wrapped well, then thaw at room temperature to keep the center fudgy. This approach keeps the process simple, avoids specialized gear, and produces consistent brownies you can confidently repeat.