Crispy Roasted Chickpeas for Any Meal
- Why roasted chickpeas work as a side
- Choosing chickpeas and prepping for crunch
- Roasting method that stays reliable
- Seasoning profiles for different mains
- Serving ideas and smart pairings
- Storage, make-ahead, and quick fixes
Why roasted chickpeas work as a side
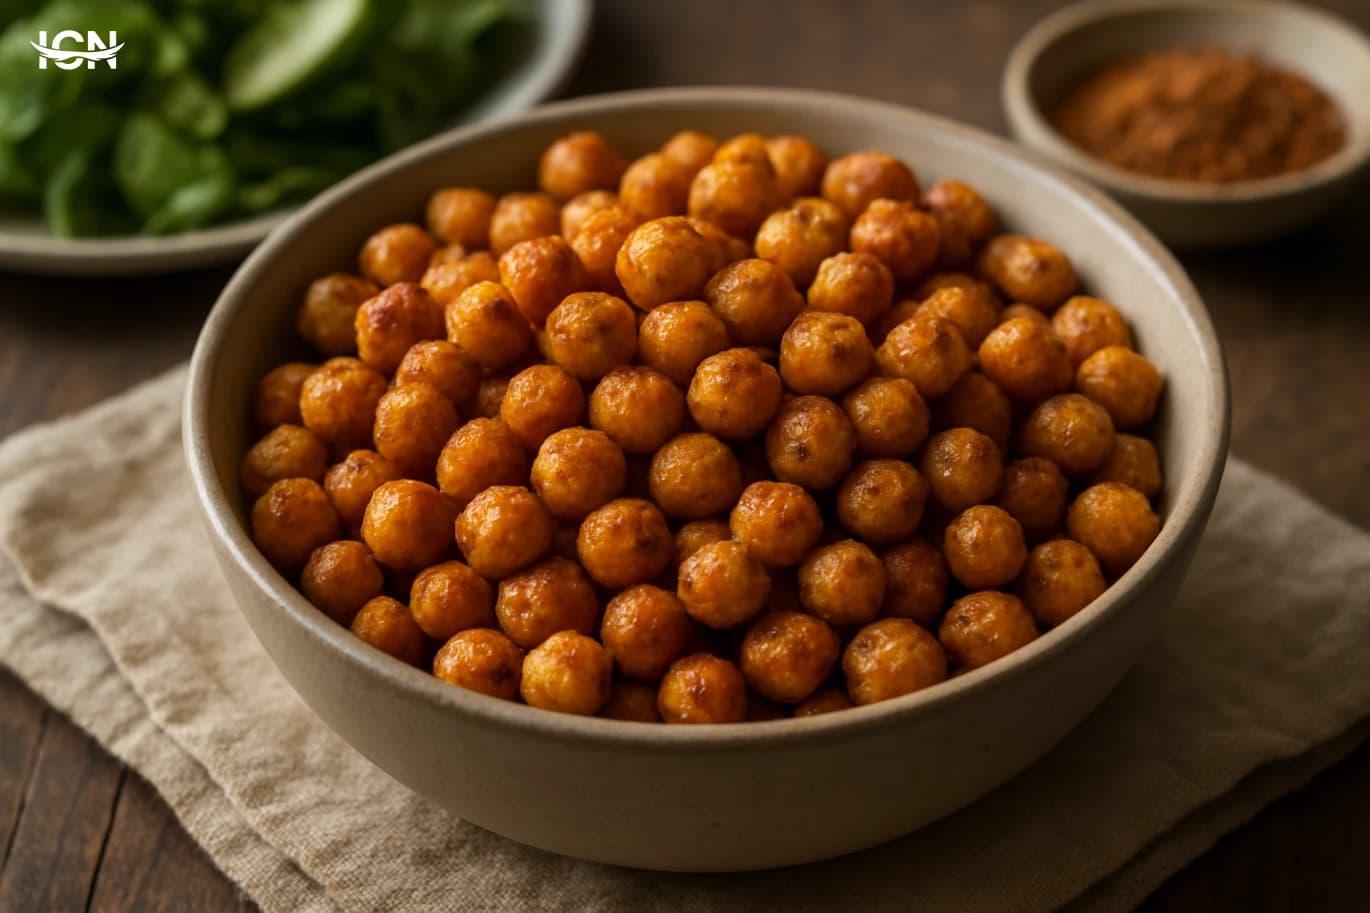
Roasted chickpeas are a practical side dish because they add crunch, protein, and a savory bite without requiring last-minute cooking. Unlike many sides that depend on timing—like rice, pasta, or sautéed vegetables—chickpeas can be roasted ahead and held at room temperature, then refreshed briefly in the oven. Their neutral base takes on spice blends and herbs easily, so you can match them to different mains in the same week. They also solve a common side-dish problem: texture contrast. Soft mains such as stews, braises, baked fish, or creamy soups often benefit from something crisp on the plate. A handful of roasted chickpeas can be served alongside, sprinkled over salads, or used as a topping for grain bowls. Because chickpeas are widely available canned or dried, the dish is budget-friendly and consistent, making it useful for both everyday dinners and casual entertaining.
Choosing chickpeas and prepping for crunch
You can start with canned chickpeas for speed or cook dried chickpeas for more control. Canned chickpeas are consistent and convenient; just rinse thoroughly to remove excess starch and brine flavor. If using dried chickpeas, soak overnight, then simmer until tender but not falling apart. Overcooked chickpeas roast into a drier, sometimes hollow texture, while slightly firm chickpeas keep a better bite. For maximum crispness, drying is the key step. After rinsing, spread chickpeas on a clean kitchen towel or paper towels and pat dry. Let them air-dry for 10–20 minutes if you have time. Some cooks remove loose skins for a more even roast, but it is optional; the bigger impact comes from removing surface moisture. Once dry, toss with oil sparingly—too much oil can make them feel heavy and reduce crunch. A light coating is enough to help browning and carry seasonings.
Roasting method that stays reliable
A reliable baseline method uses high heat, space on the pan, and a mid-roast shake. Preheat the oven to 425°F (220°C). Use a rimmed sheet pan and avoid overcrowding; chickpeas need airflow to roast rather than steam. Toss dried chickpeas with 1–2 tablespoons of oil per can (or about 2 cups cooked chickpeas), plus 1/2 teaspoon kosher salt. Spread in a single layer. Roast for 20 minutes, then shake the pan or stir to expose new surfaces. Continue roasting 10–20 minutes more, depending on your oven and how dry the chickpeas were. They should look deeper golden and feel firm when pressed. For extra crispness, turn the oven off and let the chickpeas sit inside with the door cracked for 10 minutes. This step helps drive off residual moisture. Cool completely before storing; warm chickpeas trapped in a container will soften quickly.
Seasoning profiles for different mains
Seasoning is where roasted chickpeas become a flexible side dish. For Mediterranean-style mains, use garlic powder, dried oregano, lemon zest, and a pinch of smoked paprika. Add the zest after roasting to keep it bright. For a Middle Eastern profile, try ground cumin, coriander, sumac, and a little black pepper; finish with a small drizzle of olive oil and a squeeze of lemon right before serving. For weeknight roasted chicken or sheet-pan vegetables, a simple blend of onion powder, smoked paprika, and dried thyme works well. If you want heat, add cayenne or crushed red pepper, but keep it balanced so the chickpeas can still pair with mild dishes. For a more savory, snack-like side, toss with nutritional yeast (after roasting) and a touch of salt. The key is to add delicate ingredients—fresh herbs, citrus zest, grated cheese—after roasting, while spices that benefit from toasting can go on before the chickpeas enter the oven.
Serving ideas and smart pairings
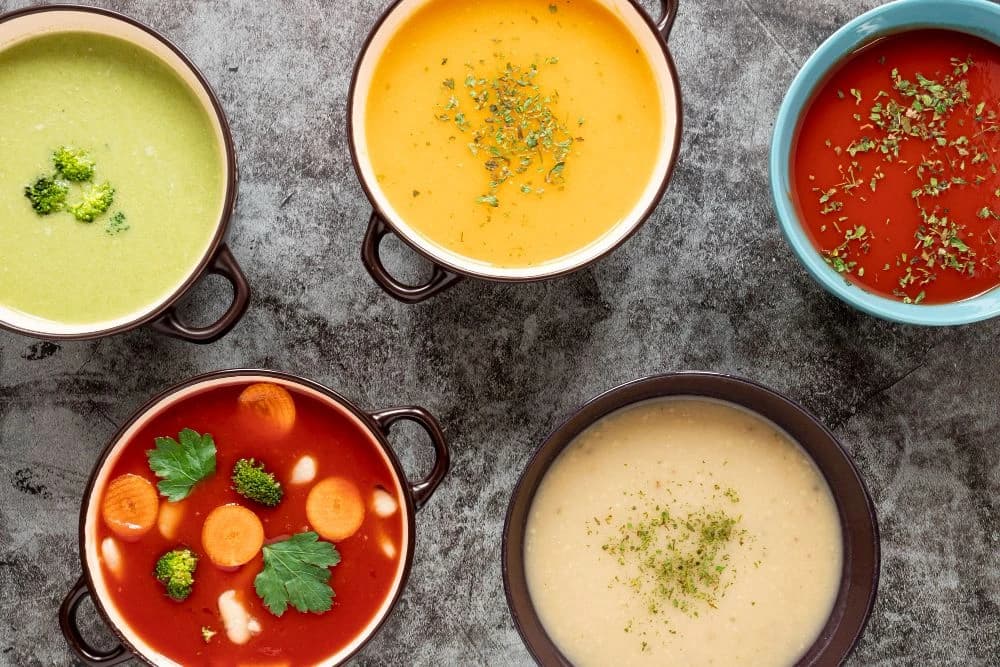
Serve roasted chickpeas in a small bowl as a crunchy side alongside soup, especially tomato, lentil, or vegetable purées. They also work as a topping for salads where croutons would normally appear, adding protein and keeping the dish gluten-free. For grain bowls, use them as the crisp element with quinoa, rice, or bulgur, plus roasted vegetables and a yogurt or tahini-based sauce. On a shared table, roasted chickpeas can replace or complement nuts and chips, offering a less oily option that still feels substantial. If you are plating a main like baked salmon, grilled tofu, or roasted chicken thighs, place a small mound of chickpeas on the side and add a lemon wedge; the acidity ties the flavors together. For a family-style meal, scatter chickpeas over a tray of roasted vegetables right before serving to keep them crisp while adding visual texture.
Storage, make-ahead, and quick fixes
Roasted chickpeas are best the day they are made, but you can still plan ahead. Let them cool completely, then store loosely covered at room temperature for up to a day to preserve crunch. For longer storage, use an airtight container for up to 3–4 days, understanding they will soften. To bring back texture, spread on a sheet pan and reheat at 400°F (205°C) for 5–8 minutes. If your chickpeas turn out chewy, the fix is usually more drying time rather than more oil. Return them to the oven for 8–12 minutes and consider the “oven-off rest” step. If they taste bland, season in layers: salt lightly before roasting, then finish with a pinch of salt and an acid element like lemon juice or vinegar after roasting. For meal prep, roast a double batch with a neutral base seasoning (salt and paprika), then split and finish portions with different blends during the week so the side dish stays varied without extra work.