Cold Brew at Home Without Guesswork
- Why Cold Brew Tastes Different
- Choose Beans and Grind for Your Goal
- A Simple Method With Exact Steps
- Fix Common Problems Fast
- Storage, Safety, and Weekly Planning
Why Cold Brew Tastes Different
Cold brew is not just “iced coffee.” It is coffee extracted with cold or room‑temperature water over a long time, which changes what dissolves from the grounds. Lower temperatures pull fewer sharp, fast‑extracting compounds, so the cup often reads smoother and less bitter, with a rounder sweetness. That does not mean it is weak: the method is commonly brewed as a concentrate, then diluted to taste. Understanding the difference helps you make better choices at home. If you want a bright, citrusy profile, cold brew may mute that compared with hot brewing. If you want chocolate, caramel, and nut notes with a softer finish, cold brew can highlight them. The goal is consistency: once you control ratio, grind, time, and water, you can repeat the same result every week without relying on expensive bottles from cafés.
Choose Beans and Grind for Your Goal
Start with fresh coffee, but do not overthink it. Medium to medium‑dark roasts are forgiving and often shine in cold brew because they lean into cocoa and caramel notes. Light roasts can work, but they may taste flatter unless you dial in carefully. If you are buying from a roaster, ask for something described as chocolatey, nutty, or syrupy rather than floral. Grind size matters more than brand. Use a coarse grind similar to raw sugar or sea salt. Too fine and you will extract more bitterness and end up with sludge that is hard to filter. Too coarse and the brew can taste thin. If you only have pre‑ground coffee, choose one labeled for French press; it is usually closer to what you need. Water is the hidden ingredient. If your tap water tastes strongly of chlorine or minerals, your cold brew will carry that. Filtered water is a simple upgrade. For a baseline, aim for a coffee‑to‑water ratio of 1:8 by weight for concentrate (for example, 100 g coffee to 800 g water). For a ready‑to‑drink batch, use 1:12 to 1:14 depending on how strong you like it.
A Simple Method With Exact Steps
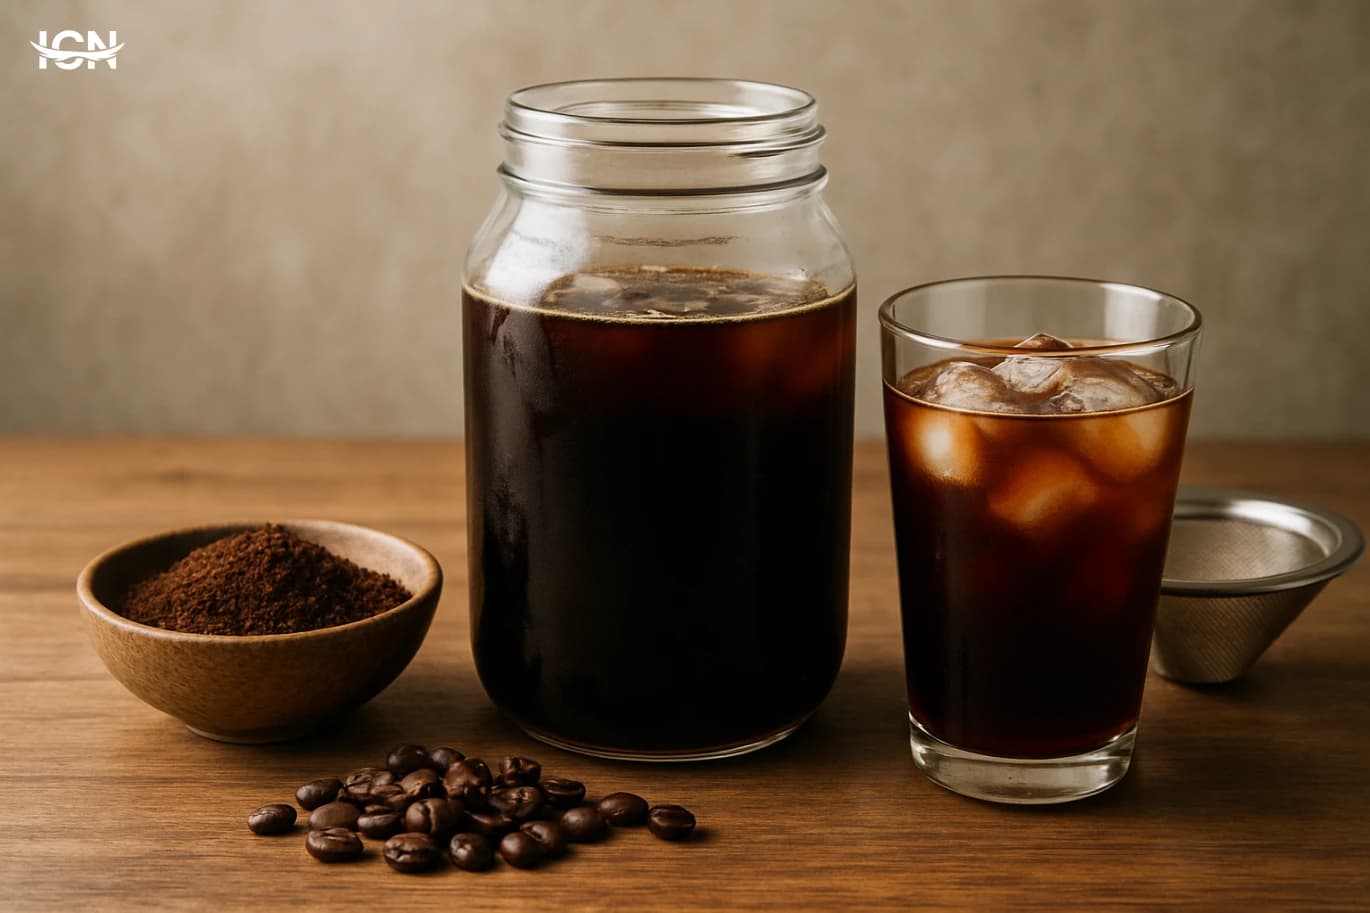
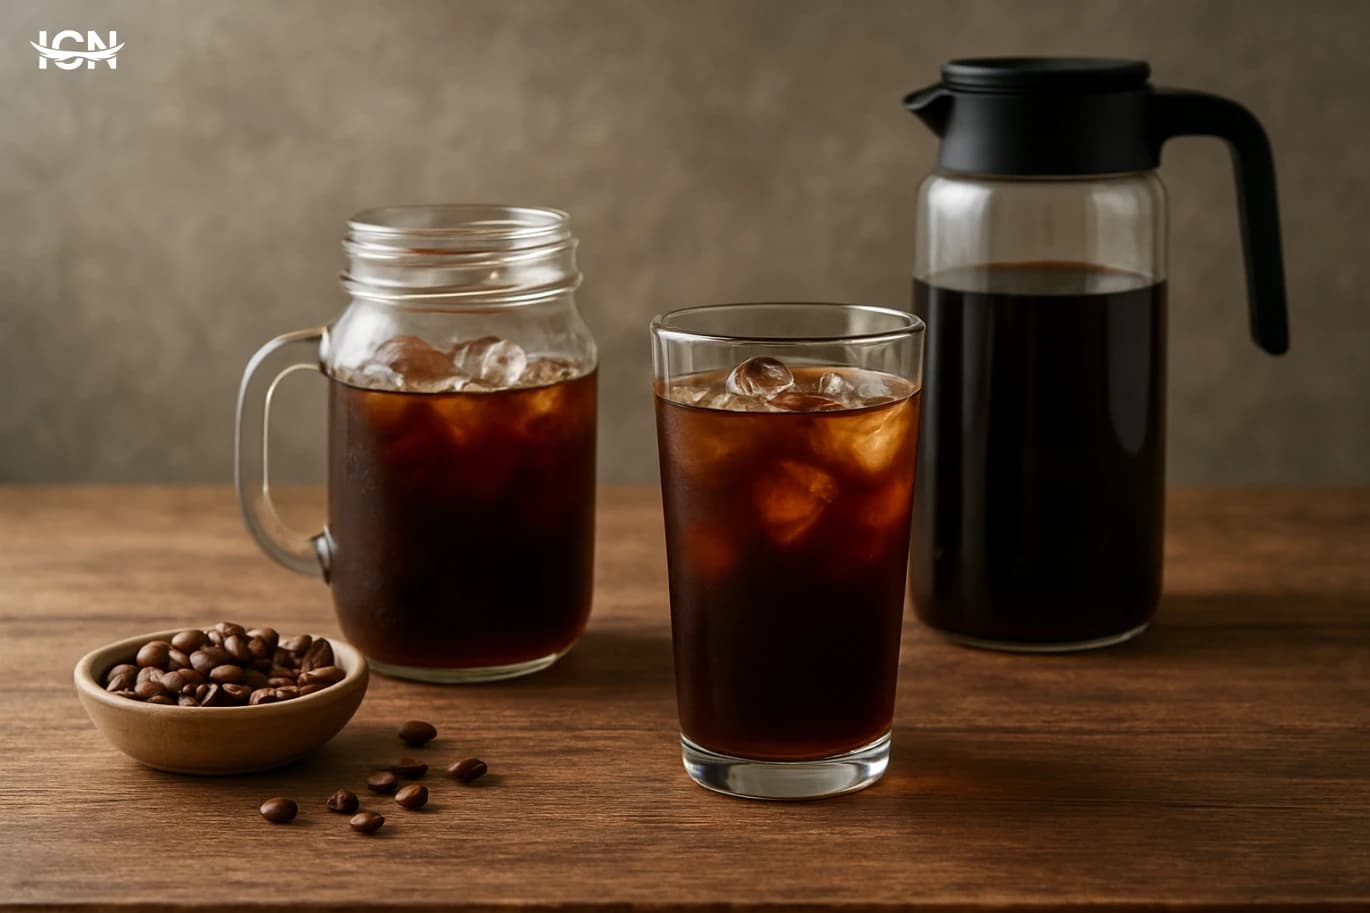
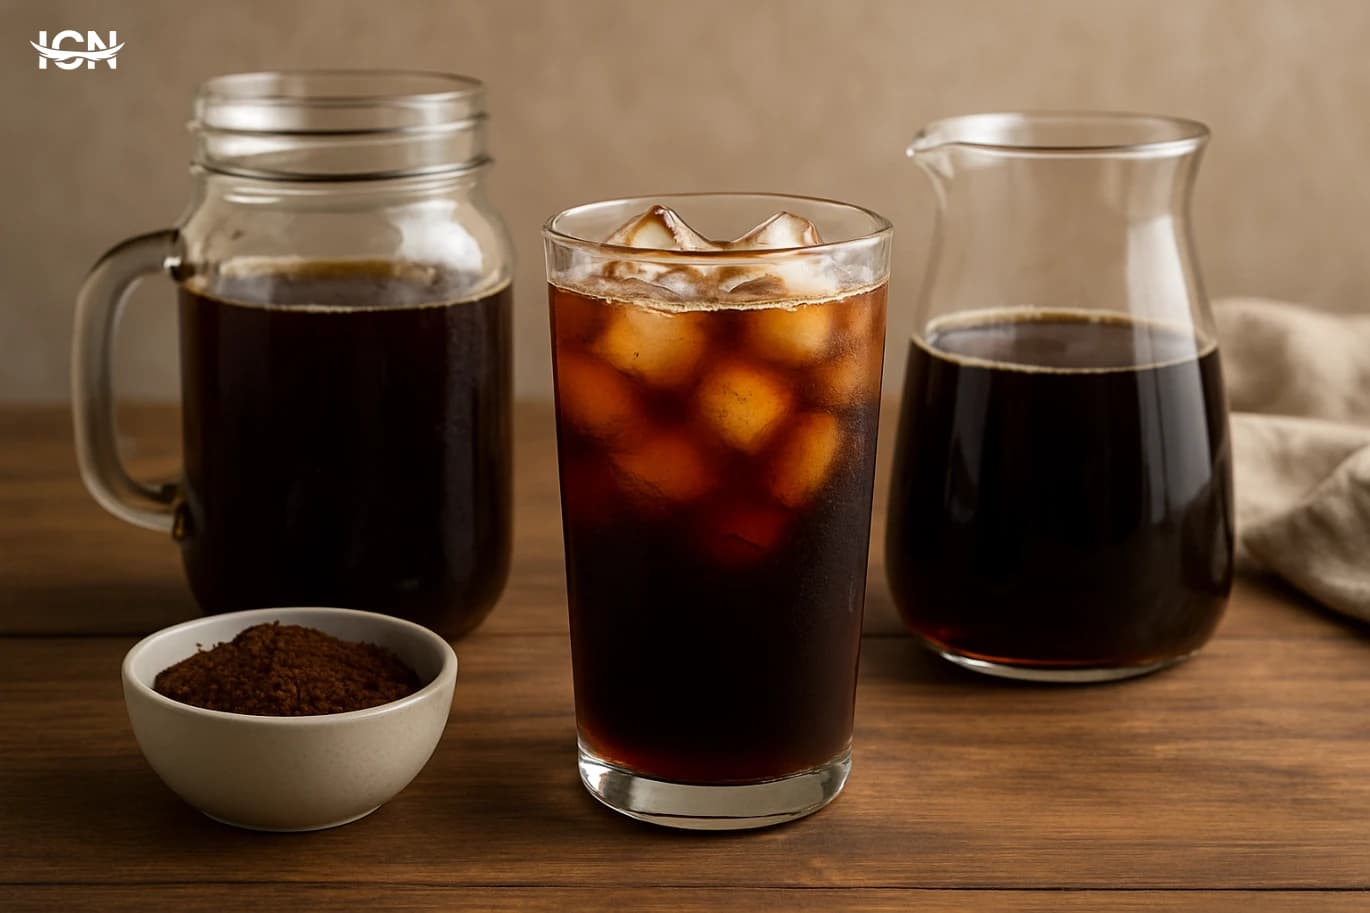
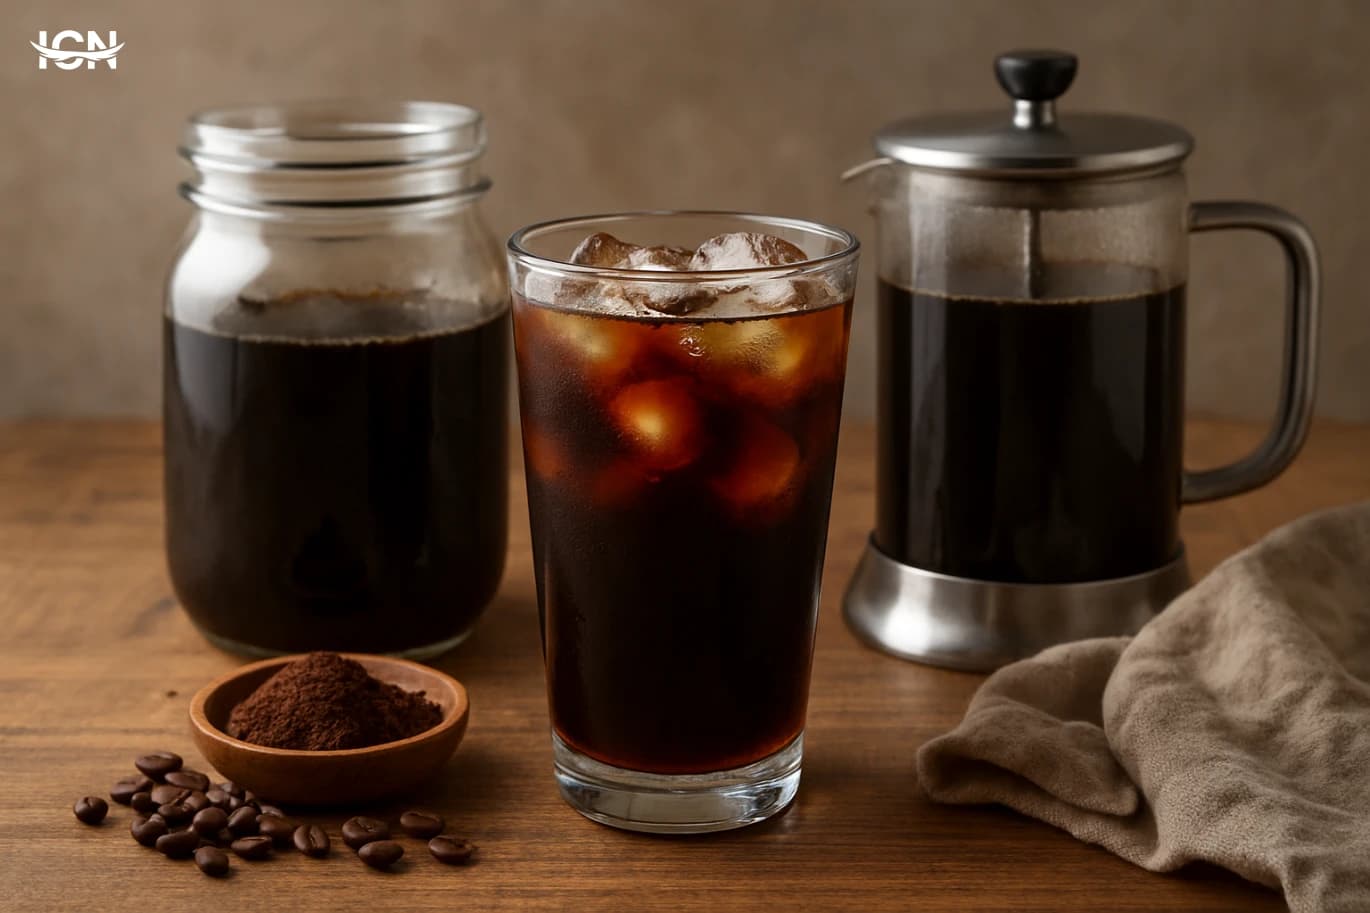
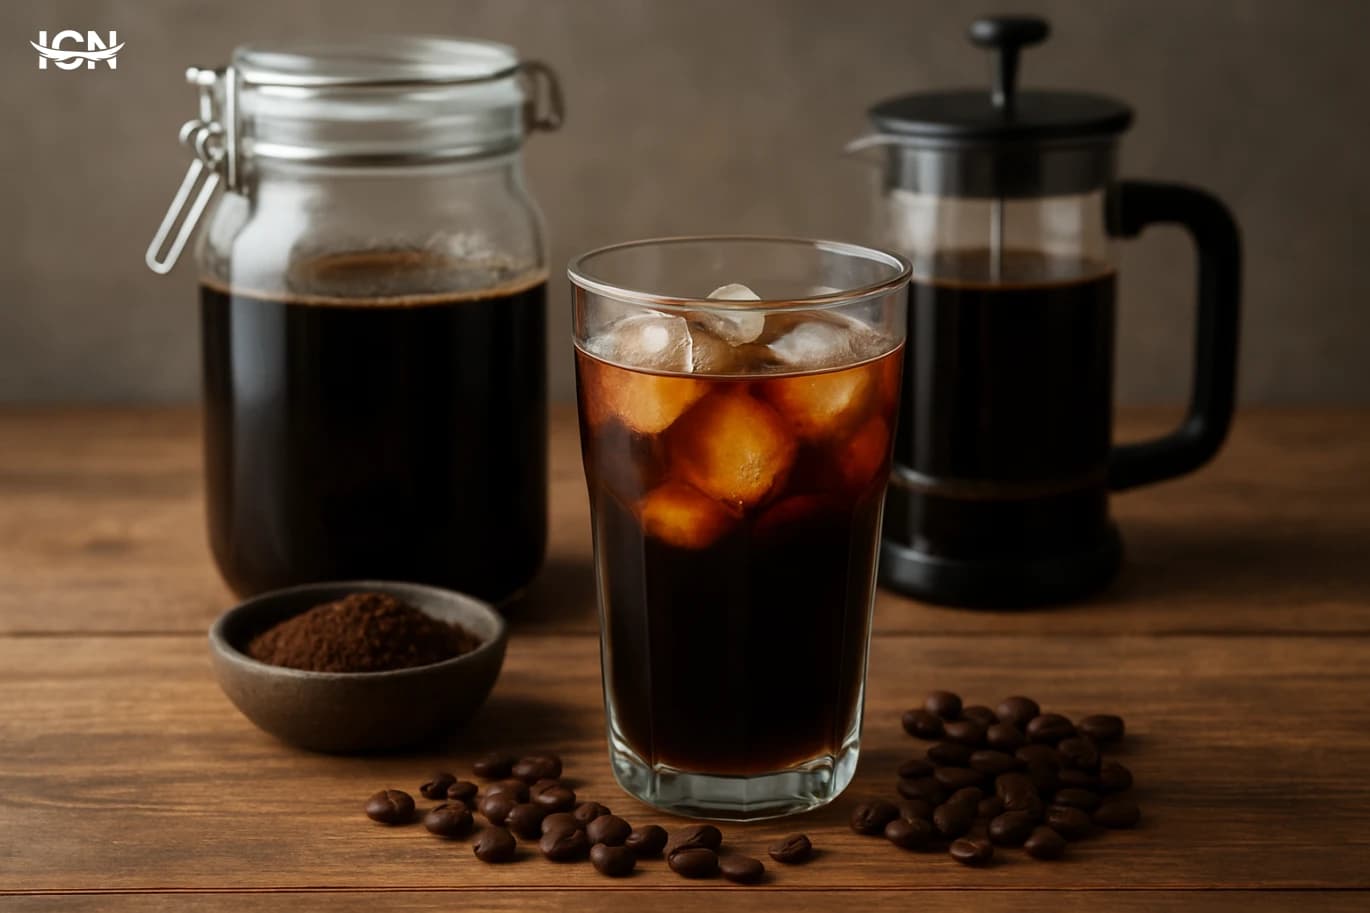
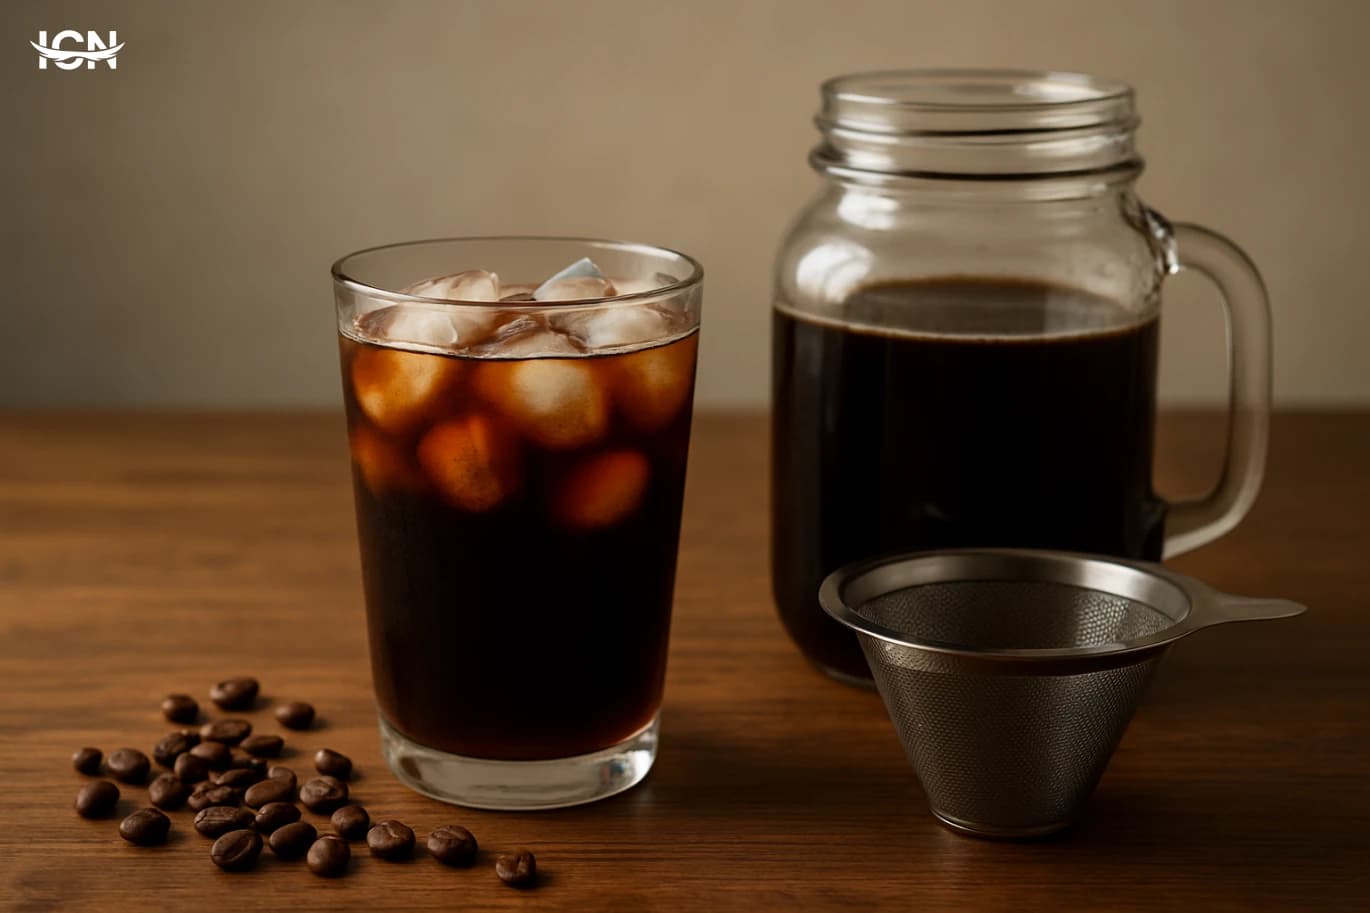
You do not need special equipment. A large jar, a kitchen scale, and a basic strainer are enough. Add your coffee to the jar, pour in water, and stir until all grounds are wet. Cover and steep at room temperature for 12 to 16 hours, or in the fridge for 16 to 20 hours. Room‑temperature steeping is faster and can taste slightly fuller; fridge steeping is slower and can taste cleaner. After steeping, filter in two stages. First, pour through a fine mesh strainer to remove the largest particles. Second, filter through a paper coffee filter or a clean cloth to clarify the brew. This second step is what separates a smooth bottle from a gritty one. If the filter clogs, do not force it; swap the filter and continue. Taste before you store. If you brewed a concentrate at 1:8, start by diluting 1:1 with cold water or milk, then adjust. If it tastes hollow, dilute less. If it tastes heavy or overly intense, dilute more. Write down your ratio, steep time, and whether you used fridge or room temperature. That small note is how you avoid “guesswork” next time. For serving, use plenty of ice and pour the diluted cold brew over it. If you want a café‑style texture, shake the diluted drink in a sealed jar for 10 seconds to add a light foam. Keep sweeteners simple: a small amount of sugar syrup dissolves better than granulated sugar in cold drinks.
Fix Common Problems Fast
If your cold brew tastes bitter or harsh, the usual causes are a grind that is too fine, a steep that is too long, or a ratio that is too strong. Move one variable at a time: coarsen the grind first, then shorten the steep by two hours, or dilute more. If it tastes sour or thin, you may be under‑extracting. Try a slightly finer grind, a longer steep, or a stronger ratio. Cloudiness and sediment are almost always filtration issues. Use a two‑stage filter and let the jar sit for five minutes before pouring so heavier particles settle. If you are using a cloth filter, rinse it thoroughly and avoid scented detergents that can leave flavors. If the flavor is “flat,” water quality and coffee freshness are the first checks. Filtered water and beans roasted within the last month usually help. Also consider serving temperature: very cold drinks can mute aroma. Let the diluted drink sit for two minutes after pouring over ice, then taste again. For people sensitive to acidity, cold brew can feel gentler, but it is still coffee. If it upsets your stomach, try a darker roast, drink it with food, and avoid making an ultra‑strong concentrate.
Storage, Safety, and Weekly Planning
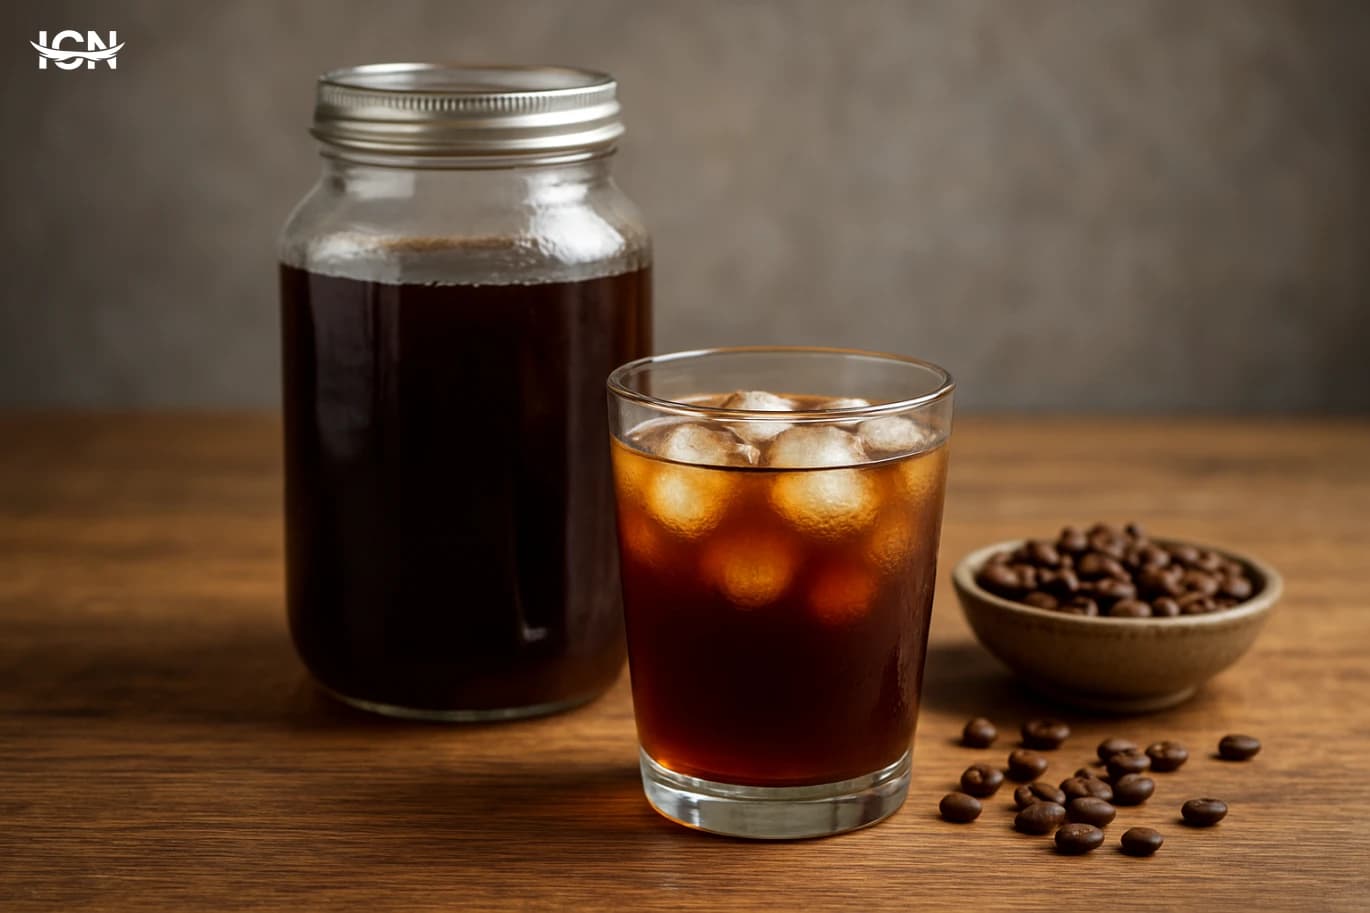
Store cold brew in a clean, sealed bottle in the fridge. For best flavor, use it within 5 to 7 days. After that, it may still be drinkable, but aroma fades and the taste can turn dull. Always label the bottle with the brew date and whether it is concentrate or ready‑to‑drink. Keep your process hygienic. Wash jars and strainers with hot water and unscented soap, and let them dry fully. Avoid leaving the brew at room temperature beyond the planned steep time. If you notice off smells, unusual fizz, or visible mold, discard the batch. A simple weekly routine saves time and money. Brew on Sunday evening, filter Monday morning, and you have a base for the week. Make two bottles: one concentrate for flexibility, and one diluted bottle for grab‑and‑go. If you like variety, split the batch after filtering and flavor one bottle with a small amount of vanilla extract or cinnamon syrup, keeping the other plain so you do not get tired of the same taste. Finally, track your best batch like a recipe: coffee brand and roast, grams of coffee, grams of water, steep time, and dilution. After three batches, you will have a reliable “house cold brew” that matches your preference and stays consistent across seasons.