Cold Brew at Home Without Guesswork
- Why cold brew tastes different
- Choose beans and grind for clarity
- A simple ratio that always works
- Steep time and temperature you can trust
- Straining without grit or wasted coffee
- bookmark
Why cold brew tastes different
Cold brew is not just “iced coffee.” It is coffee extracted with cold or room‑temperature water over many hours, which changes what dissolves into the drink. Lower temperatures slow the extraction of sharp, fast‑moving compounds, so the cup often tastes smoother and less bitter than hot coffee poured over ice. That does not mean it is weak: cold brew can be highly concentrated, and many cafés dilute it before serving. Understanding this helps you set expectations at home. Cold brew tends to highlight chocolate, nut, and caramel notes, while bright citrus acidity can feel muted. If you want a crisp, high‑acid profile, you may prefer iced pour‑over or flash‑chilled coffee. If you want a steady, mellow base for milk, sparkling water, or simple syrups, cold brew is a practical choice. It is also a workflow drink. You can brew a batch once or twice a week, store it in the refrigerator, and serve it quickly. The trade‑off is that small changes in grind size, ratio, and steep time can shift the result from clean and sweet to flat or overly woody. The goal of this guide is to remove the guesswork with clear, repeatable parameters.
Choose beans and grind for clarity
Start with fresh coffee, but not extremely fresh. Beans that rested 7–21 days after roasting often brew more predictably because excess gas has settled. Medium to medium‑dark roasts are forgiving for cold brew, delivering cocoa and caramel notes that stay pleasant even when chilled. Light roasts can work, but they may taste thin if the recipe is too dilute or the steep is too short. For origin and flavor, look for coffees described as chocolatey, nutty, or “sweet.” Natural‑processed coffees can produce a fruitier cold brew, but they can also become heavy if over‑extracted. If you are experimenting, buy two small bags rather than one large bag so you can compare. Grind size is the biggest lever. A coarse grind reduces sediment and makes filtration easier, but too coarse can under‑extract and taste hollow. A medium‑coarse grind (similar to raw sugar or slightly coarser than drip) is a reliable starting point for most home grinders. If your cold brew tastes watery, go a bit finer or extend the steep. If it tastes dusty, bitter, or leaves a dry aftertaste, go coarser or shorten the steep. Avoid blade grinders if possible because they create a mix of powder and boulders, which leads to both over‑ and under‑extraction in the same batch. If you only have a blade grinder, pulse in short bursts and sift out the finest powder with a simple kitchen strainer before brewing.
A simple ratio that always works
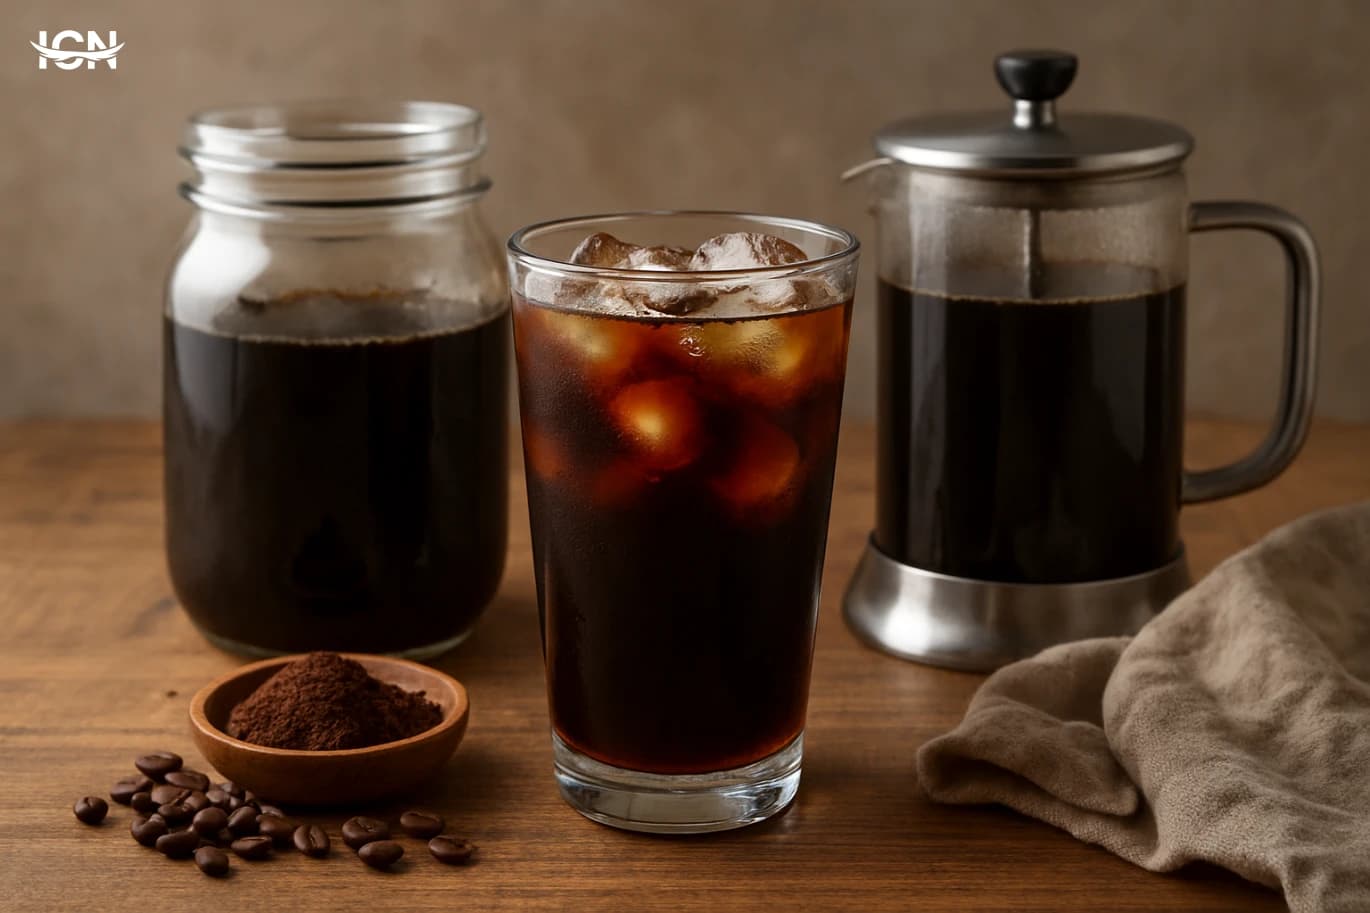
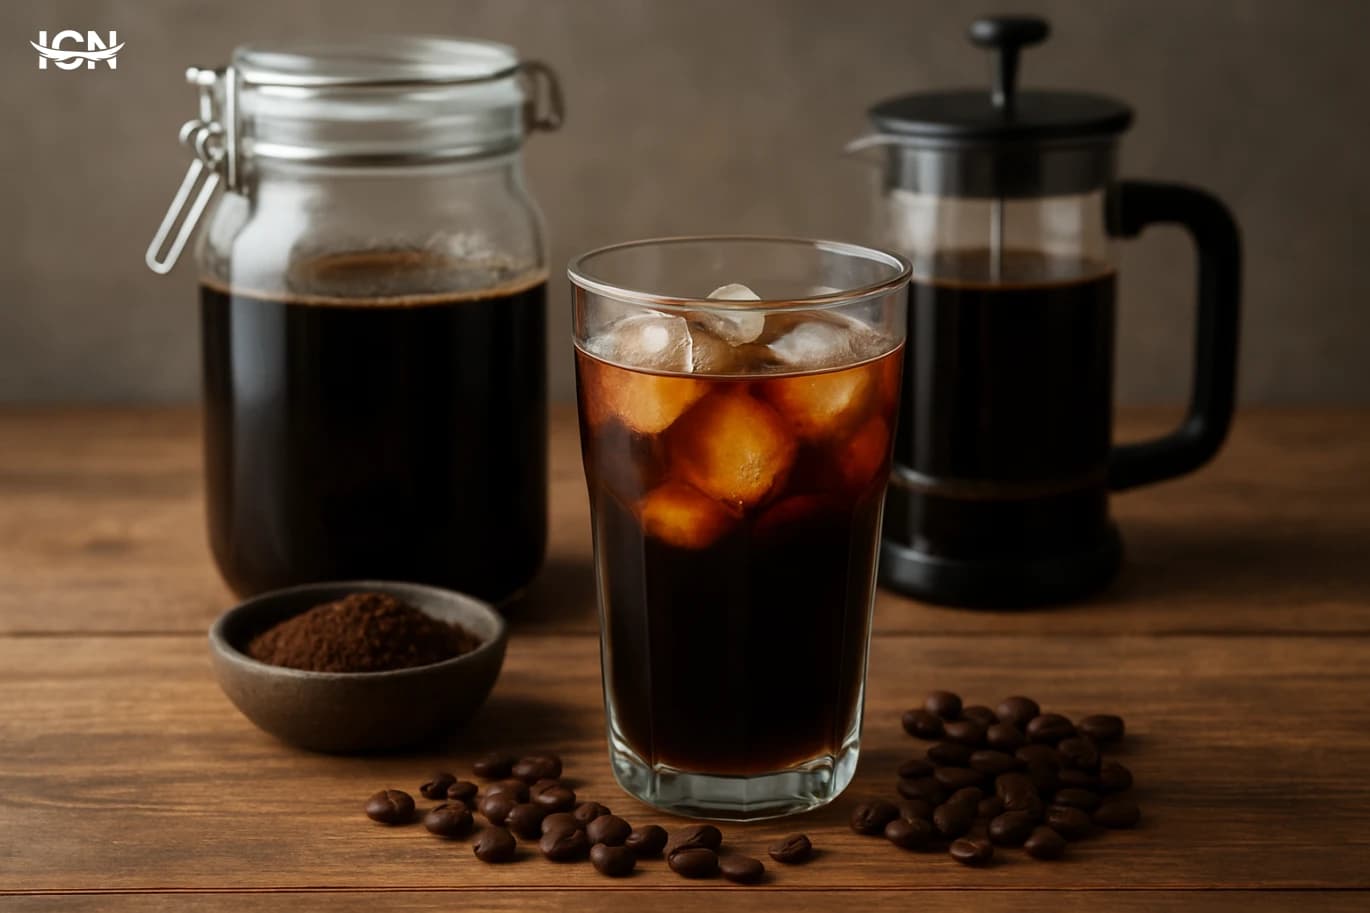
Cold brew recipes often confuse people because some are written for concentrate and others for ready‑to‑drink coffee. Use one of these two clear options and label your jar so you do not forget what you made. Option A: Ready‑to‑drink. Use 1:10 by weight, coffee to water. Example: 100 g coffee + 1,000 g water. This produces a drink you can pour over ice with minimal dilution. Option B: Concentrate. Use 1:5 by weight. Example: 100 g coffee + 500 g water. This is stronger and is usually diluted 1:1 with water or milk when serving, depending on taste. Weighing is more reliable than measuring by cups because coffee density varies by roast and grind. A basic kitchen scale is enough. Use filtered water if your tap water tastes strongly of chlorine or minerals; water quality matters more in cold brew because the drink is served cold and flaws are easier to notice. Mixing matters. Add coffee to the jar, pour in water, then stir thoroughly so all grounds are saturated. Dry pockets lead to uneven extraction and a weaker cup. Cover the jar to prevent fridge odors from entering and to keep the surface from drying out. If you want a slightly brighter profile, brew at room temperature for the first 1–2 hours, then move to the refrigerator. If you want maximum smoothness and consistency, brew fully in the refrigerator and accept that it may need a bit more time.
Steep time and temperature you can trust
A dependable starting point is 14–16 hours in the refrigerator for both ready‑to‑drink and concentrate. This window is long enough to extract sweetness and body without pushing too far into woody flavors. If you brew at room temperature, shorten the time to about 10–12 hours and taste earlier. Do not treat time as a fixed rule. Use a small tasting routine: after 12 hours, stir gently and taste a spoonful. If it tastes thin, keep going and taste again in 2 hours. If it tastes heavy, papery, or overly dry, stop and strain immediately. Temperature stability matters. A refrigerator brew is slower but more repeatable across seasons. Room‑temperature brewing can swing with weather and kitchen conditions, which is why many people get inconsistent results in summer. Once steeping is done, strain promptly. Leaving grounds in contact with the liquid for an extra day can make the batch taste dull. If you are brewing concentrate, strain into a clean bottle and store it cold; then dilute per cup so the flavor stays fresher. A practical note: if you plan to serve cold brew over ice, remember that ice is dilution. For ready‑to‑drink batches, use larger ice cubes or a smaller amount of ice. For concentrate, dilution is part of the plan, so ice can help you reach the right strength.
Straining without grit or wasted coffee
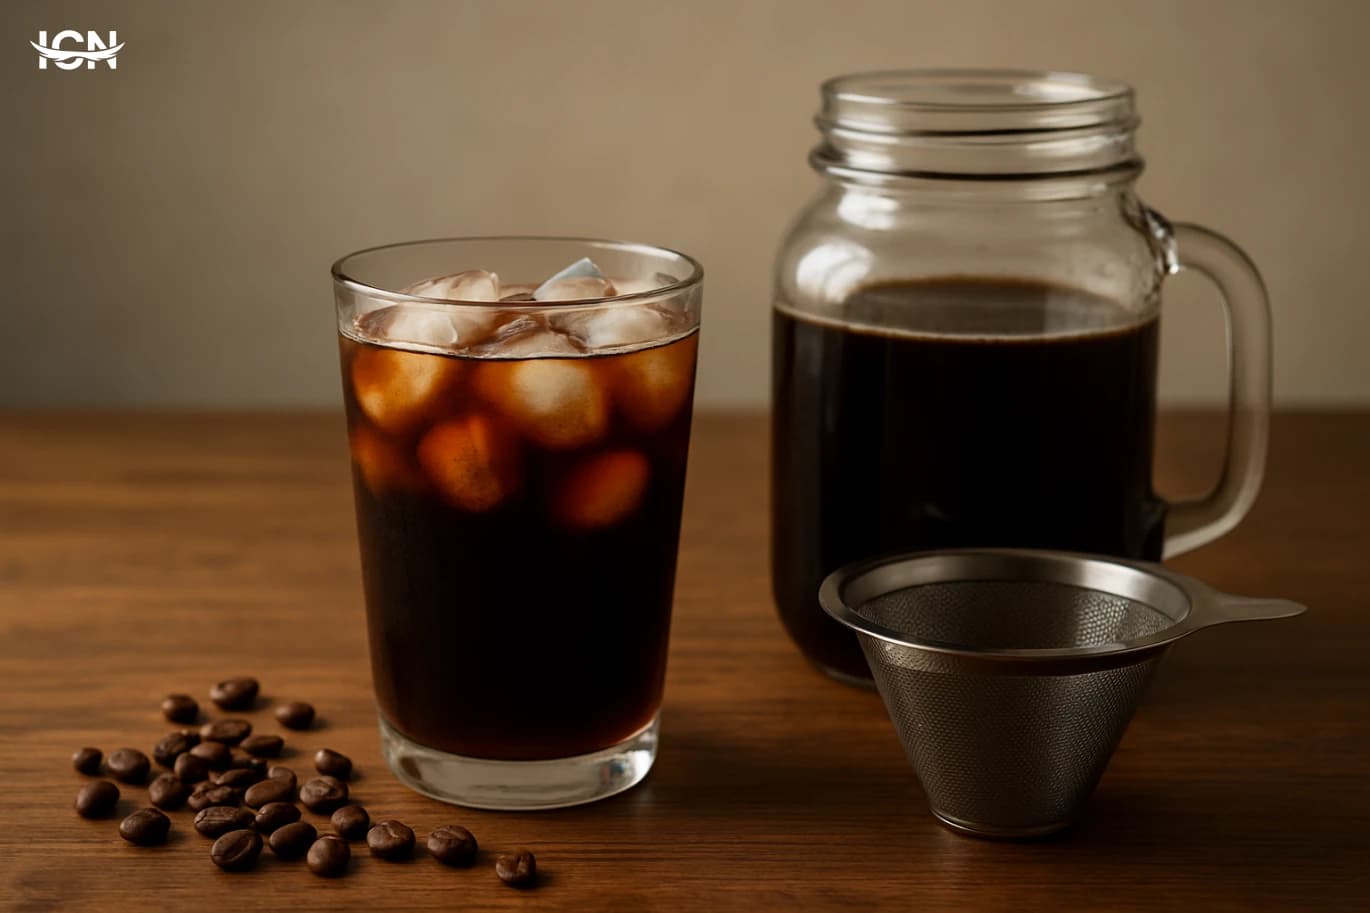
Filtration is where many home batches fail. The goal is a clean cup without losing too much liquid. Start with a coarse strain to remove the bulk of grounds, then finish with a finer filter. Step 1: Pour through a fine‑mesh sieve into a large bowl or jug. This catches most particles and prevents your final filter from clogging. Step 2: Filter again. Options include a paper filter in a dripper, a reusable cloth filter, or a clean, lint‑free kitchen towel. Paper gives the cleanest result but can be slow; pre‑wet the paper to reduce papery taste and help flow. If you use a French press, you can steep in it and press gently, but do not rely on the metal mesh alone if you dislike sediment. Press first, then run the liquid through paper. To reduce waste, let the grounds drain naturally for a few minutes, but do not squeeze aggressively. Hard squeezing pushes fines through and can add harshness. If you want higher yield, adjust your ratio next time rather than forcing the last drops. Clean storage is part of filtration. Transfer the finished cold brew into a sealed bottle, label the date, and keep it refrigerated. Most batches taste best within 3–5 days. After that, flavors flatten and aromas fade, even if the drink is still safe to consume.
bookmark
Keep serving simple so you can judge your brew. For ready‑to‑drink cold brew, start with 200 ml over a few large ice cubes. For concentrate, try 100 ml concentrate + 100 ml water, then adjust. If you prefer milk, begin with 100 ml concentrate + 120–150 ml cold milk; dairy and oat milk both pair well with chocolate‑leaning coffees. For a café‑style drink without complicated syrups, make a basic sweetener: dissolve equal parts sugar and hot water, cool, and store in the refrigerator. Add 5–10 ml per glass and increase slowly. This avoids gritty sugar at the bottom. If you want a lighter, more refreshing option, mix 120 ml ready‑to‑drink cold brew with 80–120 ml sparkling water and a strip of citrus peel. Use peel rather than juice if you want aroma without adding acidity that can clash with some coffees. Finally, keep notes. Write down the coffee, ratio, grind setting, steep time, and whether you brewed in the fridge or at room temperature. After two or three batches, you will have a personal recipe that matches your taste and your equipment, and you will be able to change one variable at a time instead of starting over each week.