Cold Brew at Home Without Guesswork
- Why Cold Brew Tastes Different
- Choosing Beans and Grind Size
- Ratios, Time, and Temperature
- Filtering Without the Mess
- Serving Ideas That Keep Balance
- Troubleshooting and a Repeatable Routine
Why Cold Brew Tastes Different
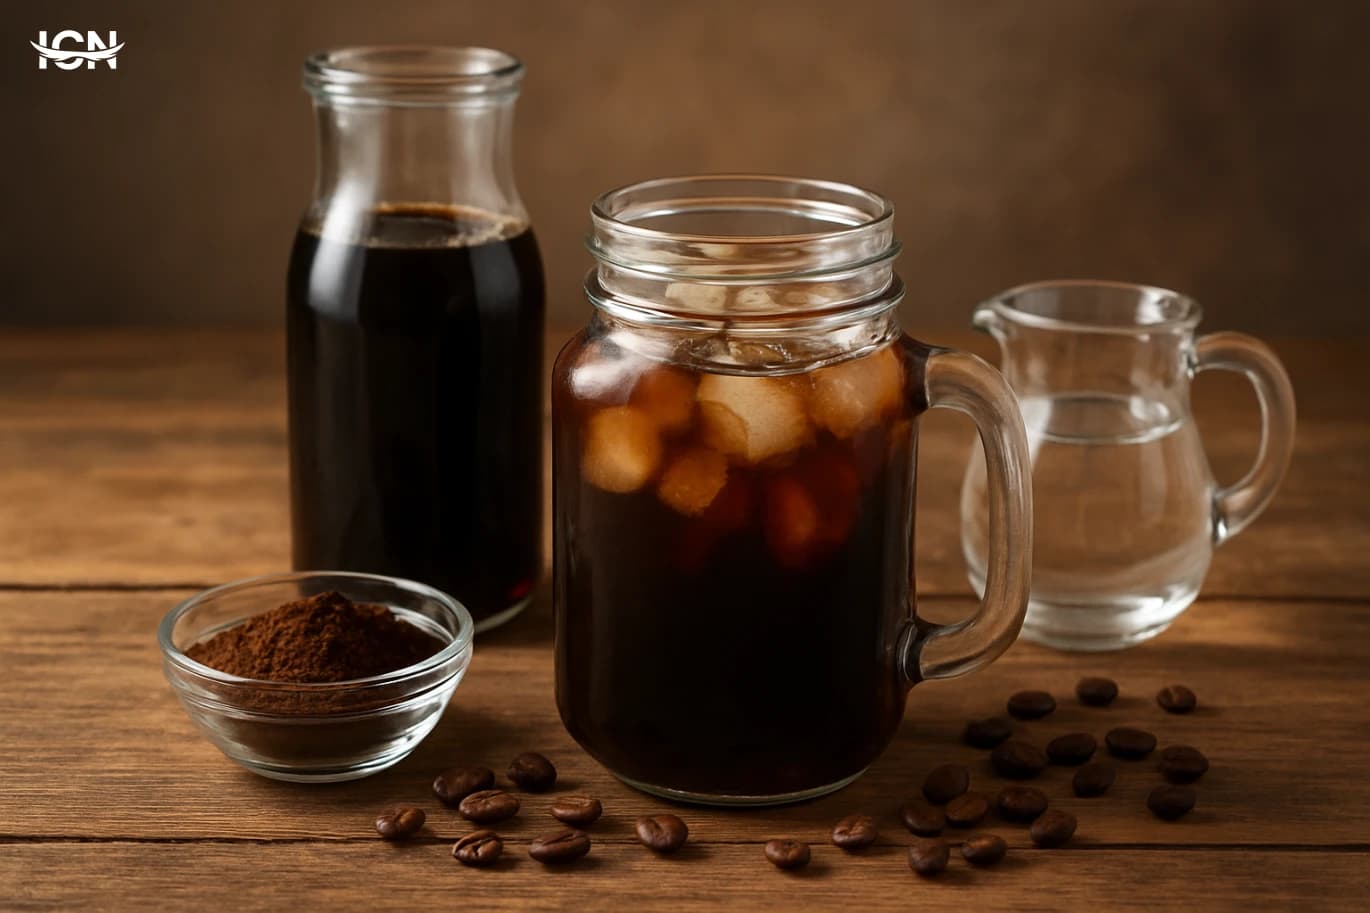
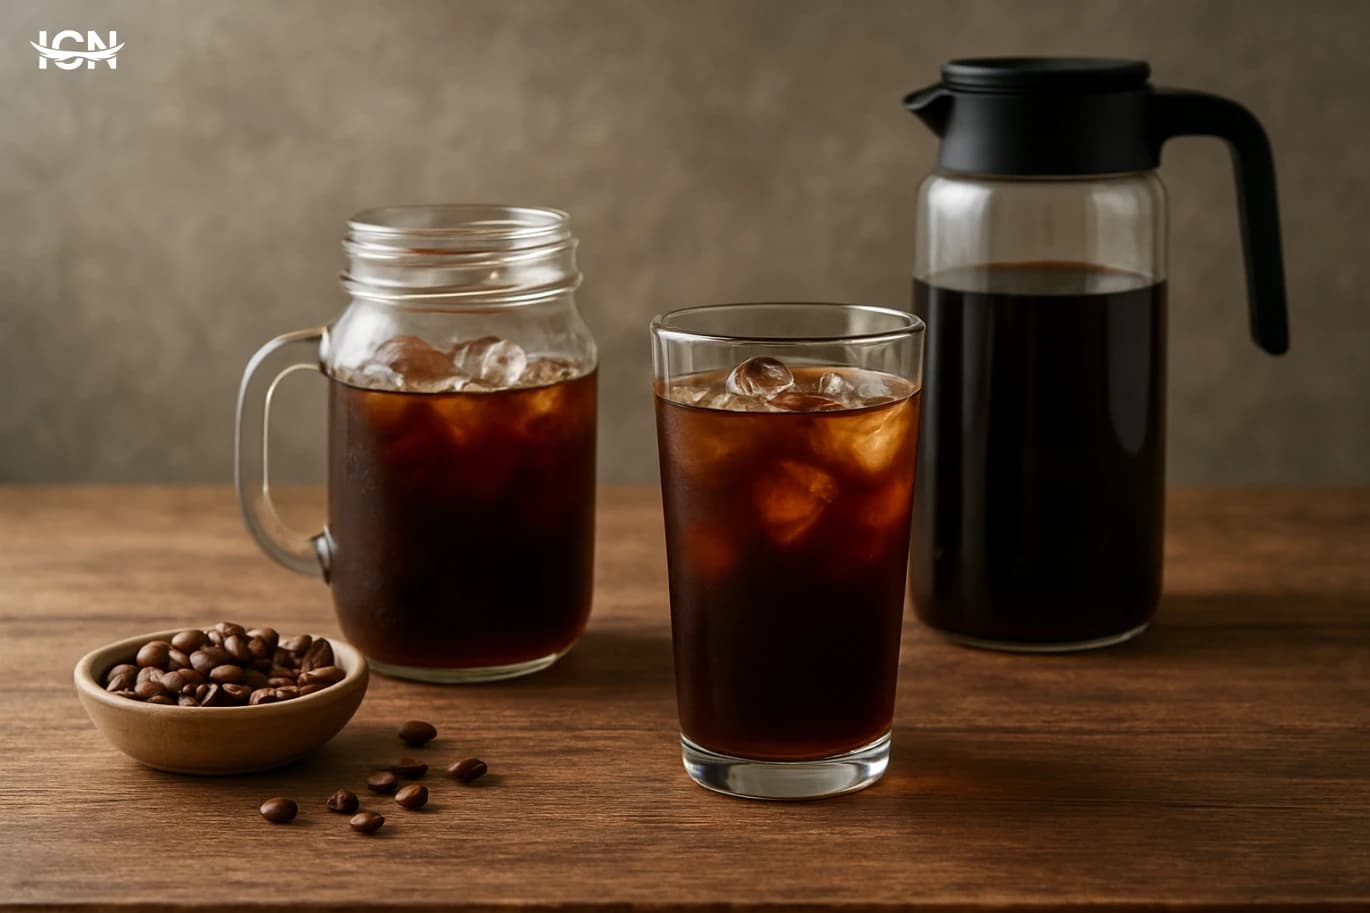
Cold brew is not just iced coffee. It is coffee extracted with cool water over a long period, which changes what ends up in the cup. Lower temperatures slow down the extraction of certain bitter compounds and emphasize chocolate, nutty, and caramel notes that many people describe as smoother. The result is also less aromatic than hot coffee, so the flavor feels rounder and less sharp. This difference matters when you make it at home because the method is forgiving in some ways and strict in others. It forgives small temperature changes because it is brewed at room temperature or in the fridge. But it is strict about time, grind size, and ratio. If you understand what controls extraction, you can avoid the two common outcomes: a weak, watery brew or an over-extracted concentrate that tastes woody. Cold brew also behaves differently with milk and sweeteners. Because it is less acidic, it can taste muted when diluted too much. That is why many recipes create a concentrate first and then dilute to taste. Treat it as a base you can tune rather than a finished drink that must be perfect straight from the jar.
Choosing Beans and Grind Size
You do not need rare beans to make good cold brew, but you do need beans that match the style. Medium to medium-dark roasts often work well because they deliver sweetness and body that remain noticeable after dilution. Very light roasts can taste thin in cold brew unless you extend brew time or increase the coffee dose. If you like fruit-forward flavors, choose a medium roast from Ethiopia or Kenya and keep the dilution modest so the character stays present. Freshness matters, but not in the same way as espresso. Beans that are 7 to 21 days off roast are usually a safe range: they have settled enough to avoid excessive gas but still taste lively. If you buy pre-ground coffee, you can still make cold brew, but you lose control over extraction and often end up with more sediment. Grind size is the biggest lever. Aim for a coarse grind similar to raw sugar or sea salt. Too fine and you will extract harsh flavors and create a muddy brew that is hard to filter. Too coarse and the water cannot access enough surface area, producing a weak result even after a long steep. If your cold brew tastes hollow, tighten the grind slightly before changing the time. Finally, consider water. If your tap water tastes strongly of chlorine or minerals, it will show up in cold brew because the drink is served cold and the flavors are less masked. Filtered water or bottled water with moderate mineral content usually gives a cleaner, sweeter cup.
Ratios, Time, and Temperature
A reliable home method starts with a clear ratio. For a concentrate, use 1 part coffee to 5 parts water by weight, such as 100 grams of coffee to 500 grams of water. For a ready-to-drink batch, use 1:8 to 1:10, such as 100 grams coffee to 800–1000 grams water. A kitchen scale makes this consistent and removes the guesswork of “cups.” Time depends on temperature and grind. At room temperature, 12 to 16 hours is a common window for coarse grounds. In the refrigerator, 16 to 24 hours is typical because extraction is slower. Longer is not always better. Past a certain point, you mainly pull out dry, woody flavors. If you want more strength, increase the coffee dose or tighten the grind slightly rather than pushing the steep to 30 hours. Stirring matters at the start. Mix the grounds and water thoroughly so all coffee is saturated, then leave it alone. Constant stirring is not necessary and can increase fine particles in suspension. Use a covered jar or pitcher to prevent odors from the fridge and to keep the brew clean. When you taste, evaluate in a consistent way. If you made a concentrate, dilute a small sample at a fixed ratio, such as 1:1 with water, and then judge. That prevents you from over-correcting based on a sip that is too strong. Keep notes: coffee type, grind setting, ratio, time, and whether it was brewed in the fridge or on the counter. After two or three batches, you will have a repeatable formula.
Filtering Without the Mess
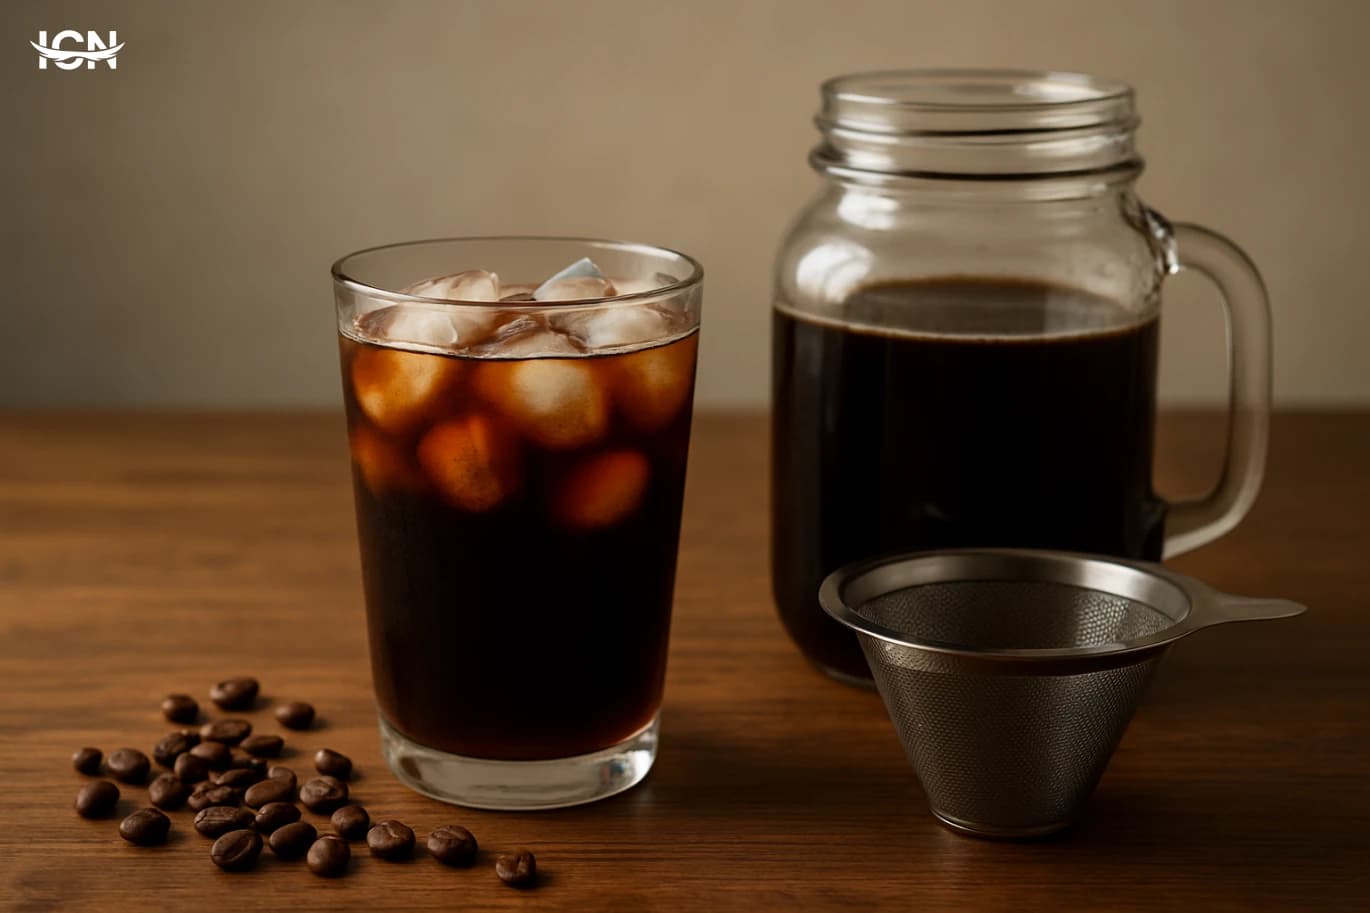
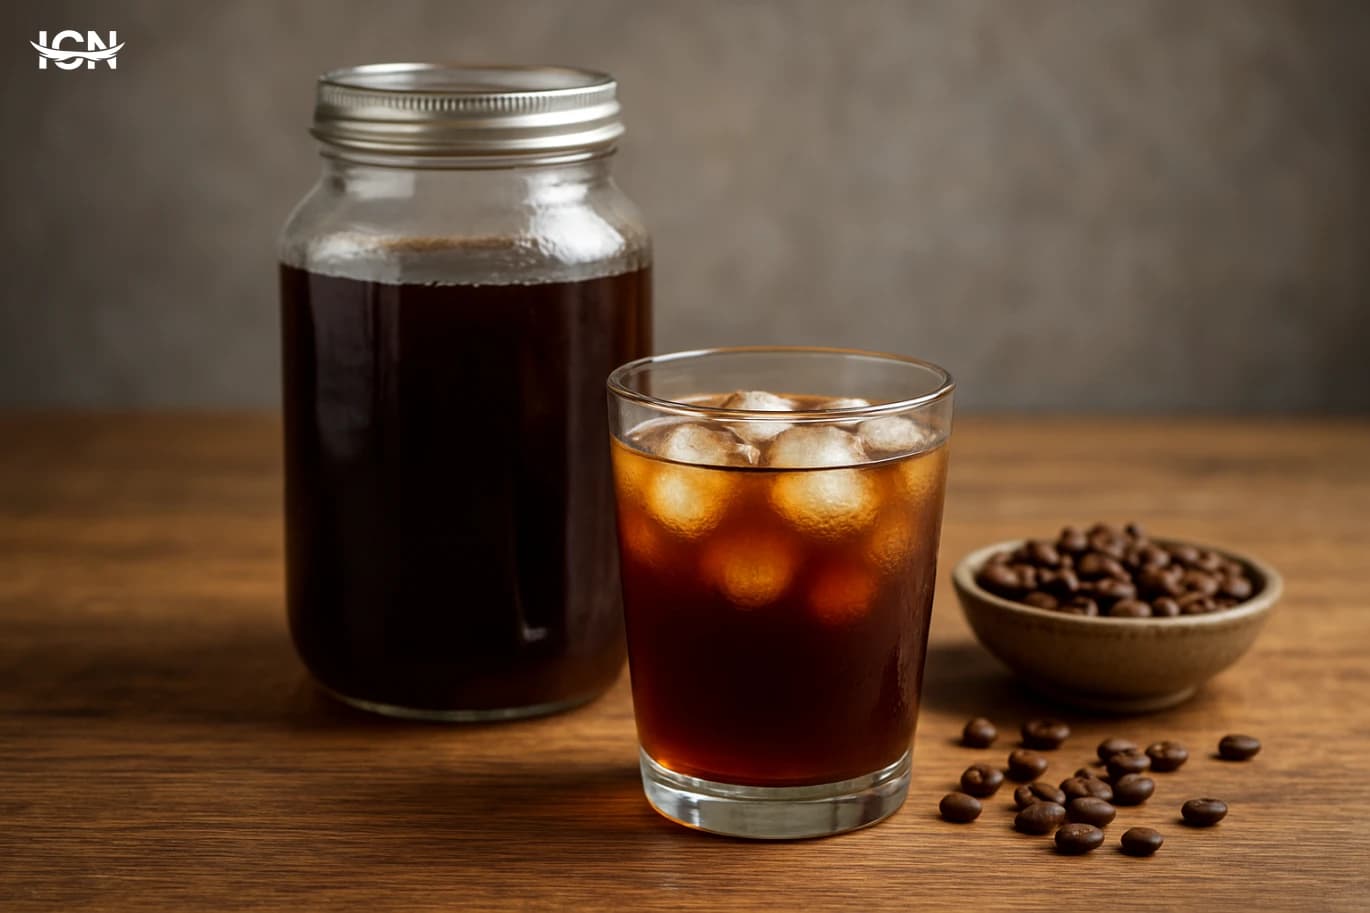
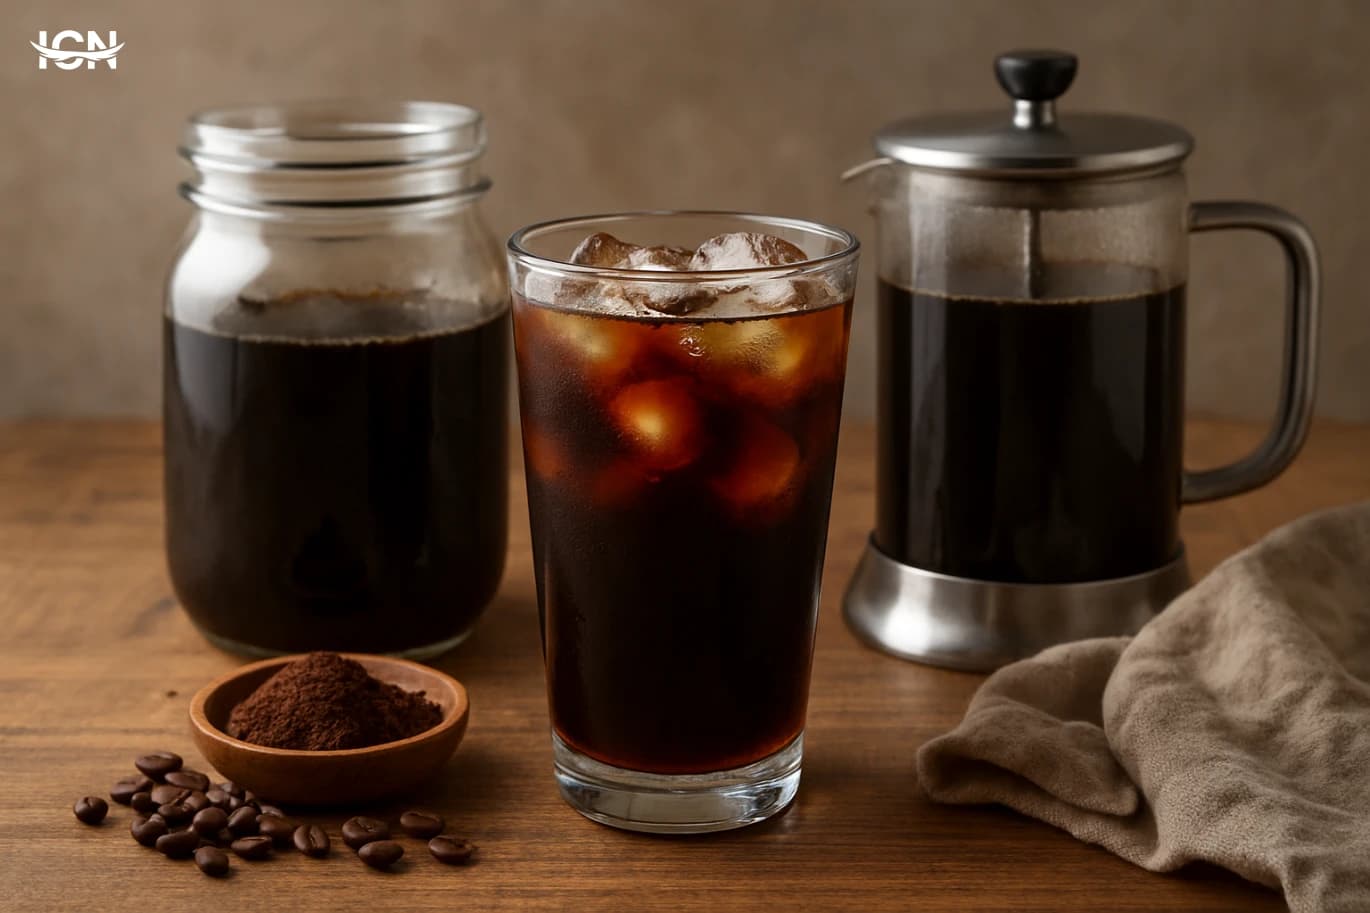
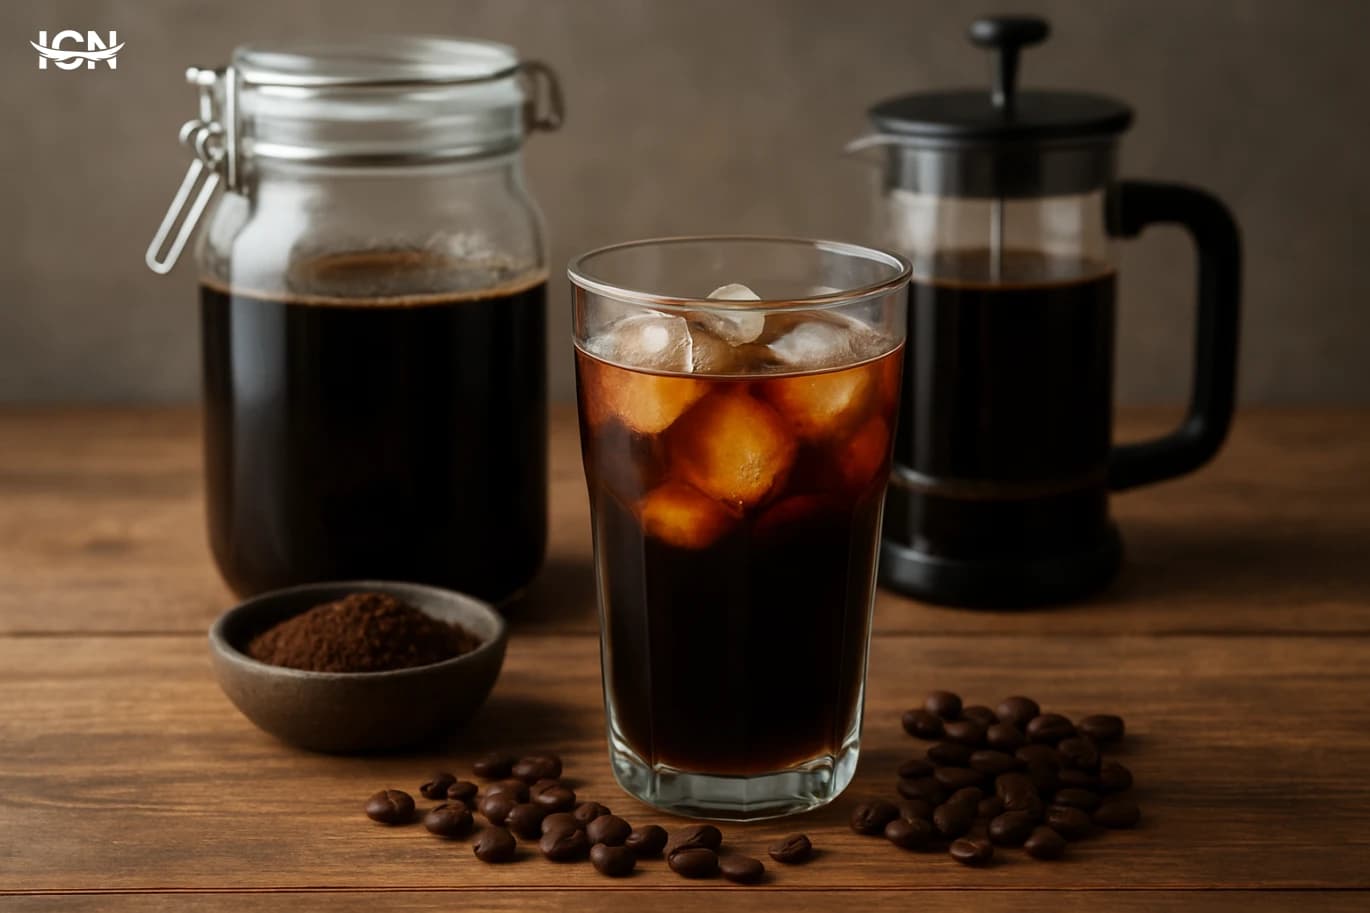
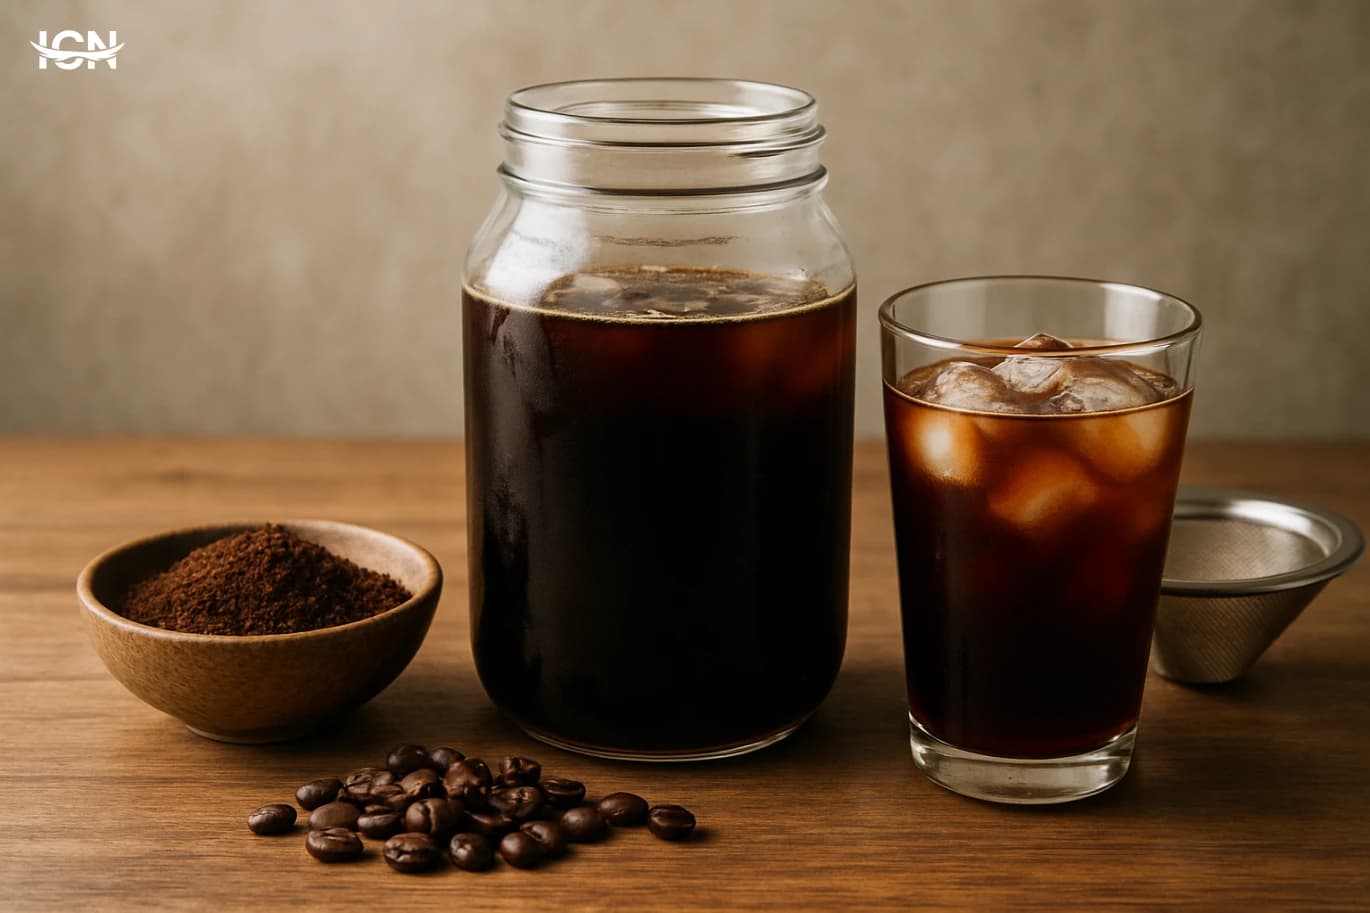
Filtering is where many home cold brews fail, not because the coffee is bad, but because the process adds sediment and bitterness. Start with a simple two-step approach. First, pour the brew through a fine mesh sieve to catch the large grounds. Then filter again using a paper filter, a coffee dripper, or a clean cloth filter. The second pass takes longer, but it dramatically improves clarity and shelf life. If you use paper filters, expect a slow drip because cold brew contains fine particles and oils. Do not press or squeeze the filter aggressively; that forces sediment through and can add harsh flavors. Instead, let gravity do the work and change the filter if it clogs. If you use a cloth filter, rinse it thoroughly after use and store it clean and dry to avoid off odors. A French press can work as a first filter, but it rarely removes enough fines on its own. If you stop there, you may notice a gritty texture at the bottom of the bottle after a day. A final paper filter is the easiest fix. Once filtered, store cold brew in a sealed bottle in the refrigerator. For best flavor, use it within 5 to 7 days. If it starts to taste flat or develops a stale note, it is usually oxidation. Smaller bottles with less air space help keep it fresher.
Serving Ideas That Keep Balance
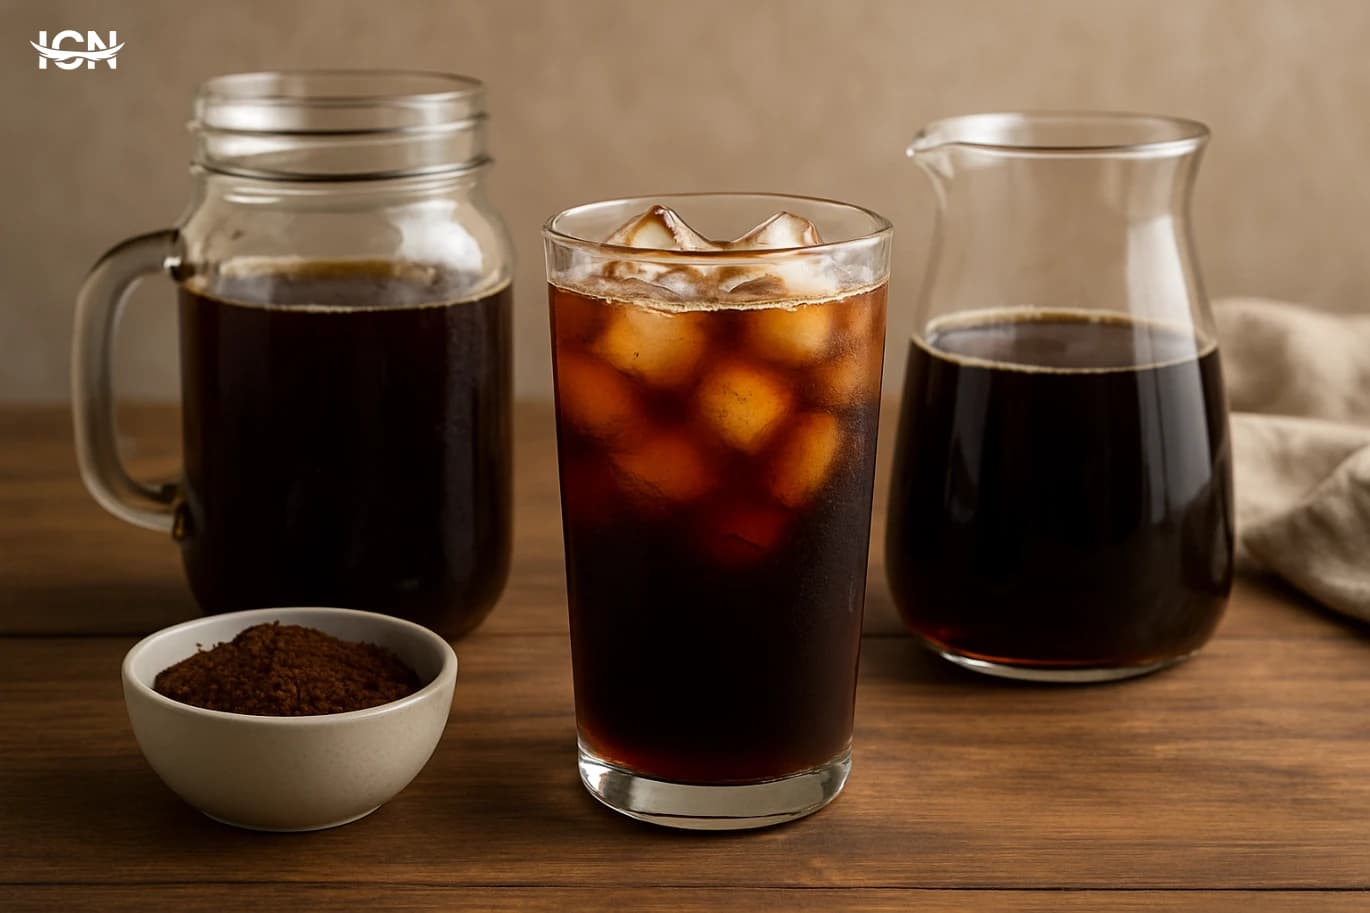
The most common mistake in serving cold brew is over-dilution. If you made a concentrate at 1:5, start by mixing 1 part concentrate with 1 part water or ice, then adjust. If you prefer milk, try 1 part concentrate to 1 part milk, then add a small splash of water only if needed. This keeps the coffee flavor present. Sweeteners behave differently in cold drinks. Granulated sugar dissolves slowly, so use simple syrup (equal parts sugar and hot water, cooled) or a small amount of honey dissolved in warm water first. For a cleaner profile, consider maple syrup because it blends easily and adds sweetness without a gritty texture. For a café-style iced latte at home, use a strong concentrate, cold milk, and large ice cubes. Large cubes melt slower and keep the drink from turning watery. If you want a flavored version, add a measured amount of vanilla extract to the syrup rather than pouring extract directly into the drink, which can taste sharp. If you are serving guests, set up a small “cold brew bar” with concentrate, water, milk, ice, and two sweetener options. Label the concentrate and suggest a starting mix. This turns a simple drink into a controlled, consistent experience and prevents people from blaming the coffee when the real issue is an unbalanced ratio.
Troubleshooting and a Repeatable Routine
If your cold brew tastes bitter or dry, the usual causes are too fine a grind, too long a steep, or a very dark roast. Fix it by coarsening the grind one step, shortening the time by 2 to 4 hours, or switching to a medium roast. If it tastes sour or weak, you likely under-extracted: tighten the grind slightly, extend the steep, or increase the coffee dose. If the brew looks cloudy and leaves sludge, improve filtration and avoid stirring late in the process. Let the grounds settle for 10 minutes before the first pour-off. If you still see sediment, add a paper filter pass and store the final coffee in a clean bottle. For consistency, build a simple routine you can repeat weekly. Example: Sunday evening, weigh 120 grams of coffee and 600 grams of filtered water for a concentrate, stir for 30 seconds, cover, and refrigerate. Monday afternoon, filter in two stages, bottle it, and note the taste. Serve through the week at 1:1 with water or milk. This kind of schedule turns cold brew into a predictable household staple rather than an occasional experiment. Once you have a stable base, you can change one variable at a time: a different origin, a slightly different ratio, or a different steep time. That approach keeps the process controlled and makes your improvements measurable, which is the fastest way to get café-level results at home.