App Logo

Download Our App

Shop your way

logologo
Image

Self Watering Houseplants Without Gadgets
04/16/2026By: ICN Writer
Self Watering Houseplants Without Gadgets

Why self-watering matters indoors

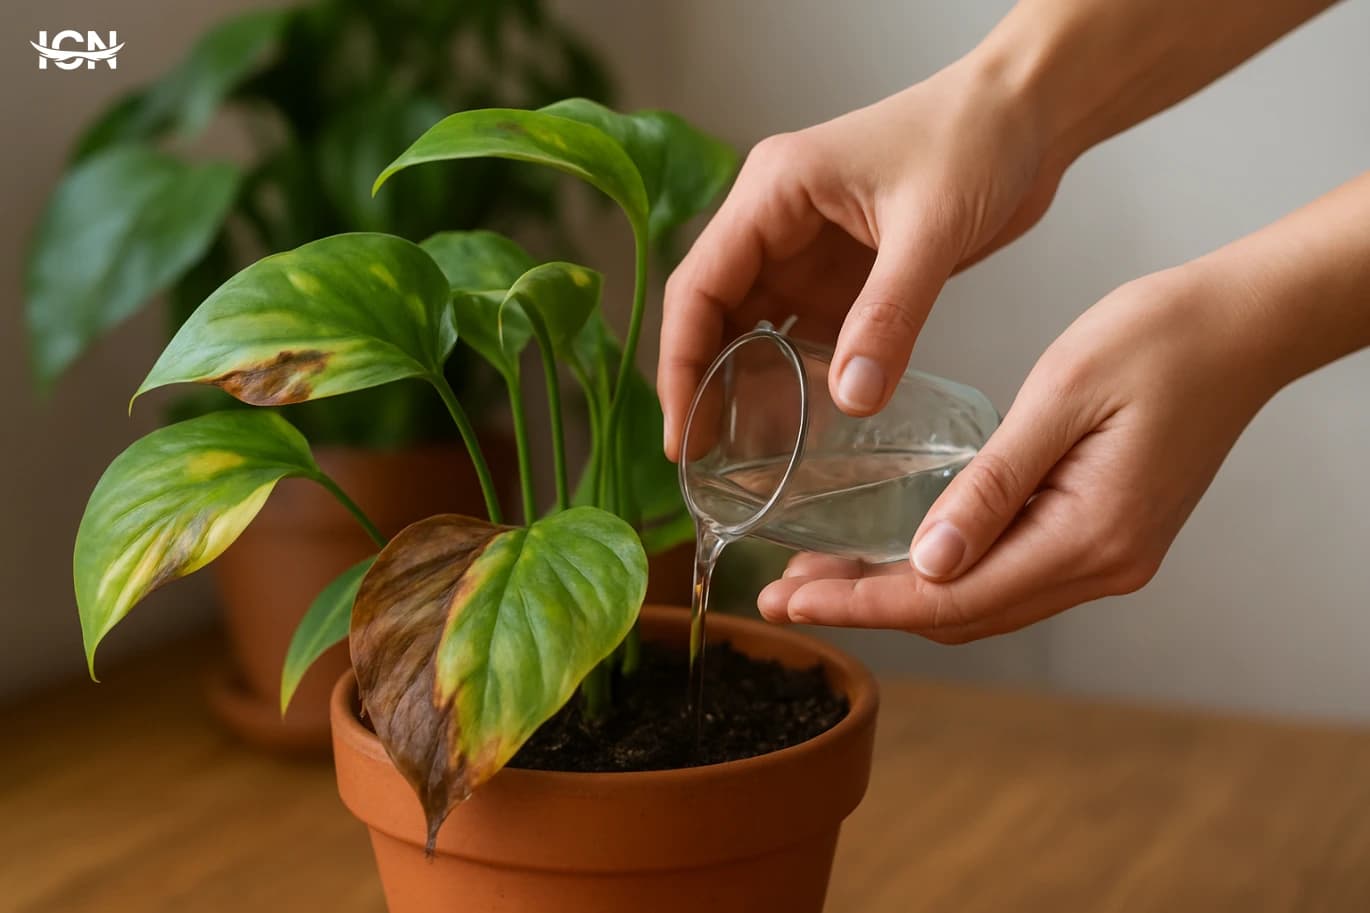
Indoor plants fail more often from inconsistent watering than from lack of light. A week of overwatering can suffocate roots, while a weekend away can dry a pot so far that fine feeder roots die back. Self-watering methods reduce these swings by keeping moisture available in a controlled way, so the plant takes what it needs rather than receiving a full soak on a fixed schedule. This is especially useful in heated or air-conditioned homes where humidity is low and pots dry unevenly. A practical self-watering setup also makes care predictable. Instead of guessing by calendar, you monitor a reservoir level or a wick’s performance and adjust. It can cut down on fungus gnats by avoiding constantly wet topsoil, and it helps new plant owners build confidence because the system provides a buffer against mistakes. The goal is not to keep soil wet; it is to keep the root zone evenly moist with enough air, using simple materials you already have at home.

Choose the right plants and pots

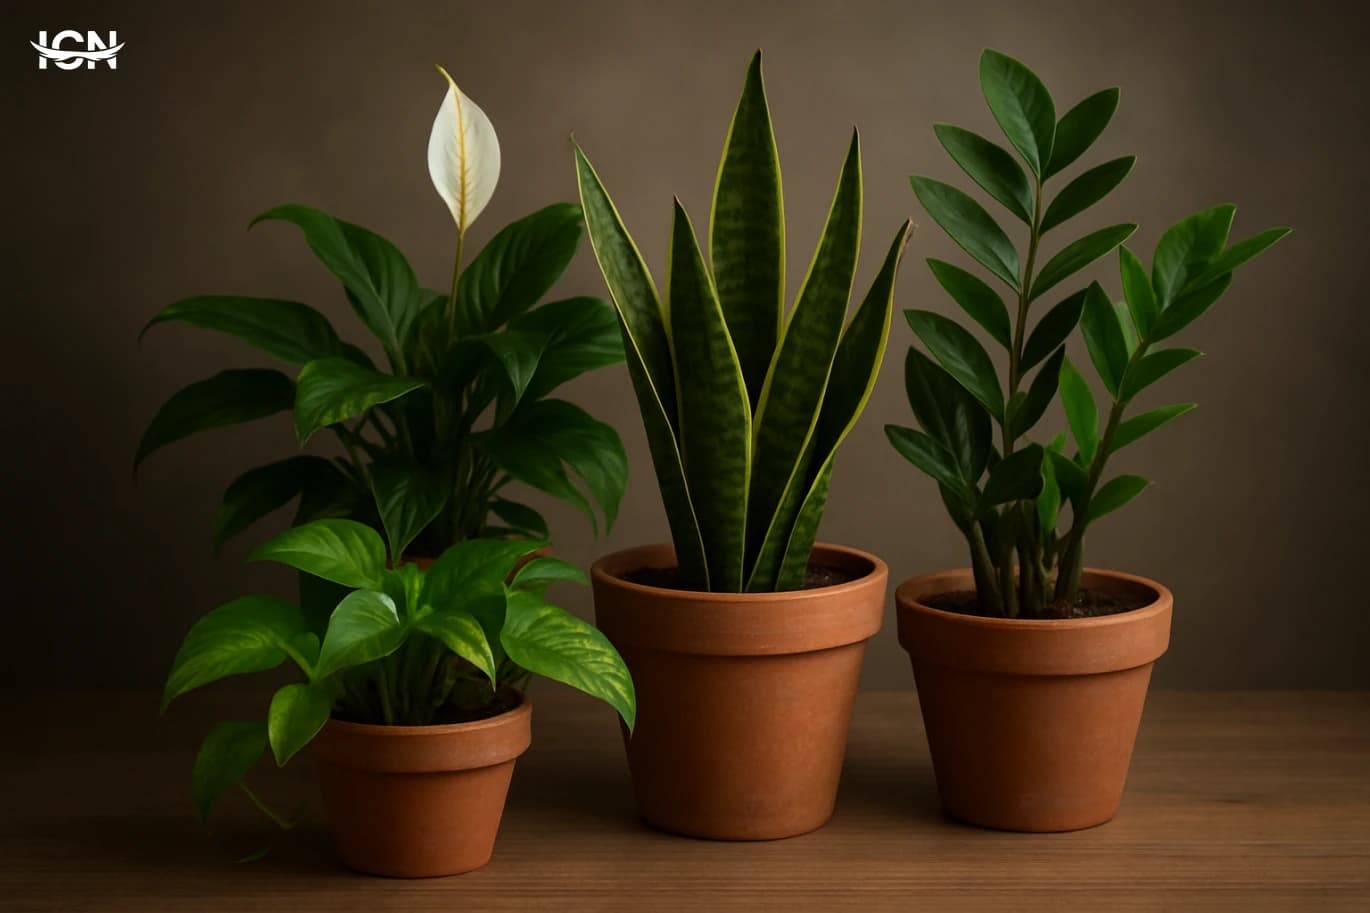
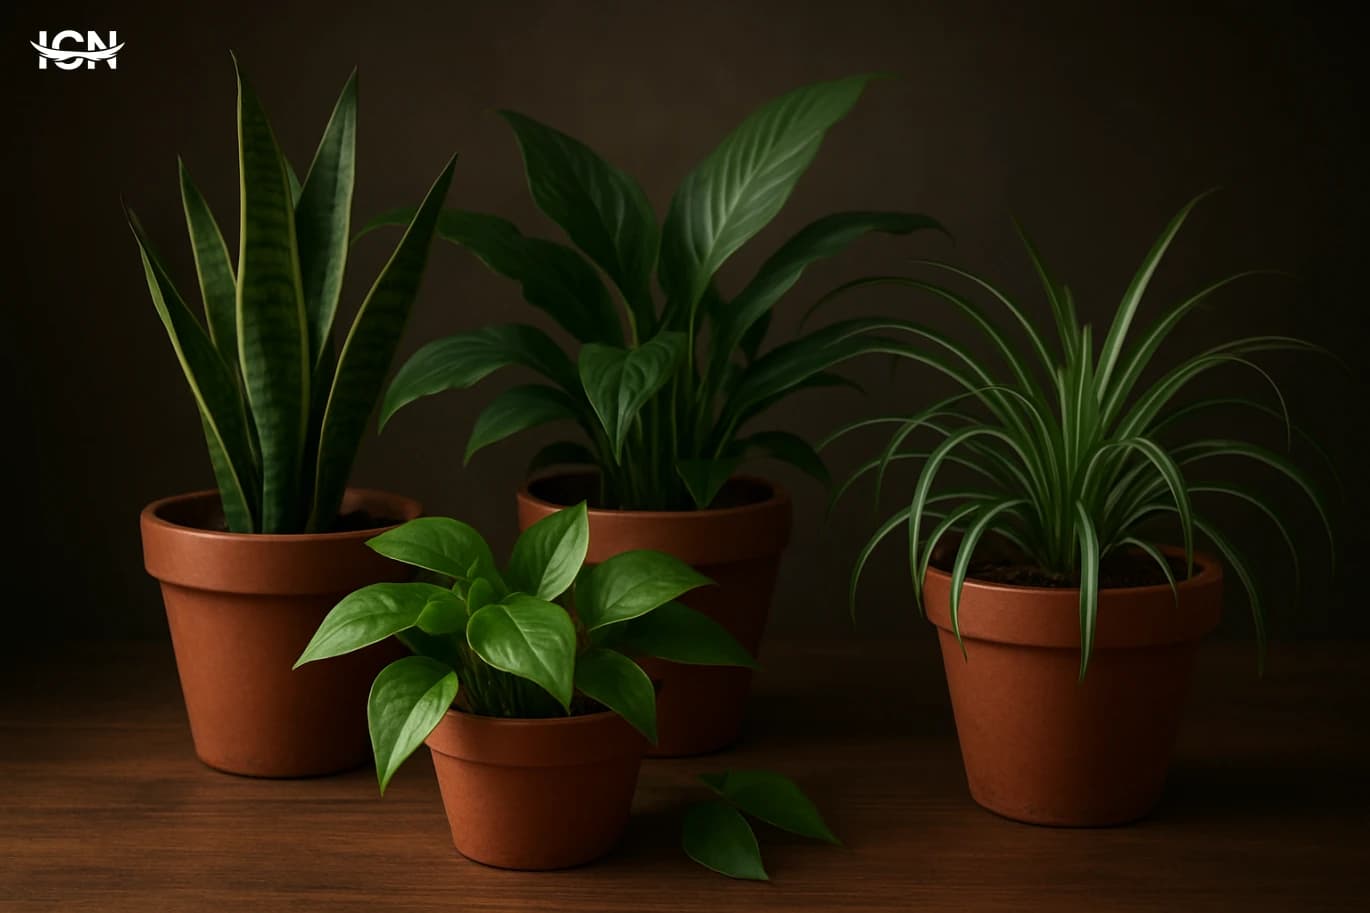
Not every houseplant responds the same way to steady moisture. Plants that like evenly moist soil tend to do well with self-watering: pothos, philodendron, peace lily, spider plant, fittonia, many ferns, and most herbs grown indoors. Plants that prefer drying between waterings need more caution: snake plant, ZZ plant, many succulents, and cacti can rot if a reservoir keeps the mix damp for too long. Pot choice matters as much as plant choice. A plastic nursery pot inside a decorative cachepot is ideal because you can create a water reservoir without drilling. Terracotta breathes and dries faster, which can be helpful, but it also makes wick systems less predictable because water evaporates through the pot walls. Whatever you use, drainage holes are still important. Self-watering is about controlled access to water, not sealing a plant in a watertight container. Before setting up any method, check your potting mix. Dense mixes with a lot of peat or fine compost can stay soggy. For self-watering, a mix that holds moisture but still drains well is safer: add perlite, pumice, or coarse bark to improve air pockets. If the mix compacts easily, refresh it before you add a reservoir.

Method one: wick system with a jar

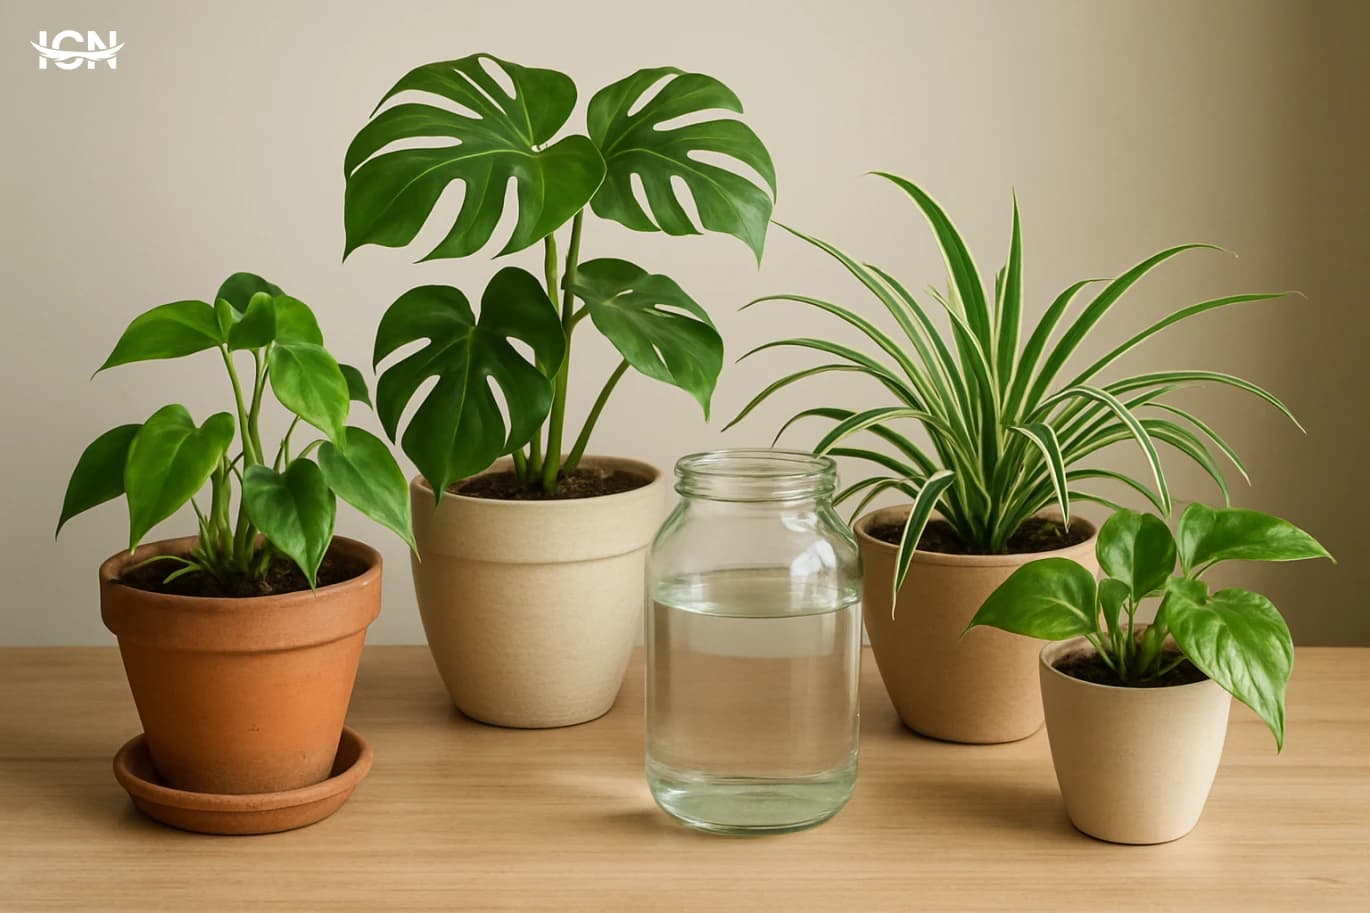
A wick system is one of the simplest ways to keep a plant hydrated without electronics. You need a cotton cord, a strip of old T-shirt, or thick yarn, plus a jar or bottle of water. The wick moves water upward by capillary action, feeding the potting mix slowly. Set it up in a controlled way. First, water the plant normally so the soil is evenly moist; a wick cannot rehydrate bone-dry soil quickly. Push one end of the wick 5–8 cm into the potting mix near the root zone, not just on the surface. The other end goes into the water jar. Place the jar slightly below the pot rim to avoid siphoning too fast, and make sure the wick stays submerged. Then test and adjust. Over the next 48 hours, check the top 2–3 cm of soil. If it stays wet, use a thinner wick or move the jar lower. If it dries too fast, add a second wick or use a wider fabric strip. This method works best for medium pots and plants that tolerate consistent moisture. For a cleaner look, hide the jar behind the pot or use a tinted bottle to reduce algae growth. Refresh the water weekly and rinse the jar to prevent odor.

Method two: cachepot reservoir with a spacer

If your plant sits in a nursery pot inside a decorative pot, you can create a simple reservoir system with a spacer. The idea is to keep the nursery pot slightly elevated so it is not standing directly in water, while still allowing it to draw moisture from below. Start with a cachepot that is 2–5 cm wider than the nursery pot. Place a spacer at the bottom: a small upside-down plastic container, a few clean stones in a mesh bag, or a rigid plastic grid cut to size. Add water to the cachepot so it sits below the base of the nursery pot by about 1–2 cm. The pot will absorb moisture through the drainage holes as the mix dries, but roots are less likely to sit in stagnant water. This method is easy to maintain. Check the reservoir every 3–5 days at first, then adjust based on season. In winter, keep the reservoir shallow; in summer, you can raise it slightly. Once a month, lift the nursery pot and flush the soil in a sink to wash out mineral buildup, then let it drain fully before returning it to the cachepot. This prevents salts from concentrating in the root zone, a common issue when water is always available.

Method three: bottle drip for short trips

For a quick solution when you are away for a few days, a bottle drip can work if you set expectations correctly. It is best for small to medium pots and for plants that do not mind slightly moist soil. You need a clean plastic bottle, a pin or small nail, and water. Fill the bottle, then make 1–3 tiny holes in the cap. Turn it upside down and push it 3–5 cm into the soil near the edge of the pot, not directly against the stem. The goal is a slow release, not a stream. If water pours out quickly, the holes are too large or the soil is too loose around the cap. Tighten the soil gently and try fewer holes. Test the drip rate before you leave. Let it run for two hours and check whether the soil is becoming soggy. If it is, reduce the number of holes or use a smaller bottle. If the soil stays dry, add one more hole or use a larger bottle. This method is not ideal for long periods because it can create a constantly wet spot, but it is a practical backup for long weekends, especially when combined with moving plants slightly away from direct sun to slow evaporation.

Maintenance checklist and warning signs

Any self-watering approach needs basic monitoring. Start with a simple checklist: check soil moisture with a finger at two depths, look at leaf firmness, and note how fast the reservoir drops. If the reservoir empties in a day, the system is delivering too much or the plant is in a hot, bright spot. If it barely changes for a week and the soil feels wet, reduce water access immediately. Watch for warning signs of overwatering: yellowing lower leaves, a musty smell, soft stems, and slow growth even in good light. Underwatering looks different: curling leaves, dry crispy edges, and a pot that feels unusually light. Adjust one variable at a time so you can see what works: wick thickness, reservoir height, or the number of drip holes. Finally, keep water quality in mind. If your tap water is hard, mineral deposits can build up faster in self-watering setups. Using filtered water occasionally and flushing the pot monthly helps. Clean any reservoir container regularly, and never let water sit for weeks without refreshing it. A low-tech system can be reliable, but it works best when you treat it as a routine you check, not a device you forget.
* All articles published on this blog are sourced from various websites and are provided for informational purposes only. They should not be considered as confirmed studies or accurate information. Please verify the information independently before relying on it.

Similar ARTICLES

Pothos as a Practical Indoor Workhorse
Pothos (Epipremnum aureum) earned its reputation because it tolerates the conditions most homes actually have: mixed light, occasional missed watering, and average indoor humidity. It is a climbing aroid that can trail from shelves, hang from baskets, or be trained up a support, which makes it useful in small apartments as well as larger spaces. Many people also choose it because it shows visible growth quickly; new leaves and longer vines provide feedback that the plant is settling in. Another reason it is widely adopted is availability. Garden centers and supermarkets often stock multiple cultivars at low cost, so it is easy to start with one pot and expand by taking cuttings later. For renters or office managers, pothos is also practical because it can be moved without major stress if the location changes. Its leaves are thick enough to handle indoor air that can be dry in winter, and it generally recovers after short periods of neglect. A useful angle for pothos is treating it as a “systems plant” rather than a decorative afterthought. If you set a simple routine—light check, watering trigger, and occasional pruning—it can become a stable, long-term plant that supports a consistent indoor look. That reliability is the real reason pothos keeps showing up in homes, reception areas, and workspaces year after year.
Do Houseplants Really Reduce Stress
Interest in houseplants as a stress-management tool has grown alongside remote work and smaller urban homes. Research in environmental psychology and indoor horticulture generally points in the same direction: contact with plants can support calmer moods, but it is not a medical treatment and results vary by person and setting. Controlled studies often measure stress indirectly through self-reported anxiety, attention fatigue, or physiological markers such as heart rate and blood pressure. Many experiments find modest improvements when people spend time in rooms with visible greenery compared with similar rooms without plants. The most consistent finding is that plants can improve perceived comfort and reduce mental fatigue during routine tasks. Participants frequently report that plant-filled spaces feel more pleasant and less tense, especially during computer-based work. However, the size of the effect depends on factors like lighting, plant health, and whether people actually notice and care about the plants. A neglected plant or a cluttered arrangement can undermine the benefit. The practical takeaway is that houseplants can be one supportive element in a broader stress-reduction plan that also includes sleep, movement, and manageable workloads.
Rescuing Houseplants from Overwatering
Overwatering is the most common reason houseplants decline, and it often starts with good intentions. Indoors, evaporation is slower than outdoors, especially in air-conditioned rooms or during winter when heaters dry the air but do not necessarily dry the potting mix evenly. Many people water on a schedule rather than based on the plant’s actual needs, so moisture accumulates in the root zone. Decorative cachepots, saucers, and tightly packed shelves can also trap water, leaving roots sitting in a wet environment for days. Another driver is the mismatch between pot size, soil, and light. A plant placed in low light uses less water because growth slows and transpiration drops. If it remains in a large pot filled with dense mix, the center stays wet for a long time. Some commercial potting soils hold more water than expected, especially mixes heavy in peat or fine particles. When combined with a pot that has limited drainage or a clogged hole, the result is a root system that cannot access oxygen, setting the stage for yellowing leaves, leaf drop, and stunted growth.
Rescuing Houseplants After a Move
A move changes nearly every factor a houseplant relies on, even if you keep the same pot and routine. Light is the biggest shift: a plant that sat two meters from an east window may now be beside a north window or behind a balcony overhang, cutting usable brightness by half. Temperature swings during transport and the first days in a new home can also stress leaves and roots, especially if the plant sat in a car trunk or near an air conditioner vent. Humidity often drops in a new space with different insulation, heating, or airflow, which can cause crisp leaf edges on tropical plants within a week. Plants also react to mechanical stress. Pots tip, stems bend, and fine roots break when soil shifts. Even small root damage reduces water uptake, so a plant can look thirsty while the potting mix is still wet. Finally, your own care pattern changes during unpacking: watering gets delayed, or you water too much out of concern. Understanding these specific stressors helps you respond with targeted steps instead of random fixes.
Rescuing Houseplants from Overwatering
Overwatering is rarely about “too much water once” and more about watering too often for the plant’s real pace of use. Indoors, light levels are typically lower than outdoors, even near a window, so photosynthesis slows and the plant drinks less. At the same time, homes often have stable temperatures and limited airflow, which reduces evaporation from the soil surface. The result is a pot that stays wet for days longer than expected. Container choices add to the problem. Decorative cachepots without drainage, saucers left full, and dense potting mixes that compact over time can trap moisture around roots. Many people also water on a schedule rather than checking the soil, and they treat all plants the same even though a pothos, a peace lily, and a succulent have very different needs. Understanding these indoor conditions is the first step to fixing the issue without guessing.
Rescuing Overwatered Houseplants Without Guesswork
Overwatering is less about how often you water and more about how slowly the pot dries. Indoors, evaporation is weaker than outdoors, especially in winter when heaters reduce humidity but also limit airflow. Many people follow a weekly routine that ignores changes in light, temperature, and plant growth rate. A plant near a bright window may use water quickly in summer, while the same plant in a darker corner can stay wet for days. Potting mix also plays a major role. Dense mixes with a lot of peat can hold water for a long time, and decorative cachepots can trap runoff at the bottom. Small pots dry faster than large ones, but they can still stay waterlogged if drainage holes are blocked or the saucer is never emptied. Understanding these indoor factors is the first step to fixing the problem without replacing the plant.
Rescuing Houseplants from Overwatering
Overwatering is the most common cause of decline in houseplants because indoor conditions slow down evaporation and root activity. In many homes, light levels are lower than people assume, especially a few feet away from windows, so plants use water more slowly. Airflow is also limited compared with outdoor gardens, and stable indoor temperatures reduce the natural drying cycle that plants rely on. When the potting mix stays wet for long periods, roots cannot access enough oxygen, and fine feeder roots begin to fail. Another reason is routine-based care. Many owners water on a fixed schedule rather than checking the plant and the soil. A “weekly watering” habit can be too frequent in winter, during cloudy weeks, or after repotting into a larger container. Pot choice matters as well: decorative cachepots without drainage, deep pots for small root systems, and saucers that hold runoff all increase the time water remains around roots. Understanding these indoor factors is the first step to correcting the problem without guessing.
Low Light Houseplants That Actually Thrive
Many people label a room “low light” when it is actually no light, or they assume any plant sold as “easy” will tolerate a dim corner. In practical home terms, low light usually means you can comfortably read near the plant during the day without turning on a lamp, but the sun does not hit the leaves directly. A north-facing window in many apartments, a spot a few meters from an east window, or a hallway with borrowed daylight can qualify. The difference matters because plants still need enough usable light to photosynthesize; in low light they grow slower, use less water, and show stress in subtle ways. A reliable way to judge your space is to observe it at three times: morning, mid-day, and late afternoon. If the area stays evenly lit but never bright, it is low light. If it becomes bright for a short period, it may be medium light. This distinction helps you choose species that are adapted to understory conditions, where leaves are built to capture limited light. It also prevents common mistakes like overwatering, which is the number one reason “low-light” plants fail. In dimmer rooms, soil dries slowly, so watering schedules must be based on the pot and mix, not the calendar.
Rescuing Houseplants from Overwatering
Overwatering is the most common reason houseplants decline, and it often comes from good intentions. Indoors, soil dries more slowly because there is less wind, weaker sun, and stable temperatures. Many people water on a schedule rather than based on the plant’s actual needs, so moisture accumulates in the pot week after week. Decorative cachepots without drainage, saucers that hold runoff, and dense “all-purpose” mixes that stay wet can turn a normal watering routine into constant saturation. Another driver is misreading symptoms. Drooping leaves can mean thirst, but they can also mean roots are stressed and cannot take up water. Yellowing leaves are frequently blamed on lack of fertilizer, yet they are a classic sign of waterlogged roots. In winter, growth slows and plants use less water, but household habits often stay the same. Understanding these indoor factors is the first step to fixing the problem without guessing.
Low Light Houseplants That Truly Thrive
Many people buy a “low light” plant and assume it can live in a dark corner. In real homes, low light usually means a spot that never receives direct sun and sits several feet away from a window. A north-facing window, a shaded courtyard view, or a room with buildings blocking daylight can all qualify. The key detail is consistency: a plant can adapt to steady, modest brightness better than to frequent moves between bright and dim rooms. A practical way to judge your space is by reading comfort. If you can comfortably read a book there for most of the day without turning on a lamp, it is often adequate for true low-light tolerant plants. If you need a lamp by late morning, you are closer to “very low light,” where growth slows and only a few species remain healthy long-term. Understanding this difference prevents the most common disappointment: a plant that survives but gradually loses leaves and looks tired.
Clean Houseplants and Keep Them Healthy
Dust and kitchen residue form a thin film on leaves that blocks light and slows photosynthesis, which can show up as pale color, weak growth, and fewer new leaves. Indoor air also carries lint and fine particles that settle on broad-leaf plants, while bathrooms may add mineral spots from misting. Regular cleaning improves light absorption and helps you spot early issues such as sticky honeydew, webbing, or small bumps on stems. Cleaning is also a practical inspection routine. When you wipe leaves, you naturally check the underside where pests hide and where fungal spots often begin. A five-minute weekly check can prevent a minor problem from spreading across multiple pots. Finally, clean foliage reduces allergens and keeps plants looking presentable in living rooms and workspaces without relying on shine sprays that can clog leaf pores.
Humidity Smart Care for Indoor Plants
Humidity is one of the most overlooked variables in houseplant care, yet it directly affects how plants lose water, how leaves stay firm, and how consistently growth continues. Most popular indoor plants evolved in environments where air moisture is higher than in heated or air-conditioned homes. When indoor air is dry, plants transpire faster, pulling water up from the roots more aggressively. That can sound positive, but it often creates a mismatch: the leaves demand water faster than the potting mix can supply it, especially if roots are stressed or the soil is compacted. The result is common and confusing symptoms such as crispy leaf edges, curling, stalled new leaves, and buds that dry before opening. Humidity also influences how forgiving your watering routine can be. In higher humidity, the plant loses water more slowly, so the pot stays moist longer and overwatering becomes more likely if you keep the same schedule. In low humidity, the opposite happens: the pot dries quickly, and a plant may look thirsty even when the soil is still damp deeper down. Understanding this balance is the foundation for smarter care. Instead of chasing problems with fertilizer or constant repotting, you can stabilize the environment and make every other step—light, watering, and feeding—more predictable.
Rescuing Houseplants from Overwatering
Overwatering is rarely about “too much water once” and more often about repeated watering before the pot has a chance to breathe. Indoors, evaporation is slower than outdoors, especially in air-conditioned rooms or during winter when light levels drop. Many people also follow a fixed schedule—every two or three days—without checking the soil, so moisture accumulates around the roots. Container choices add to the problem. Decorative cachepots without drainage, saucers that hold runoff, and dense potting mixes that compact over time can keep the root zone wet for days. Even a pot with drainage can become risky if the plant sits in a corner with low airflow. The result is a root environment with less oxygen, which weakens roots and makes them prone to rot. Another common trigger is misreading plant signals. Drooping leaves can mean thirst, but they can also mean roots are stressed and unable to take up water. People see droop, water again, and the cycle worsens. Understanding the indoor factors—light, temperature, airflow, pot design, and soil structure—sets the foundation for a realistic rescue plan.
By clicking the SUBSCRIBE button, you are agreeing to our Privacy & Cookie Policy If you want to unsubsribe the marketing email, please proceed to our privacy center.
© 2005-2026 ICN. All Rights Reserved.