Rescuing Houseplants After a Move
- Why Moving Shocks Houseplants
- First 48 Hours Checklist
- Rebuilding Light Without Guesswork
- Watering and Humidity in a New Microclimate
- When to Repot and When to Wait
- A Two-Week Recovery Plan
Why Moving Shocks Houseplants
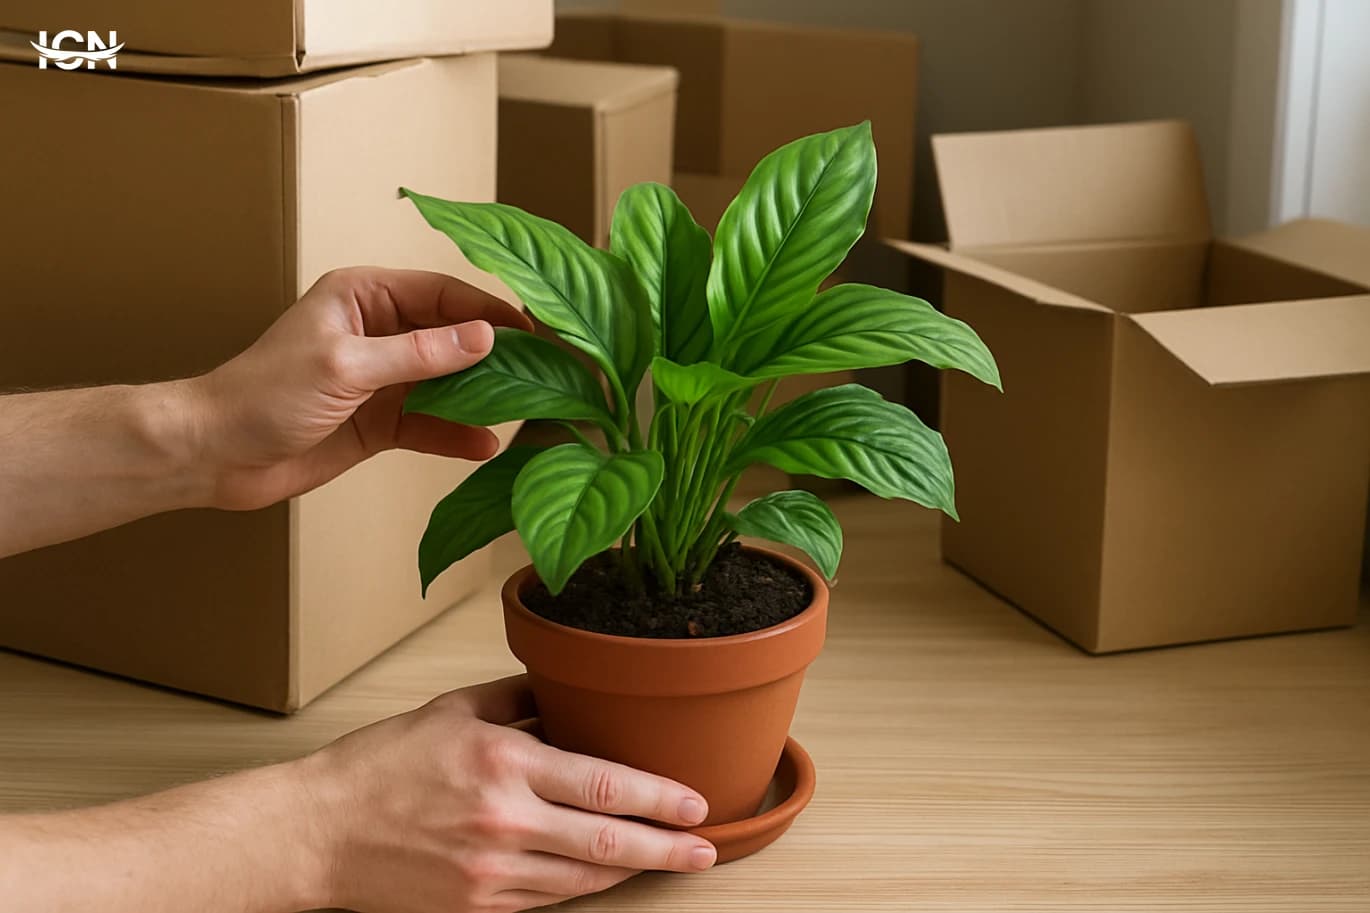
A move changes nearly every factor a houseplant relies on, even if you keep the same pot and routine. Light is the biggest shift: a plant that sat two meters from an east window may now be beside a north window or behind a balcony overhang, cutting usable brightness by half. Temperature swings during transport and the first days in a new home can also stress leaves and roots, especially if the plant sat in a car trunk or near an air conditioner vent. Humidity often drops in a new space with different insulation, heating, or airflow, which can cause crisp leaf edges on tropical plants within a week. Plants also react to mechanical stress. Pots tip, stems bend, and fine roots break when soil shifts. Even small root damage reduces water uptake, so a plant can look thirsty while the potting mix is still wet. Finally, your own care pattern changes during unpacking: watering gets delayed, or you water too much out of concern. Understanding these specific stressors helps you respond with targeted steps instead of random fixes.
First 48 Hours Checklist
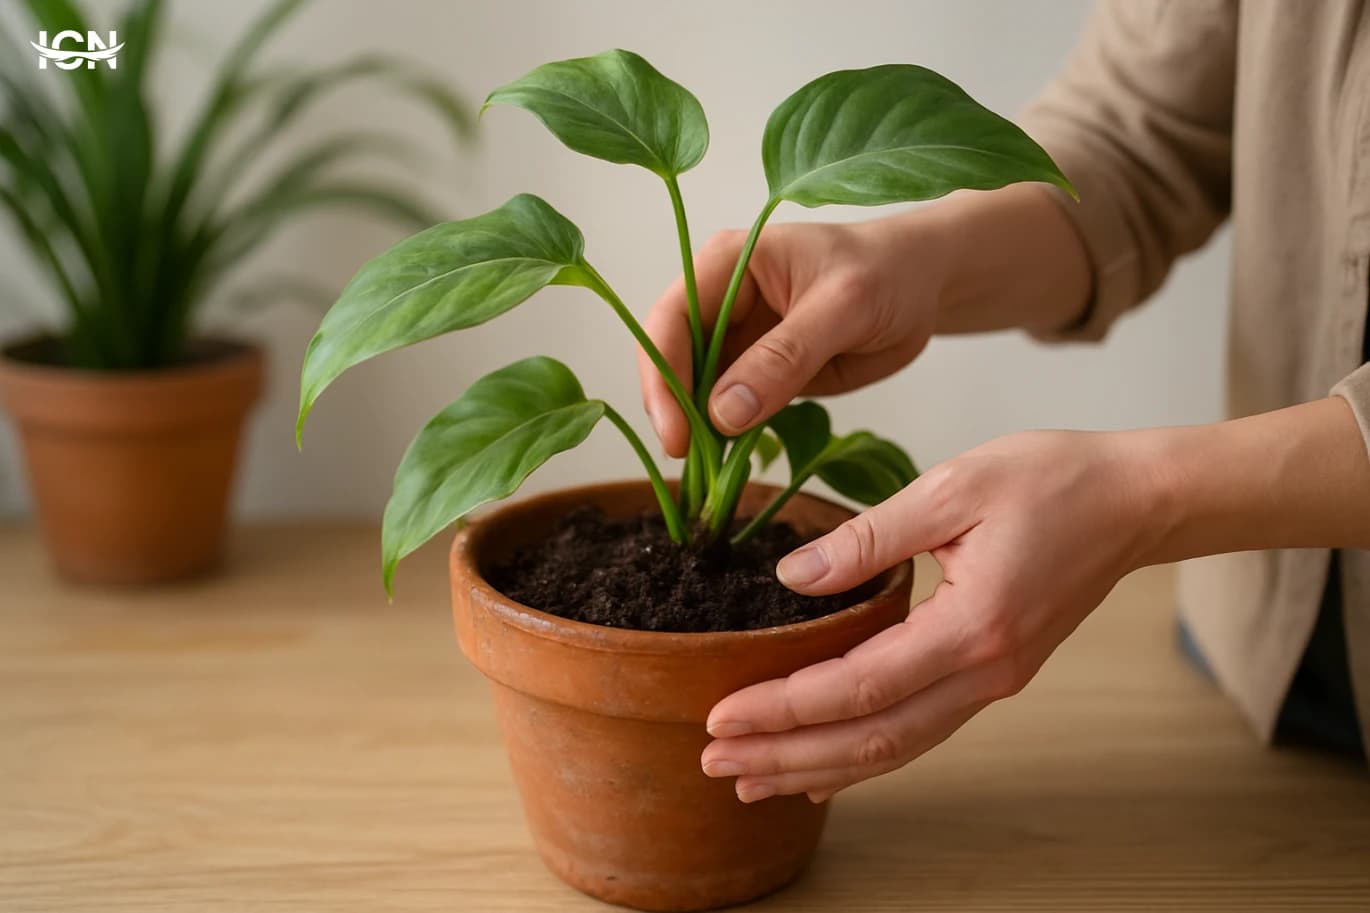
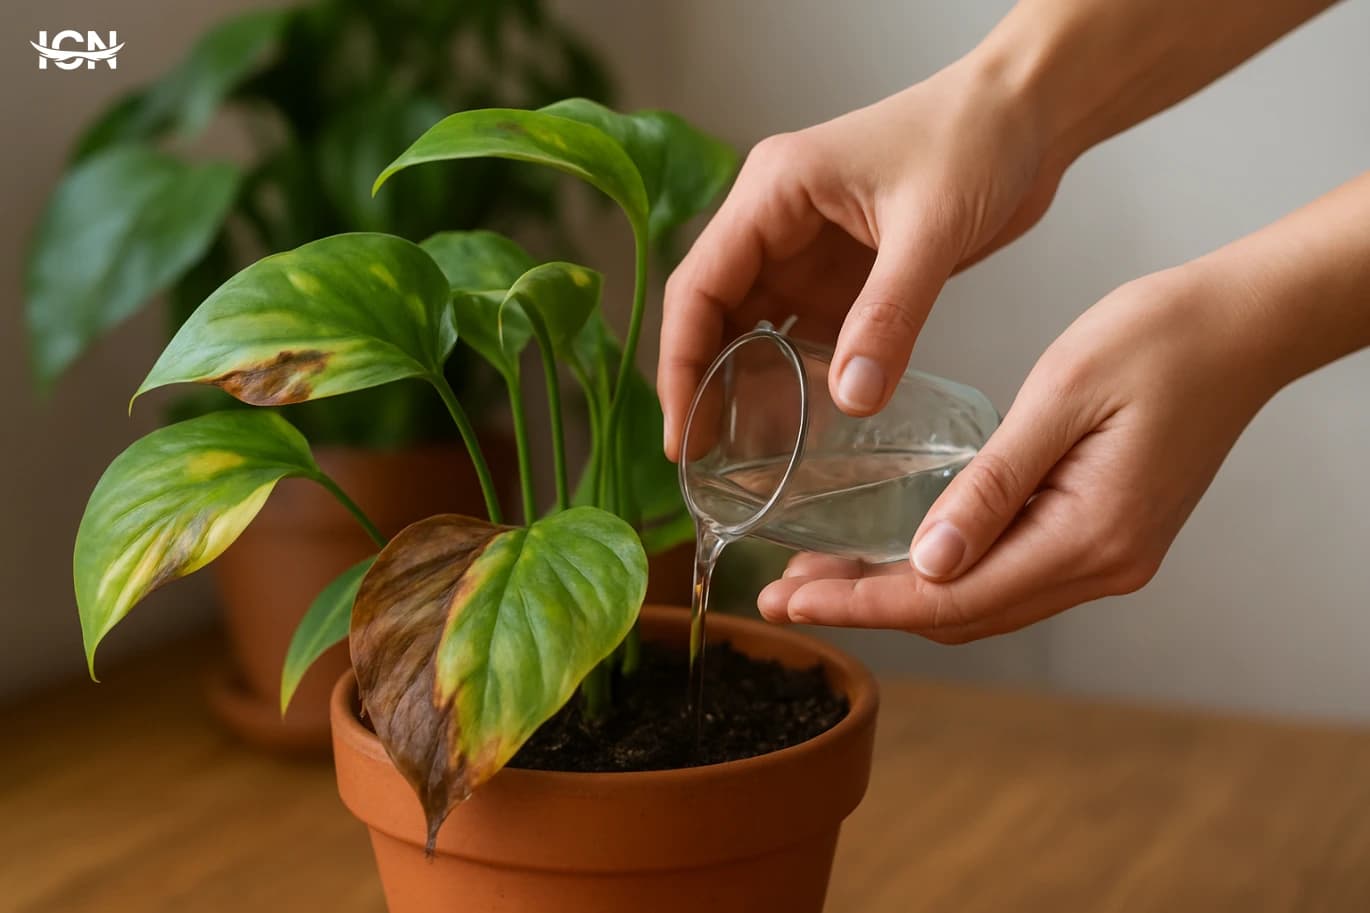
Start by placing all plants in one calm staging area away from direct sun and strong drafts. This prevents you from “testing” multiple spots on day one and creating extra stress. Inspect each plant quickly: check for snapped stems, loose soil, and pots that cracked during the move. If soil pulled away from the pot edge, press it back gently to remove air gaps that dry roots. Water only if the top 2–3 cm of mix is dry for most common houseplants. After moving, overwatering is more common than underwatering because roots are temporarily less efficient. If a plant is drooping but the mix is wet, do not add more water; instead, improve airflow and wait. Remove any leaves that were crushed in transit, because damaged tissue attracts mold in humid corners. Hold off on fertilizer for at least two to four weeks. Feeding a stressed plant can burn roots and push weak growth. If you must repot because a pot broke, keep the same soil level, choose a container with drainage, and avoid upsizing more than one step. Label plants with their previous window direction if you remember it; that note will help you rebuild a similar light pattern later.
Rebuilding Light Without Guesswork
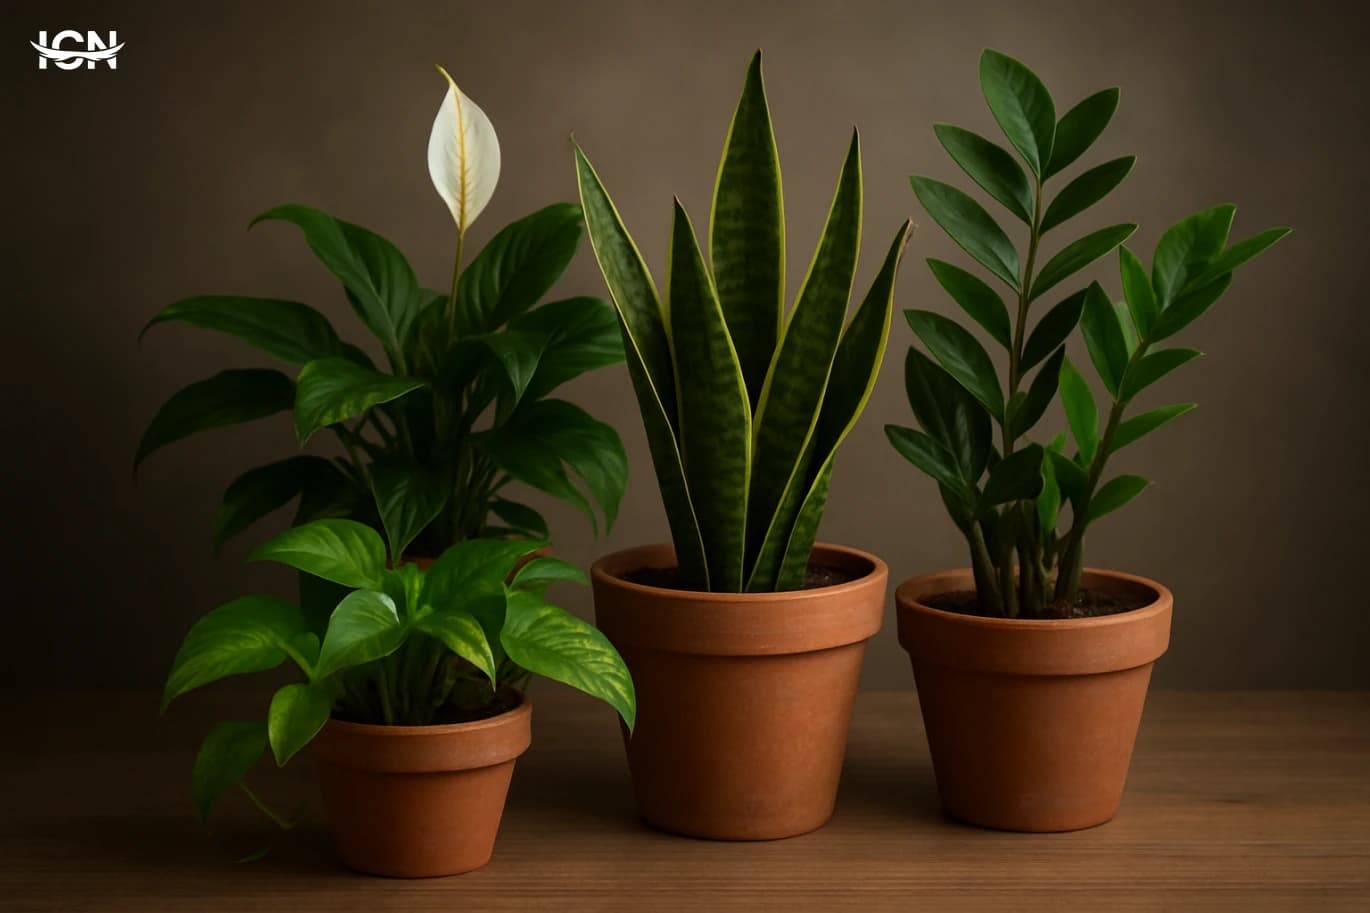
In a new home, “bright” is subjective, so use simple, repeatable checks. Stand where the plant will sit and read a page of text at midday without turning on lights; if it’s difficult, the spot is likely too dim for most foliage plants. Watch the shadow your hand makes on the wall: a soft, blurry shadow suggests medium light, while a sharper shadow indicates brighter conditions. Match plants to light zones. Succulents, cacti, and many variegated plants generally need the brightest windowsill or the closest safe distance to a window. Pothos, philodendron, and many dracaenas tolerate medium light but will grow slower and may lose variegation if it’s too dim. For low-light corners, choose plants that truly cope, such as some snake plants, rather than forcing a sun-loving plant to adapt. Make changes gradually. If a plant came from a shaded apartment and now sits in strong afternoon sun, leaves can scorch within days. Use a sheer curtain or move the plant back from the glass for two weeks, then adjust. Rotate pots a quarter turn weekly to keep growth even while the plant reorients to the new light direction.
Watering and Humidity in a New Microclimate
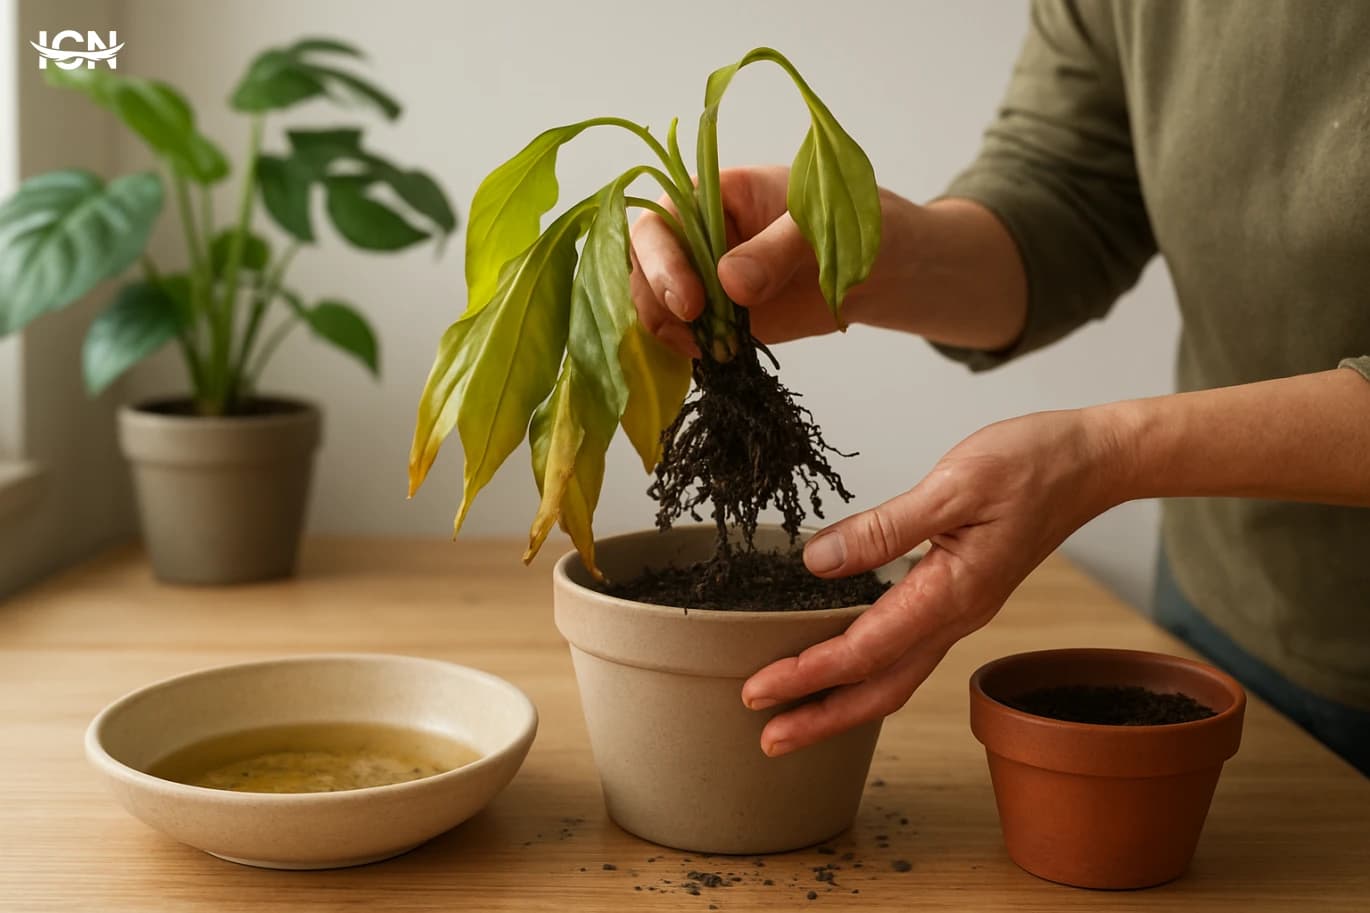
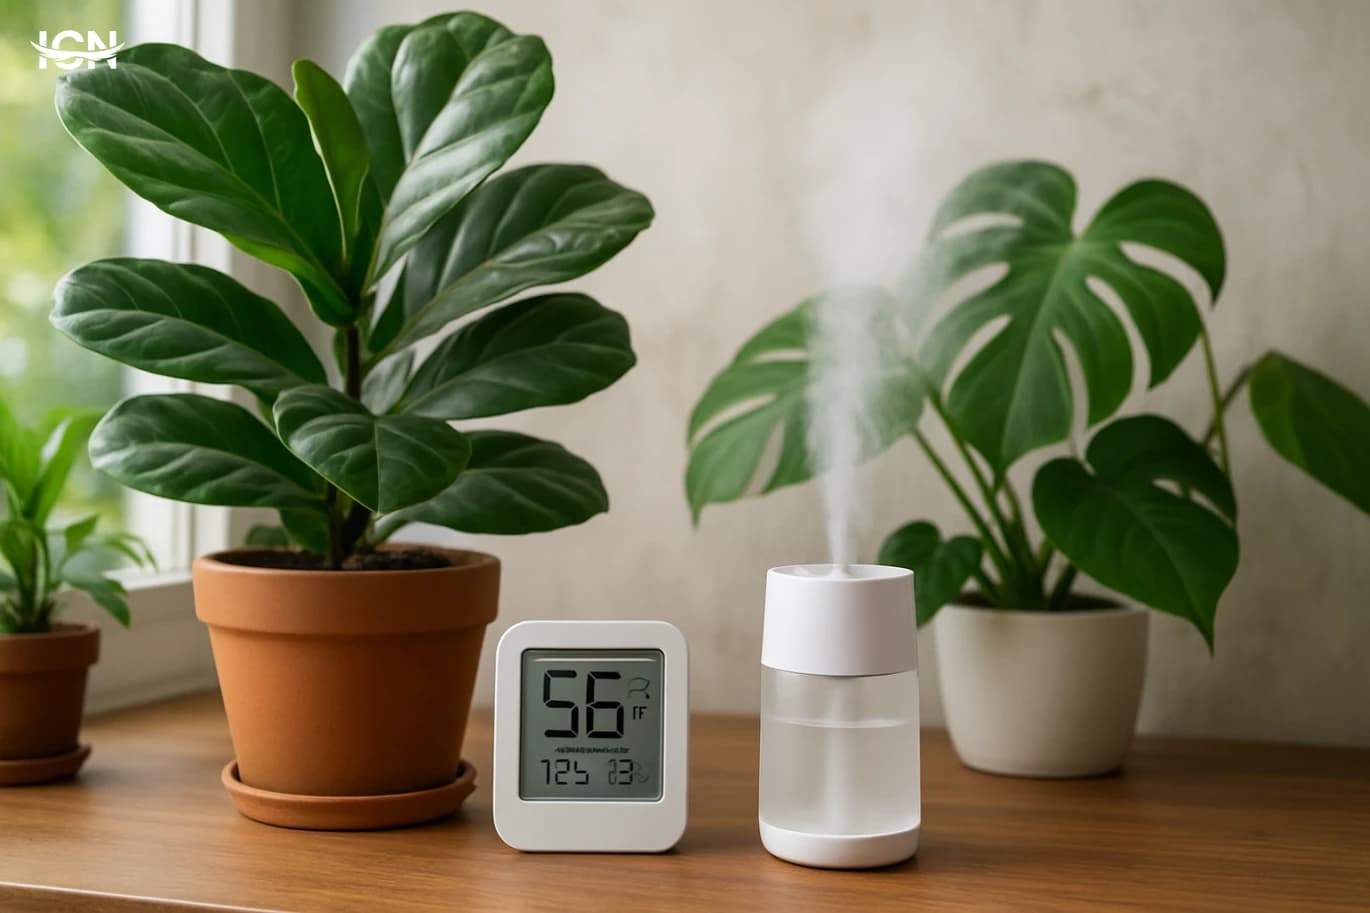
Assume your old watering schedule is no longer valid. Different window exposure, room size, and airflow can change drying time dramatically. Use the “weight test”: lift the pot right after watering, then lift again when you think it’s time to water. Over a week or two, you’ll learn what “light” feels like for that plant in the new home. If your new place is drier, avoid constant misting as a primary solution; it’s brief and can encourage leaf spotting in some plants. Instead, group humidity-loving plants together, use a pebble tray with water under (not touching) the pot, or run a humidifier in winter. Keep plants away from heaters, radiators, and direct AC streams, which can cause rapid moisture loss and leaf drop. Watch for clear signals. Yellowing lower leaves with wet soil often points to overwatering or slow drainage. Crispy tips with otherwise firm leaves often point to low humidity or inconsistent watering. If water runs straight through the pot, the mix may have become hydrophobic after drying during the move; soak the pot in a basin for 15–30 minutes, then drain thoroughly.
When to Repot and When to Wait
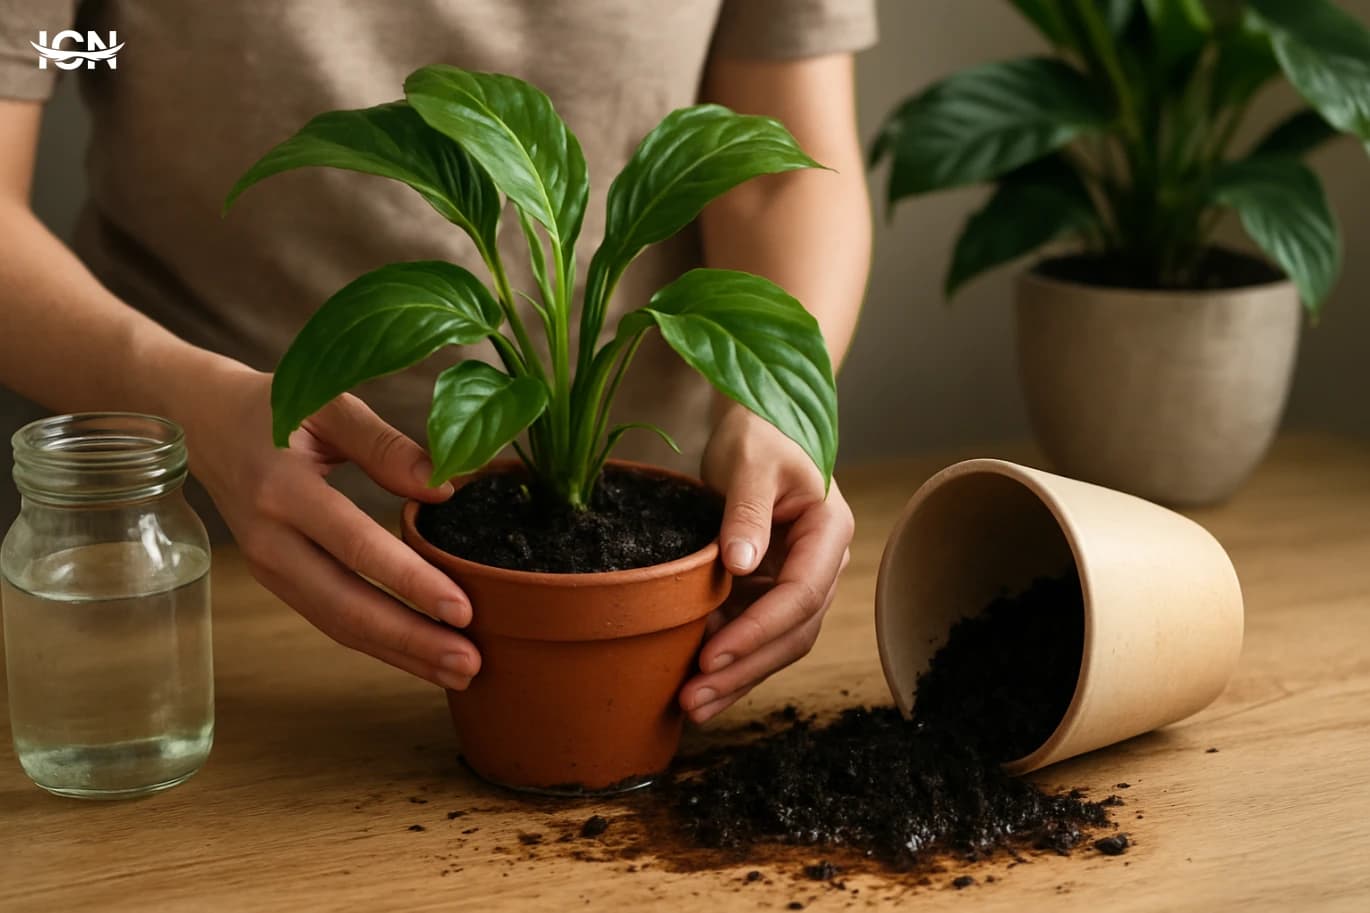
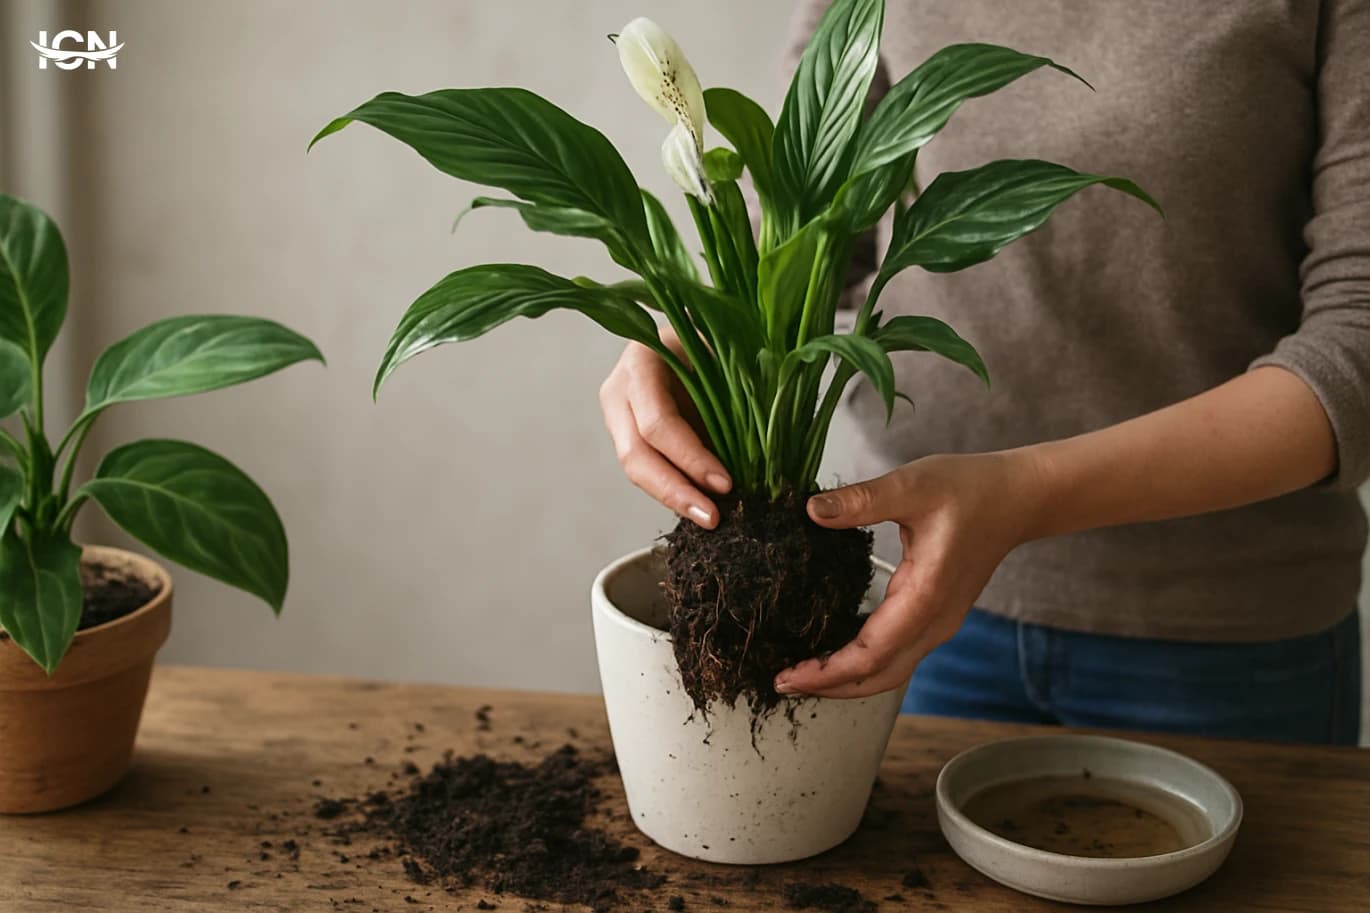
Repotting right after a move is tempting, but it adds another major stress. Wait unless there is a practical reason: a broken pot, severe root binding that prevents watering, or soil that smells sour and stays wet for days. If the plant is stable, give it time to re-establish normal water uptake before changing containers. If you do repot, keep the process conservative. Choose a pot with drainage holes and move up only 2–4 cm in diameter. Use a mix appropriate to the plant type; for example, add extra perlite or bark for aroid houseplants if the new home is humid, or use a chunkier mix for succulents to prevent soggy roots. Avoid burying the stem deeper than before, and do not pack soil tightly. After repotting, water once to settle the mix, then let it dry to the plant’s normal range. Place the plant in medium light for a week before returning it to its brighter spot. This reduces the combined stress of root disturbance and intense light.
A Two-Week Recovery Plan
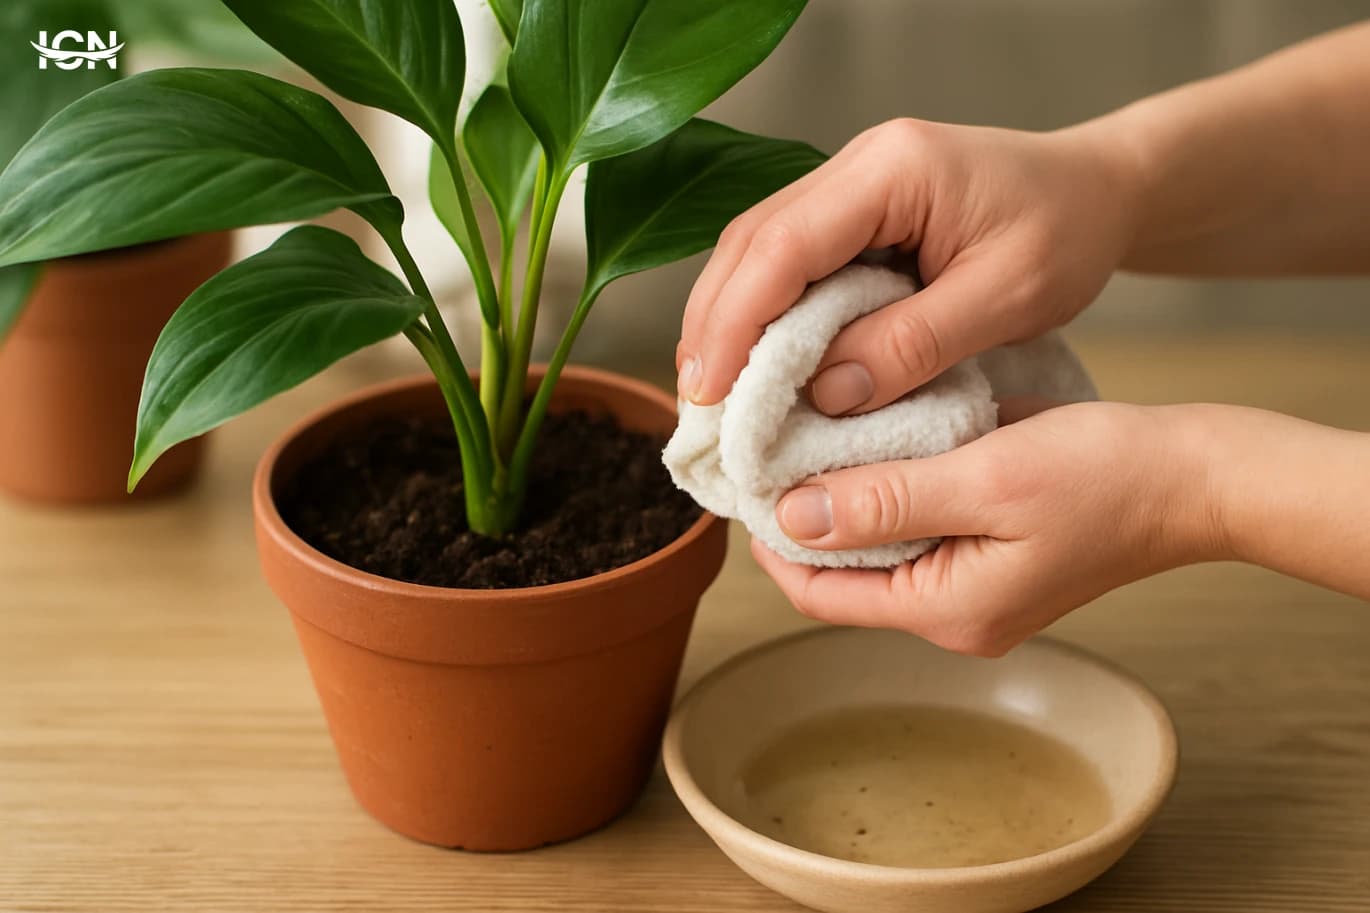
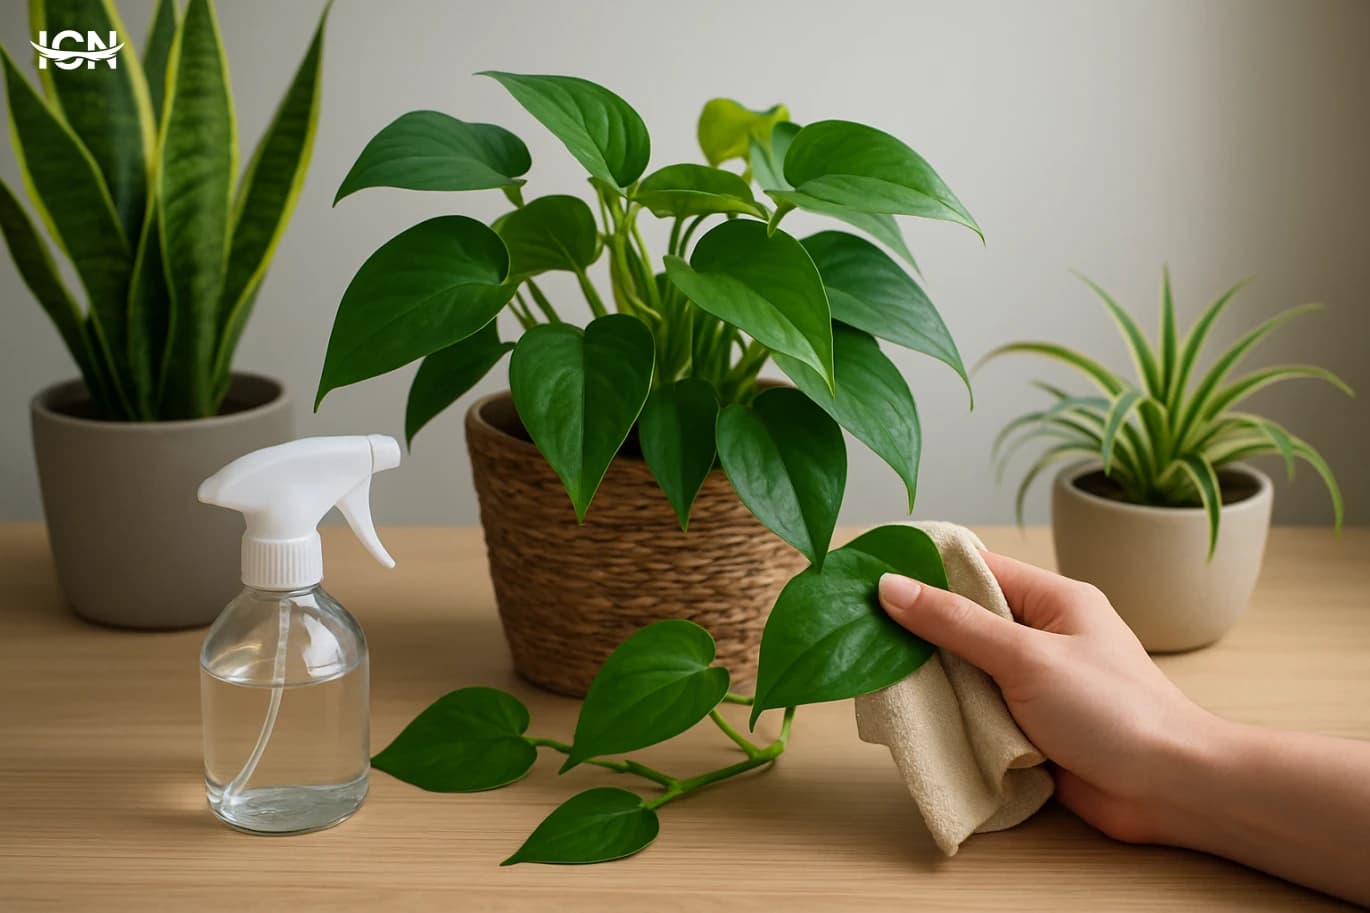
Days 1–3: keep plants in stable, indirect light, and focus on observation. Note which plants droop at the same time each day; that pattern often relates to heat or drafts rather than thirst. Check soil moisture once, not repeatedly. Remove only clearly dead leaves. Days 4–7: begin placing plants into their intended locations based on light needs, one group at a time. Water only when the plant reaches its normal dryness point. If you see fungus gnats after the move, reduce watering frequency and improve airflow; sticky traps can help you monitor numbers without spraying. Days 8–14: resume gentle maintenance. Wipe dusty leaves to improve photosynthesis, especially if the move involved cardboard dust. Start rotating pots weekly. If new growth appears, it’s a sign the plant is adapting; you can consider a light feeding after week three or four for fast growers. If a plant continues to decline, isolate it and reassess the basics: drainage, light intensity, and whether the roots stayed too wet during the transition.