Choosing Colors That Read Well Everywhere
- Why Color Legibility Fails in Real Life
- Contrast Beyond Black and White
- How Lighting and Materials Change Color
- Designing for Color Vision Differences
- A Practical Palette Checklist for Screens and Print
Why Color Legibility Fails in Real Life
Color choices that look perfect on a designer’s monitor often break down in everyday conditions. The same palette can feel crisp on a laptop, washed out on a budget phone, and harsh under office LEDs. This is not only about taste; it is about how color behaves across different screens, lighting, and materials. A bright yellow label that pops on white in a mockup may become hard to read when printed on slightly warm paper, or when viewed outdoors where glare reduces contrast. Legibility problems usually show up in predictable places: small text over gradients, thin icons on saturated backgrounds, and “soft” pastel combinations that rely on subtle differences. Another common failure is relying on hue differences alone, such as red text on green or blue on purple, which can blur for many viewers and on many displays. Even when the colors are technically different, the eye may not separate them well if their brightness is similar. A practical way to think about color legibility is to treat it as an engineering constraint, not a finishing touch. If a color system must work on a website, in an app, on printed packaging, and in social media images, it needs rules that survive compression, scaling, and imperfect viewing conditions. The goal is not to remove personality from design, but to ensure that personality remains readable and consistent wherever the color appears.
Contrast Beyond Black and White
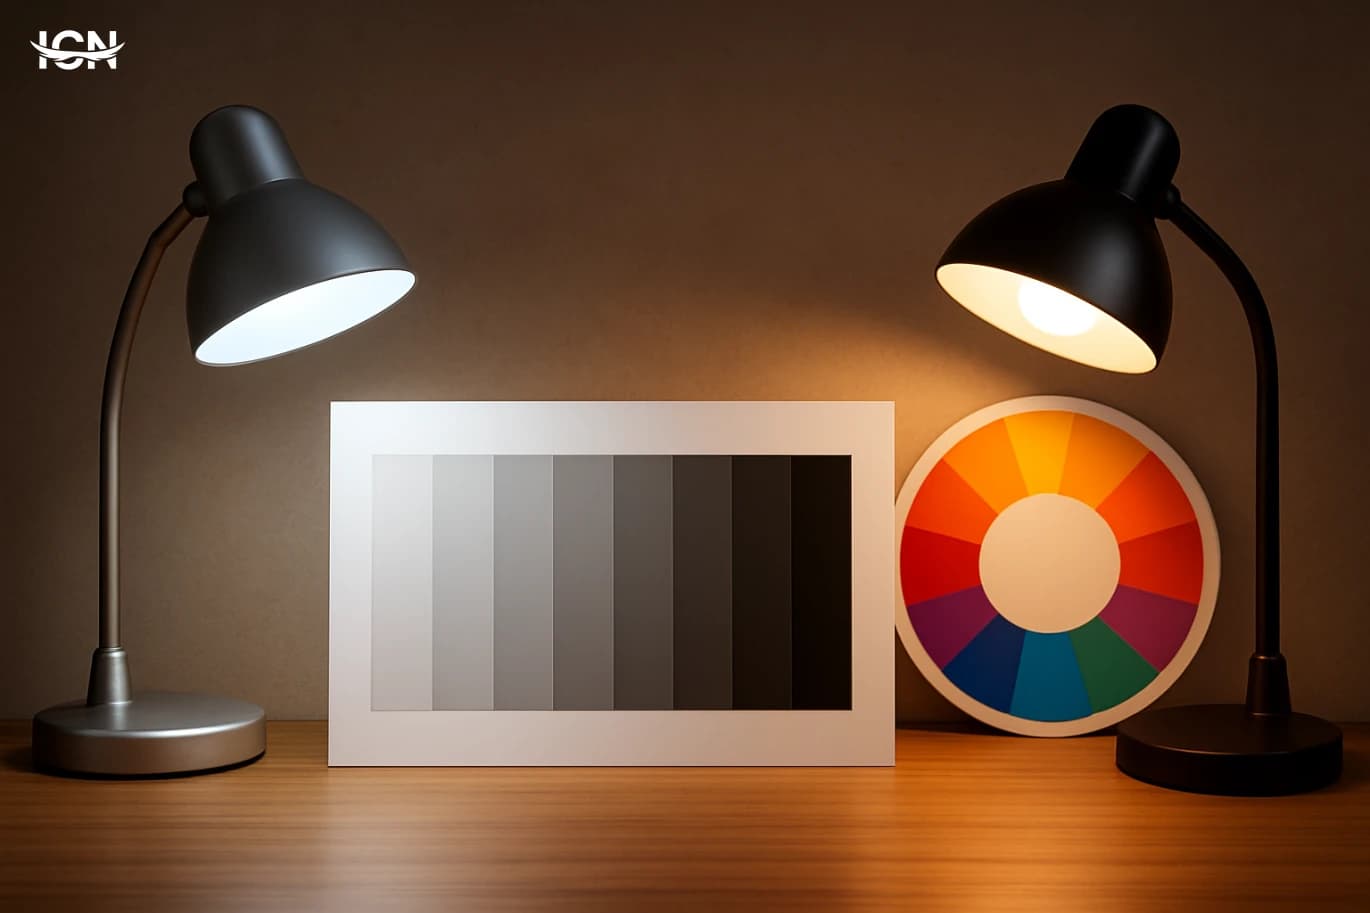
Many people equate contrast with using black text on a white background. That is a reliable baseline, but it is not the only path to legibility. Contrast is primarily about differences in perceived lightness, not just differences in hue. Two colors can be far apart on the color wheel and still be difficult to read together if their lightness is similar. For example, a mid-blue headline on a mid-red banner can look vibrant but remain tiring to read because the brightness levels compete. A practical workflow is to check a palette in grayscale. If the text and background collapse into similar gray values, the design is at risk. This method is fast and works across tools, from professional software to simple phone screenshots. Another technique is to define a small set of “text-safe” background colors and “text-safe” foreground colors, then restrict combinations. This is how many mature design systems avoid accidental low-contrast pairings. Contrast also changes with size and weight. A large, bold title can survive lower contrast than small body text. Thin fonts and light weights need more separation to remain readable, especially on lower-resolution screens. If a brand insists on a soft palette, the solution is often to reserve the soft colors for large areas and accents, while keeping text on more stable neutrals. This approach preserves the brand feel without sacrificing clarity.
How Lighting and Materials Change Color
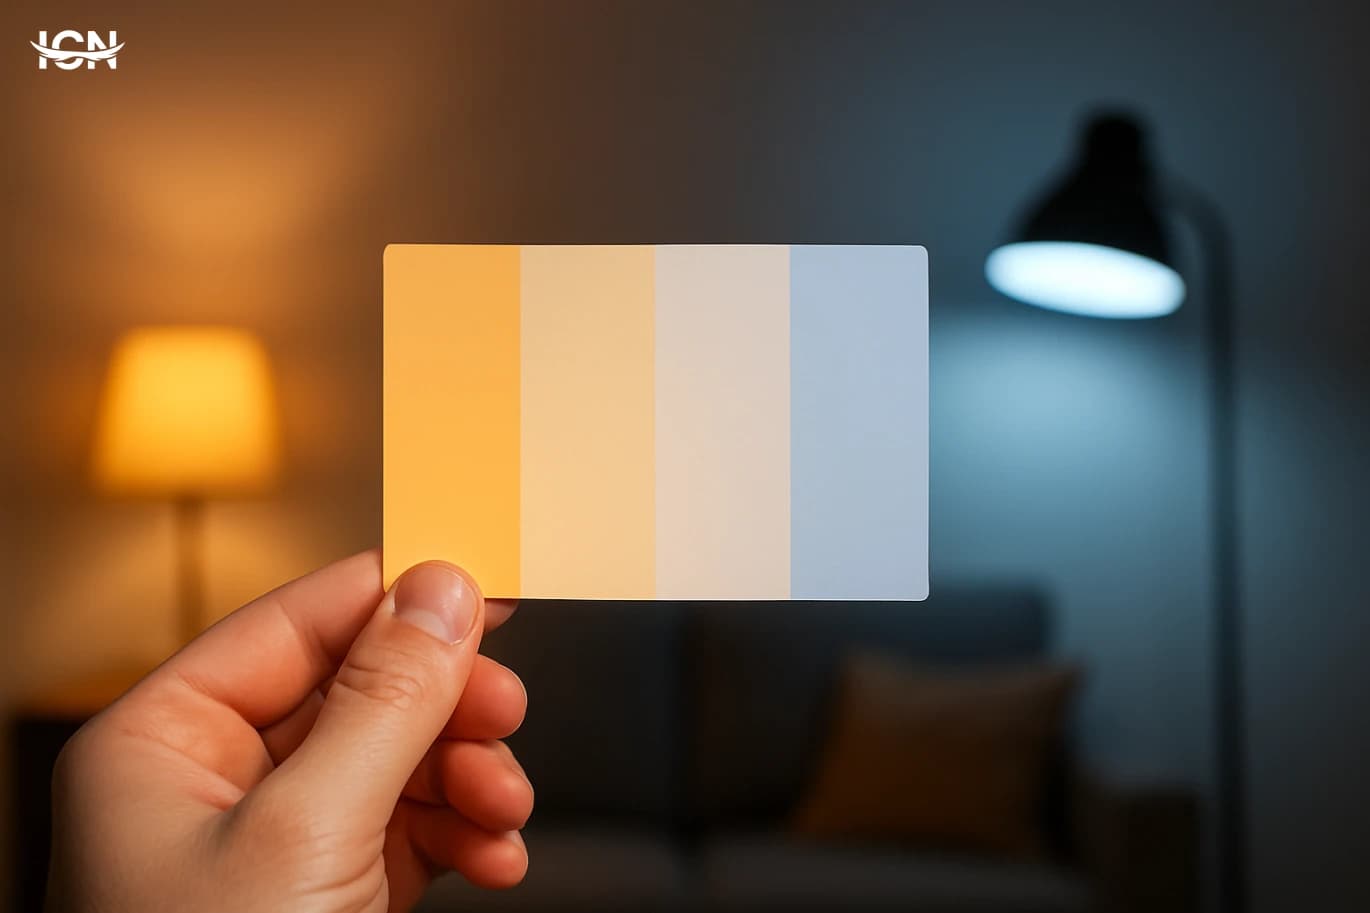
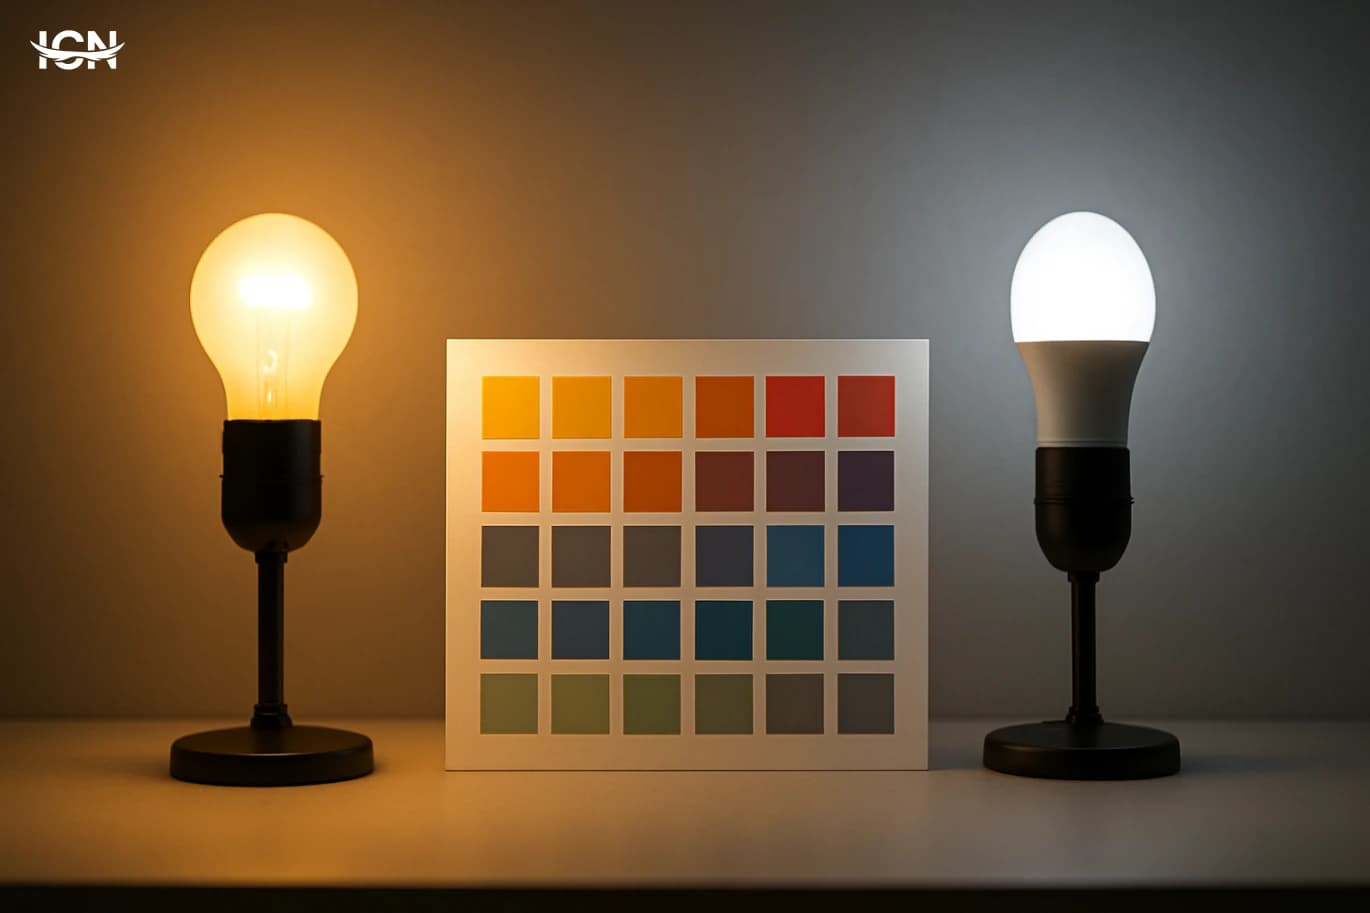
A color is not a fixed object; it is a perception shaped by the light source and the surface. Under warm indoor lighting, whites can look creamy and blues can lose their crispness. Under cool lighting, skin tones and warm brand colors can appear duller. This matters when a palette must work in both digital and physical contexts, such as a café menu on a screen and the same menu printed on paper. Materials add another layer. Matte paper reduces glare but can mute saturation. Glossy finishes increase vibrancy but can create reflections that hide text at certain angles. Fabric absorbs light differently than coated cardboard, and recycled paper often has a natural tint that shifts the entire palette. If a design relies on subtle differences—like light gray text on an off-white background—those differences may disappear on a textured surface. To manage these variables, teams often create “environment checks.” That can mean viewing key screens in bright daylight and in a dim room, printing test swatches on the intended stock, and checking how colors hold up when photographed for social media. The goal is to identify which colors are stable and which are sensitive. Stable colors become the foundation for text and critical UI elements, while sensitive colors are used for decorative areas where minor shifts are acceptable.
Designing for Color Vision Differences
Legible color systems must account for the fact that not everyone perceives color in the same way. A common mistake is encoding meaning only through color: green for “success,” red for “error,” or multiple chart lines distinguished only by hue. When viewers have difficulty separating certain hues, the information becomes ambiguous. Even without any diagnosed condition, many people struggle with low-contrast combinations on small screens or in bright environments. The practical fix is redundancy. Pair color with shape, position, labels, or patterns. In interfaces, an error state can use both a color change and an icon, plus clear text. In charts, lines can differ by stroke style, markers, or direct labeling instead of relying on a legend with tiny colored dots. For maps and heat scales, choose palettes that change in lightness as well as hue, so the structure remains visible even when hue differences are reduced. Testing does not have to be expensive. Many design tools include simulation modes, and teams can also run quick checks by converting visuals to grayscale and by viewing them on multiple devices. The key is to treat accessibility as a normal quality check. When color is designed to carry information reliably, the result is not only more inclusive; it is also clearer for everyone under real-world constraints.
A Practical Palette Checklist for Screens and Print
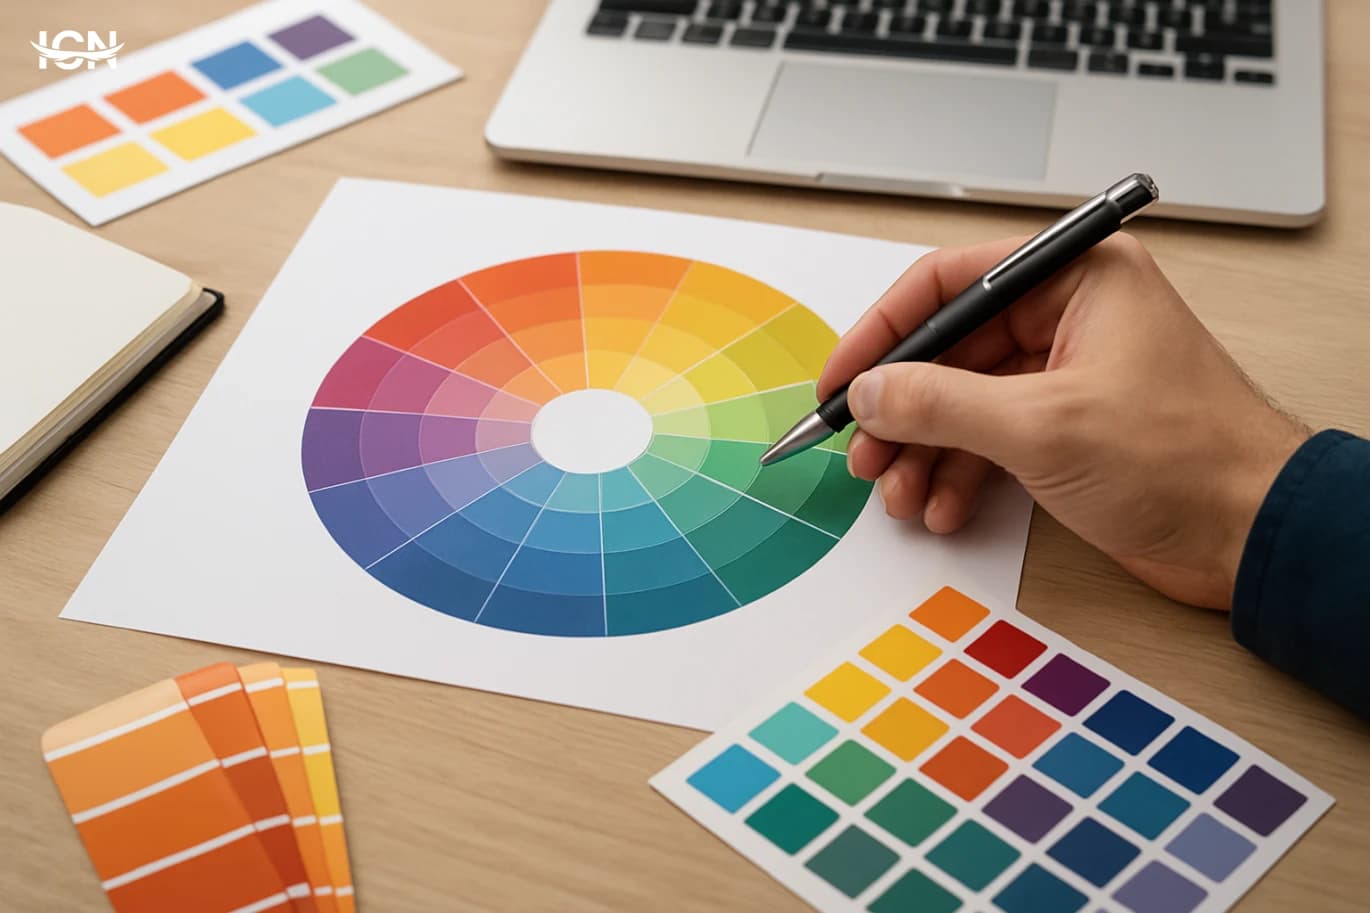
A strong palette is not just a set of attractive swatches; it is a set of decisions that hold up under production. Start by defining roles: primary brand color, secondary accents, neutrals, background tones, and semantic colors for states like warnings or confirmations. Then define which roles are allowed for text. Many teams limit body text to one or two dark neutrals and reserve brand colors for headings or highlights where readability is easier to control. Next, check the palette at realistic sizes. Test body text at typical reading sizes, not only in large mockups. Review buttons, form labels, and small UI hints. For print, run a small proof on the actual paper stock and check it under the lighting where it will be used. If the palette is for packaging, photograph the prototype because many customers will see it through images before seeing it in person. Finally, document the rules in a way that non-designers can follow. Provide examples of approved combinations and “do not use” pairings. Include a simple note about when to use each color role, and add fallback options for cases where a background image or gradient makes text harder to read. A palette becomes reliable when it is easy to apply consistently across teams, tools, and deadlines.