The Allure of the Long Braid
- Why Long Braids Stay Iconic
- Choosing the Right Braid Style
- Preparation That Makes a Difference
- How to Keep the Braid Healthy
- Modern Ways to Style a Long Braid
- Common Mistakes and Quick Fixes
Why Long Braids Stay Iconic
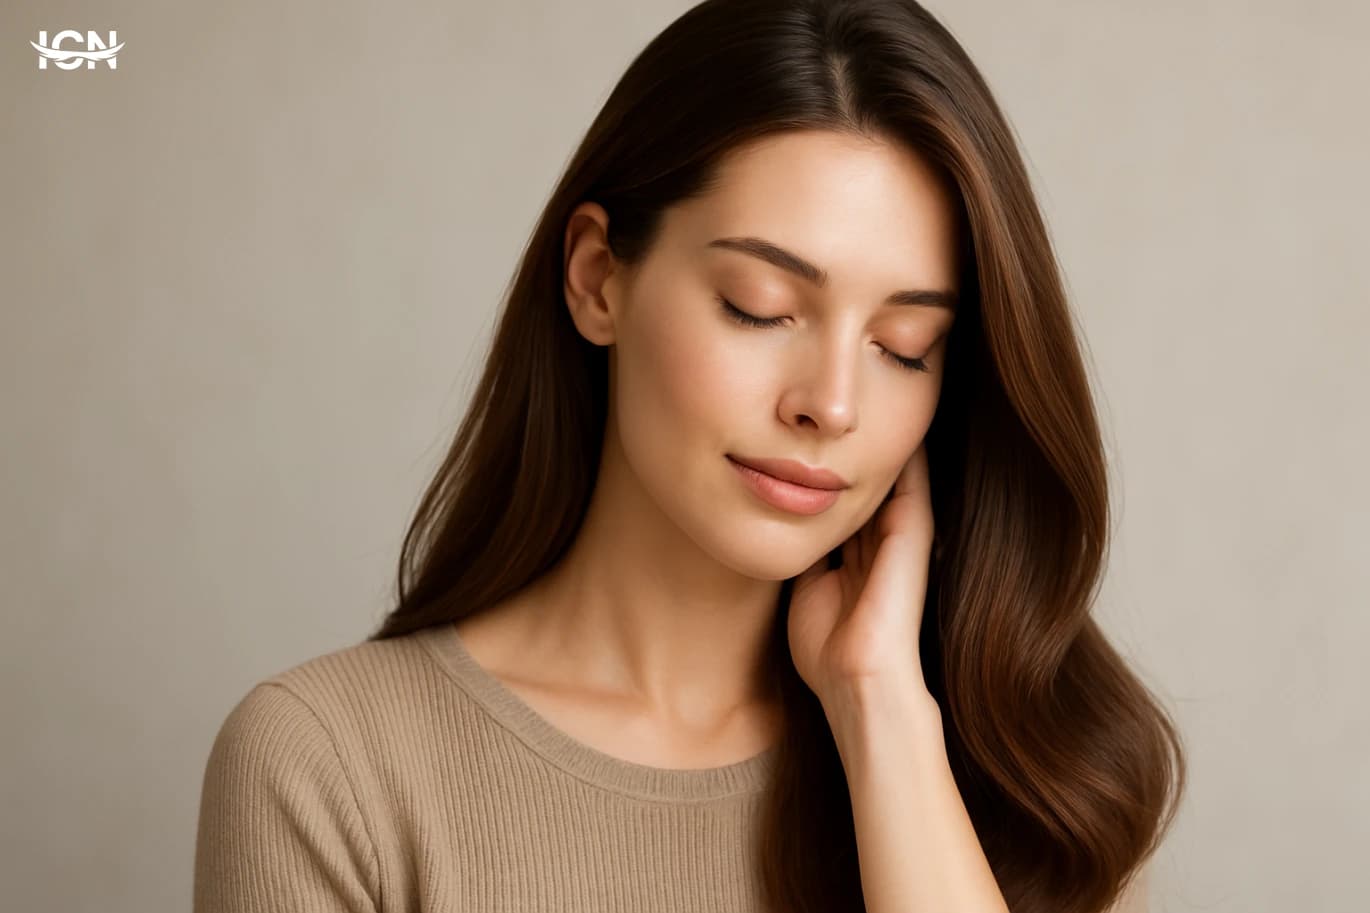
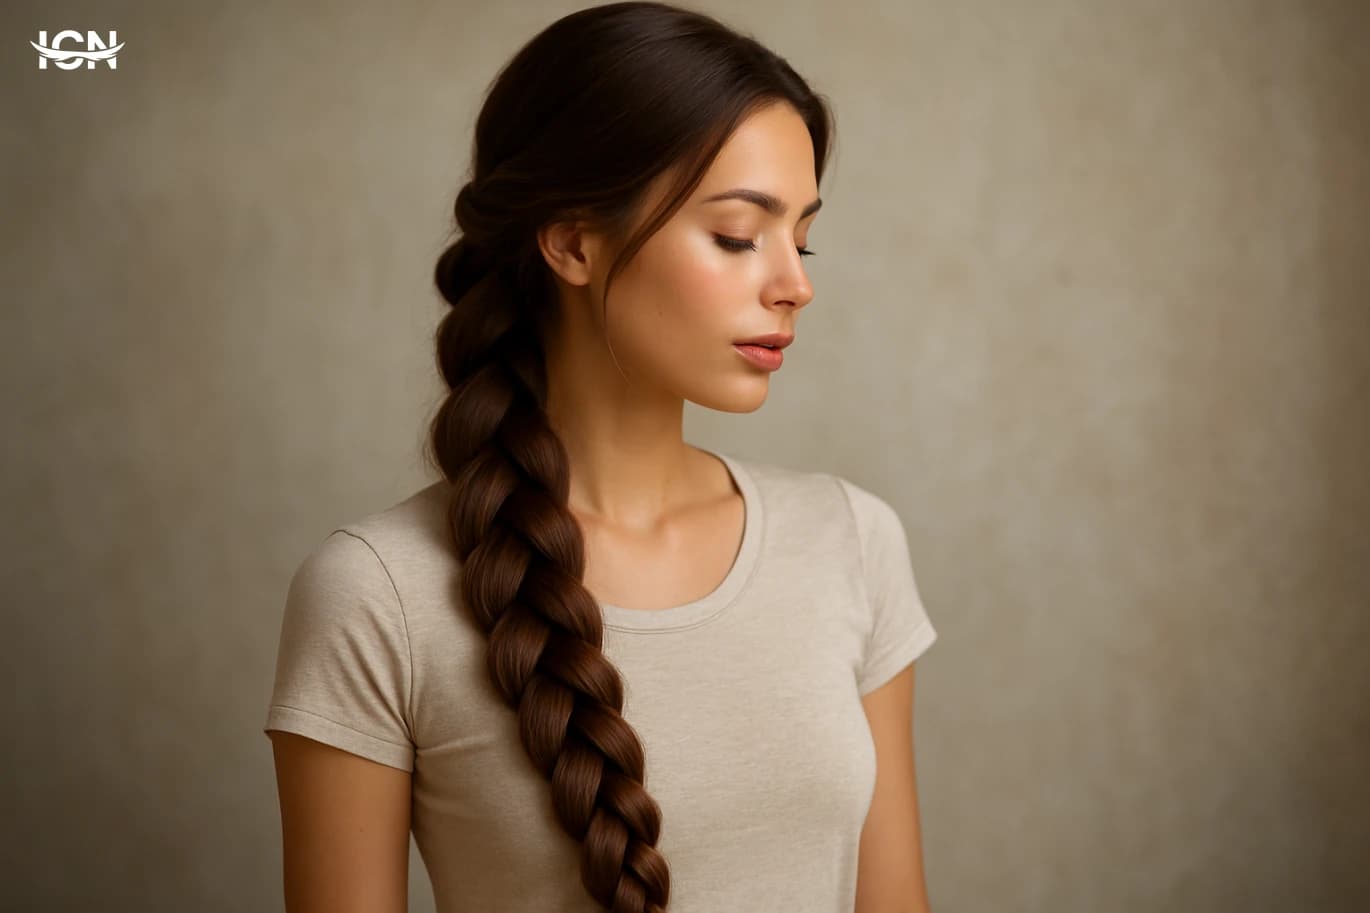
Long braids remain a staple because they combine practicality with a polished look that works across settings. A single braid can keep hair controlled during a busy day, reduce tangling from wind or friction, and still look intentional in photos and in person. For many people, the appeal is also about consistency: once you learn a braid that suits your hair type, it becomes a reliable style you can repeat without needing heat tools. The long braid also offers visual structure. It frames the head and neck, creates a clean line down the back, and can be adjusted to look relaxed or formal depending on how tight it is and how the ends are finished. Small choices—like a center part versus a side part, or a smooth crown versus a slightly lifted one—change the overall impression without changing the core style. This flexibility is one reason the long braid is often described as “timeless” in beauty coverage. From a haircare perspective, braiding can be a low-stress option when done correctly. It can help limit daily manipulation, especially for people who otherwise brush and restyle frequently. The key is to treat the braid as a protective arrangement rather than a tight hold, and to keep the scalp comfortable so the style supports hair health rather than working against it.
Choosing the Right Braid Style
Not every long braid looks the same, and the best choice depends on hair density, texture, and the occasion. The classic three-strand braid is the most universal and works well for straight, wavy, and many curly patterns, especially when the hair is detangled and lightly conditioned. A French braid starts at the crown and gradually incorporates sections, which helps keep shorter layers contained and creates a neat finish for active days. A Dutch braid uses the same concept as a French braid but crosses strands under rather than over, producing a raised, more defined look. This can be useful when you want the braid to stand out visually, especially in photos. A fishtail braid, made from two sections instead of three, gives a more intricate appearance but can take longer and may loosen faster on very silky hair unless you add a light texturizing product. Length and layers matter. If you have many layers, a braid that begins higher on the head often holds better because it captures shorter pieces early. If your hair is very thick, splitting into two braids can reduce tension and make the style more comfortable for long wear. For fine hair, a single braid can look fuller if you gently loosen the outer edges after securing it, but only after the braid is stable and the ends are protected.
Preparation That Makes a Difference
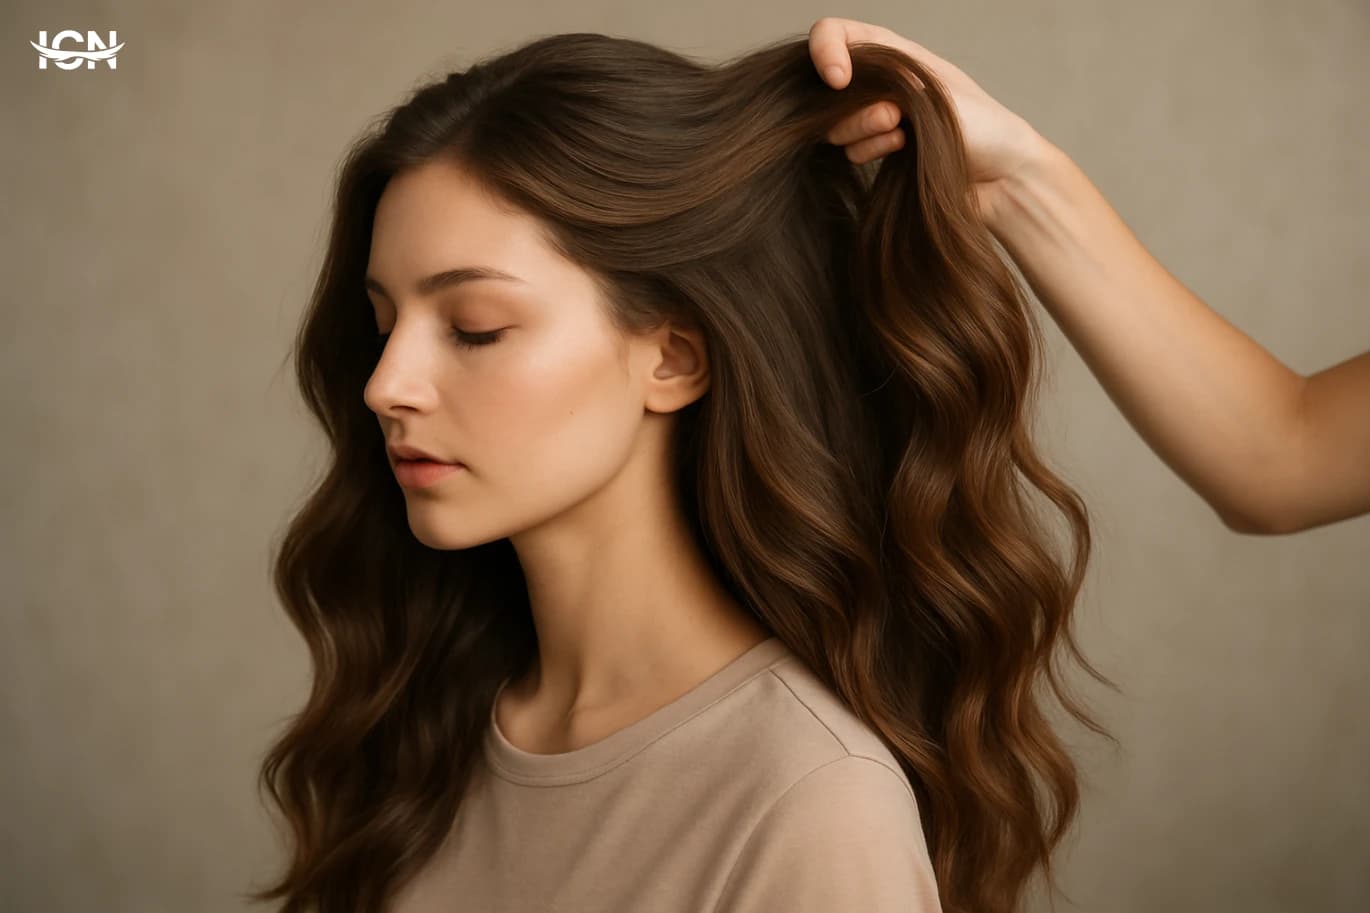
A long braid looks best when the hair is prepared for smooth sectioning and consistent tension. Start with detangling from the ends upward using a wide-tooth comb or a detangling brush suited to your texture. If your hair tangles easily, a leave-in conditioner or a lightweight detangling spray can reduce breakage during the process. For very straight hair that slips, a small amount of mousse or texturizing cream can help the braid hold. Moisture balance matters. Hair that is overly dry can look frizzy and may snag during braiding, while hair that is too wet can stretch and feel weak. Many stylists recommend braiding on dry hair or slightly damp hair, depending on your hair’s elasticity and how quickly it dries. If you wash the same day, allow hair to air-dry most of the way, then apply a small amount of serum to the lengths to reduce flyaways. Tools and accessories also affect the result. Use snag-free elastics to avoid tearing the ends when you remove them. If you plan to wear the braid all day, consider a soft scrunchie or a fabric-covered elastic for comfort. For a cleaner finish, keep a small brush on hand to smooth the crown, and use bobby pins to secure short pieces near the nape rather than pulling the braid tighter.
How to Keep the Braid Healthy
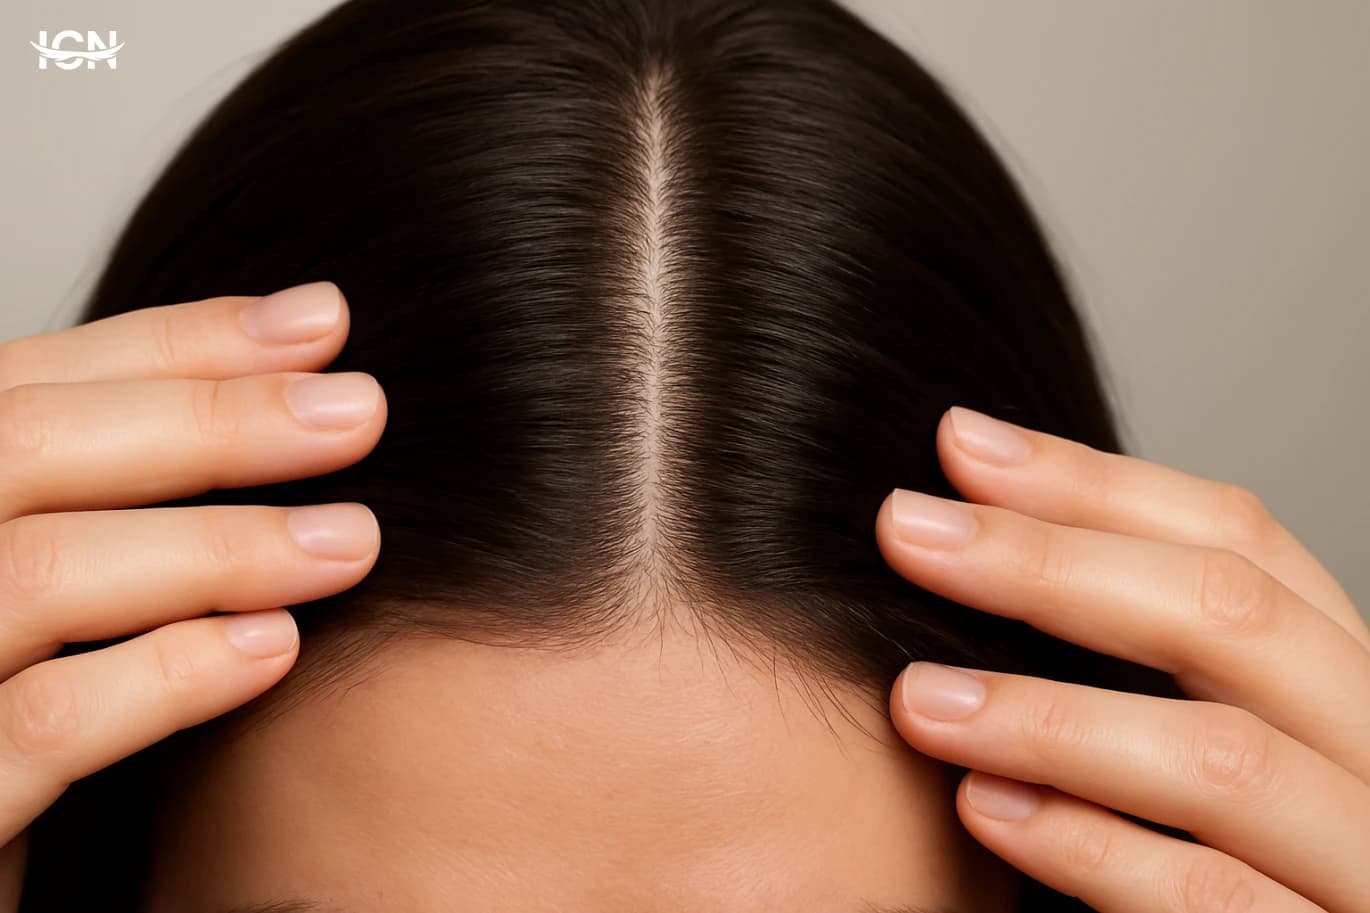
The healthiest long braid is one that avoids excessive tension. If you feel pulling at the hairline or a tight sensation on the scalp, loosen the braid immediately. Chronic tight styling can stress the roots and lead to breakage around the temples. A good rule is that you should be able to move your eyebrows and scalp comfortably, and the braid should not cause headaches. Protecting the ends is equally important because the tips are the oldest part of the hair and often the most fragile. Apply a small amount of oil or a silicone-based serum to the last few centimeters before securing the elastic. If your ends split easily, tuck them under with a small fold and secure with a soft tie, or use a small ribbon that reduces friction. Night care extends the life of the style. Sleeping on a satin or silk pillowcase reduces friction that can roughen the braid and create flyaways. If you prefer to cover your hair, a satin scarf can keep the braid intact. In the morning, refresh by smoothing the crown with a tiny amount of leave-in product and re-securing the elastic if it has loosened, rather than re-braiding tightly every day.
Modern Ways to Style a Long Braid
A long braid can be updated with small styling choices that suit modern wardrobes. A low braid at the nape looks clean and professional, especially with a sharp center part and smoothed sides. A higher braid, starting near the crown, reads more sporty and can pair well with casual outfits. You can also wrap a small section of hair around the elastic to hide it, securing the wrap with a pin underneath. Accessories can change the look without adding complexity. Minimal metal cuffs placed along the braid create a structured, editorial feel, while a simple ribbon tied at the end can look understated and neat. If you use clips or pins, choose smooth-edged pieces to avoid snagging. For events, a braid can be combined with a small twist at the crown or a half-up section that feeds into the braid, creating volume without teasing. Texture is another lever. A sleek braid emphasizes shine and precision, which works well after blow-drying or careful smoothing. A softer braid with a few face-framing strands can look relaxed, but it still benefits from intentional placement so it appears styled rather than messy. The most consistent results come from deciding first whether you want a polished finish or a natural finish, then choosing products accordingly.
Common Mistakes and Quick Fixes
One common mistake is braiding without consistent section sizes, which can make the braid look uneven and cause it to loosen quickly. If you notice this happening, pause and redivide the hair into cleaner sections before continuing. Another issue is starting too tight at the top and then braiding loosely down the length, creating a bulky crown and a thin tail. Aim for steady, moderate tension from start to finish. Flyaways are often treated with heavy products, but that can make the braid look greasy. Instead, use a small amount of lightweight cream on your fingertips and press it over the surface, or use a clean toothbrush-style edge brush with a tiny amount of gel for targeted smoothing. If the braid slips, especially on silky hair, try braiding after adding a small amount of dry shampoo at the roots or a texturizing spray through the mid-lengths. Finally, removing the elastic incorrectly can cause unnecessary breakage. Always unwind or cut a disposable elastic rather than pulling it through the ends. If you wear long braids frequently, rotate the position of the braid and the part line across the week to reduce repeated stress on the same areas of the scalp and hairline.