Reading Forest Health Through Leaves
- Why Leaves Tell the Truth
- Color Changes That Matter
- Spots, Blotches, and Surface Clues
- Edges, Holes, and Missing Tissue
- Season, Site, and Species Context
- A Simple Field Notebook Routine
Why Leaves Tell the Truth
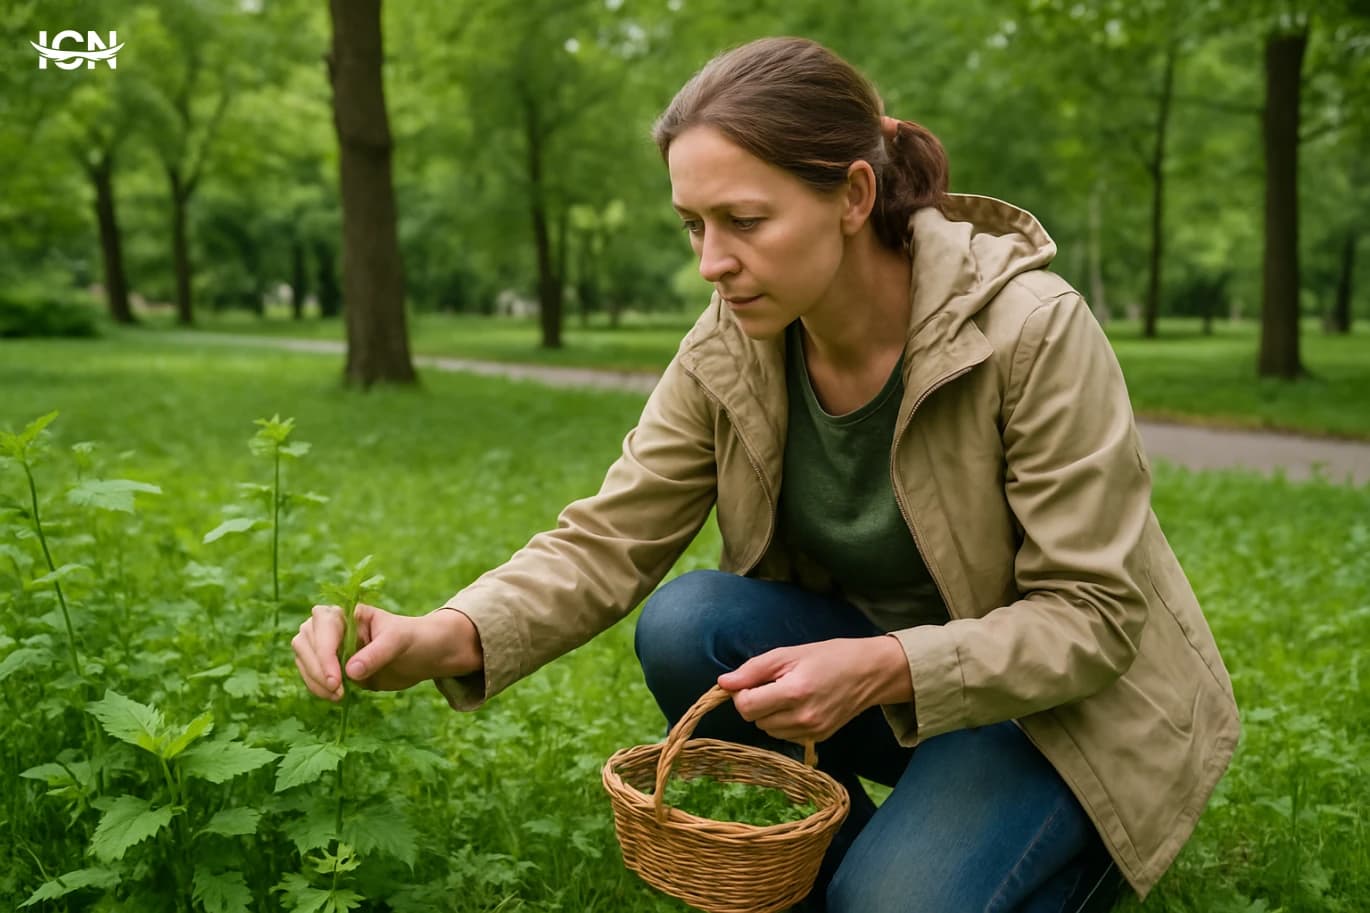
Leaves are the fastest, most visible indicator of what a tree is experiencing, often weeks before problems show up in growth rings or canopy loss. In the Trees & Wild Plants world, learning to “read” leaves is a practical skill for hikers, gardeners, landowners, and anyone who wants to understand local ecosystems without lab equipment. A single walk can reveal patterns: a cluster of pale leaves on one slope, scorched edges near a road, or unusual spotting after a humid spell. These clues are not just cosmetic; they reflect water stress, nutrient availability, air quality, soil conditions, and pest pressure. This topic focuses on field-ready observation rather than technical diagnosis. The goal is to help readers notice consistent signals, compare them across species, and avoid common misreads. Leaf symptoms can look similar even when causes differ, so context matters: season, recent weather, soil type, and the tree’s position in the landscape. By combining leaf appearance with simple site notes, you can build a reliable picture of plant health and make better decisions about care, conservation, or further investigation.
Color Changes That Matter
Color is the first thing most people notice, but it needs careful interpretation. Uniform yellowing across older leaves can point to nitrogen shortage, especially in poor soils or where leaf litter is regularly removed. Yellowing between veins while veins stay green is often linked to iron or magnesium issues, which can be triggered by alkaline soils, compacted ground, or overwatering that limits root function. Sudden overall paling after heavy rain may reflect temporary root stress rather than a true deficiency. Red or purple tones outside normal autumn timing can be a stress response, sometimes tied to cool nights, drought, or root disturbance. Browning at the tips and edges can signal dry wind, salt exposure near winter-treated roads, or irregular watering patterns. The key is distribution: if the whole tree shows the same change, think site-wide factors; if only one branch or one side is affected, consider localized damage, root competition, or a developing infection. A practical method is to compare three samples: a leaf from the sunlit outer canopy, one from the shaded interior, and one from a nearby tree of the same species. Differences between sun and shade can be normal; differences between neighboring trees often point to soil or root-zone variation. Recording the date and recent weather helps separate seasonal transitions from genuine stress signals.
Spots, Blotches, and Surface Clues
Spots and blotches can look alarming, but many are seasonal and limited in impact. Small dark spots with yellow halos often appear after prolonged leaf wetness, especially in dense canopies where airflow is low. Powdery-looking coatings on the surface can spread during warm days and cool nights, and they often show up first on shaded leaves. Sticky residue on leaves or beneath branches can indicate sap-feeding insects nearby, even if the insects themselves are hard to see. Texture changes are equally informative. Leaves that feel thicker, curled, or puckered may reflect insect feeding early in the season when leaves are still expanding. Fine webbing can point to mites during hot, dry periods. Sooty black films are frequently a secondary effect, growing on sugary deposits rather than attacking the leaf directly. In wild plants, these surface signs can reveal broader habitat conditions, such as overcrowding, poor airflow, or a shift in moisture patterns. To keep observations useful, focus on severity and spread. Count how many leaves on a branch show the symptom, and whether new leaves are emerging clean. If spotting is confined to lower leaves near the ground, splash-up from soil and irrigation is a likely contributor. If the upper canopy is affected first, consider wind-driven exposure, sun stress, or a problem moving through the crown. Photographs taken from the same angle every two weeks can turn vague impressions into clear trends.
Edges, Holes, and Missing Tissue
Chewed edges and holes are common in both trees and wild plants, but the pattern can narrow the cause. Smooth, semicircular cuts along the margin often suggest leaf-cutting insects, while ragged holes scattered across the blade can point to generalist feeders. Skeletonized leaves—where veins remain but soft tissue is removed—often appear in outbreaks and can reduce photosynthesis quickly if widespread. Not all missing tissue is from feeding. Tears aligned with the same direction across many leaves can indicate wind damage during storms, especially on broad-leaved species. Small, neat holes that appear as the leaf expands can be the result of early injury when the leaf was still folded, making later damage look more dramatic than it was. Browning that starts at the edge and moves inward without obvious chewing can be a stress response tied to heat, drought, or salt. A useful field check is to look for consistency across plant types. If multiple species in the same area show similar edge burn, think environmental exposure. If only one species is affected, consider a host-specific insect or a site condition that interacts with that species’ needs. In natural areas, moderate leaf loss is often part of normal food webs; the concern rises when new growth is repeatedly damaged or when the plant shows reduced vigor alongside heavy defoliation.
Season, Site, and Species Context
A leaf symptom means little without timing. Early spring discoloration can be linked to late frosts or rapid temperature swings, while mid-summer scorch often aligns with heat waves and dry soil. In late season, many trees naturally reallocate nutrients from leaves to roots, producing yellowing that is normal rather than alarming. Wild plants can show similar cycles, especially annuals that are nearing the end of their life stage. Site factors can amplify or mask symptoms. Trees on compacted soil near paths may show smaller leaves and early yellowing because roots struggle for oxygen. Plants at the bottom of slopes can look lush but be more prone to spotting due to persistent moisture. Roadside vegetation may carry dust films that dull leaf color and interfere with photosynthesis. Even within a small area, sun exposure, wind, and soil depth can create microclimates that explain why one tree thrives while another declines. Species differences are critical. Some species naturally have lighter foliage, hairy leaf surfaces, or seasonal spotting that does not reduce performance. Others are sensitive to minor changes in soil chemistry. The practical takeaway is to build a local baseline: observe the same species across different sites and note what “normal” looks like in your region. Over time, you will recognize which changes are routine and which are unusual enough to justify action.
A Simple Field Notebook Routine
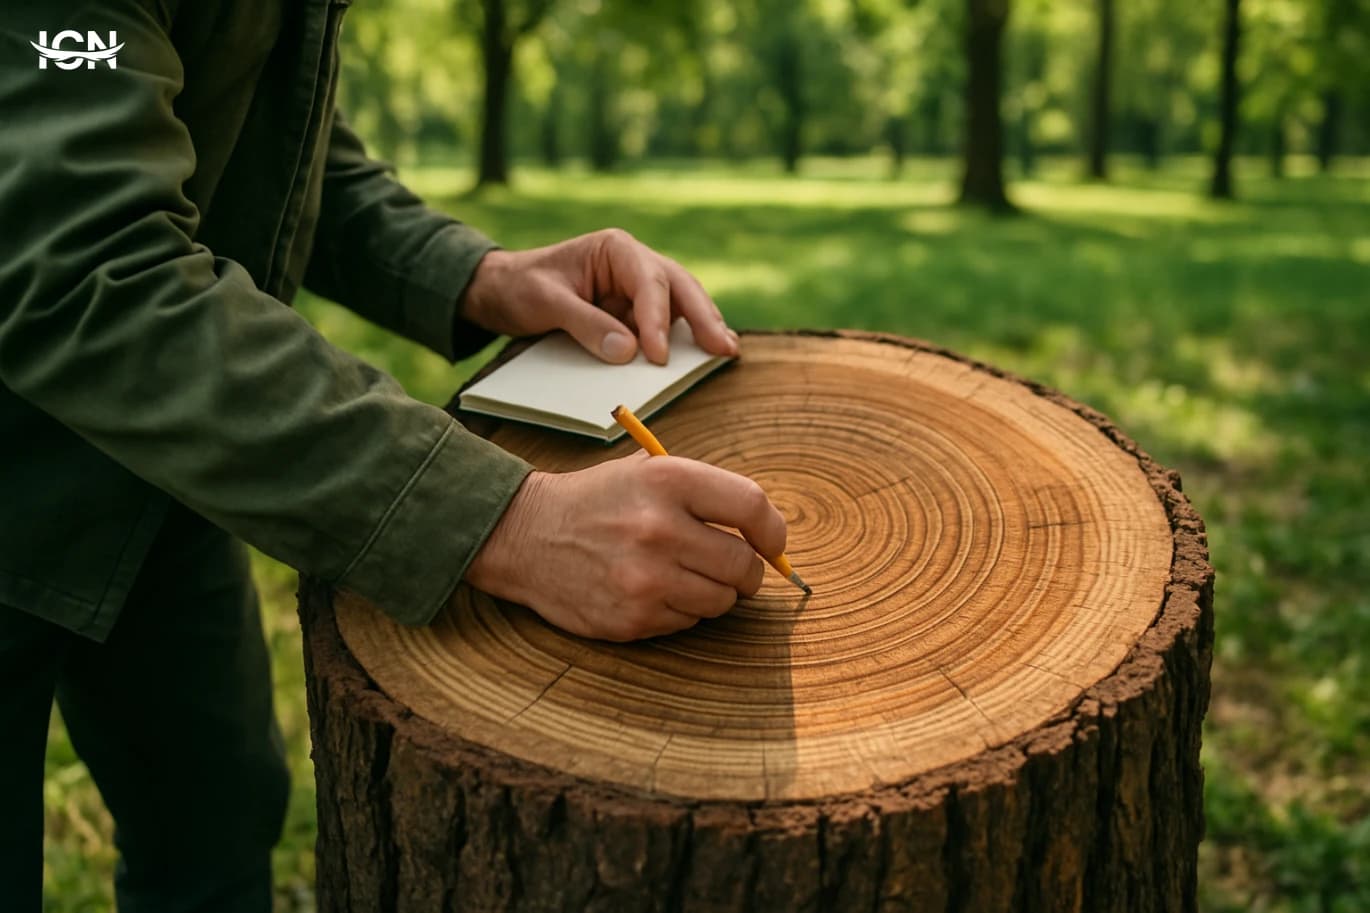
You do not need specialized tools to track leaf health, but you do need consistency. Start with a notebook or phone notes and record five items: date, location, species (or best guess), recent weather (rain, heat, wind), and the main leaf symptom. Add one quick sketch or photo that shows the whole plant and one close-up of a representative leaf. Over time, this creates a timeline that helps separate one-off events from persistent decline. Next, rate severity using a simple scale: light (under 10% of leaves affected), moderate (10–40%), heavy (over 40%). Note where symptoms appear first: lower canopy, upper canopy, one side, or scattered. If you can safely check the ground, look for clues such as compacted soil, standing water, mulch piled against the trunk, or competing vegetation. For wild plants, note whether the area is grazed, mowed, or heavily trampled, since disturbance changes leaf appearance quickly. Finally, decide on a low-risk response. In managed settings, improving watering consistency, reducing soil compaction, and keeping mulch away from trunks can resolve many stress patterns. In natural settings, the best action is often monitoring and minimizing disturbance. If symptoms worsen rapidly, spread to many species, or coincide with dieback, that is the moment to consult a local arborist, extension service, or conservation group with your notes and photos. Clear records turn casual observations into actionable information.