App Logo

Download Our App

Shop your way

logologo
Image

How to grow saffron

06/11/2025By: ICN
How to grow saffron

the introduction

What is saffron? Saffron is one of the most expensive spices in the world, as it is extracted from the flowers of saffron. It is characterized by its golden color and its unique flavor, and is widely used in cooking and physiotherapy. It is believed that it has many health benefits, which increases its value. The importance of cultivation of saffron. Saffron cultivation is a profitable agricultural projects thanks to the high demand. The success of this agriculture depends on the appropriate climatic conditions, fertile soil, and good irrigation. Agriculture is that its costs are low compared to its high returns, which makes it an attractive choice for farmers who seek sustainable profit.

The ideal climatic conditions

The appropriate temperature is one of the basic factors for the success of the cultivation of saffron. Saffron prefers temperatures ranging from 15 to 20 ° C during its growth period. High or low temperatures may reduce the quality of the crop and increase the risk of disease. The amount of rain needs saffron crop to a moderate amount of rain, as approximately 250-300 mm annually. In the case of heavy rains, a good drainage system must be provided to protect the roots, while in the case of a few rain, complementary irrigation should be used to ensure healthy growth and achieve a high return.

Soil

The choice of the correct soil is the choice of the right soil is one of the basic factors for the success of the cultivation of saffron. Saffron is preferred to sand or clay soils well -drained, as these types contribute to preventing the pool of water around the roots, which reduces the chances of being infected with mold. Creating the soil for planting before planting, the soil must be prepared well by plowing and adding organic fertilizer, which helps to improve its fertility. It is also necessary to set the pH level to be between 6-8, as saffron is a little alkaline soil to achieve the best growth of the crop.

Cultivating the appropriate areas

Choose the right site, you should choose the saffron transplant site with caution. The place is preferable to be sunny with a strong wind protection. The area should also be well drained to avoid water gathering, ensuring healthy root growth. Distributing the onions properly when planting onions, it should be distributed in a depth of 10-15 cm and a distance of 10-15 cm between each onion and the other. This distribution helps to enhance ventilation and root growth, which reflects positively on the productivity of saffron. It is also necessary to monitor weather conditions and provide the necessary care for plants to ensure the success of agriculture.

Ayrova

Effective irrigation methods are the main factors for the success of saffron cultivation. Plants should be irrigated regularly, especially during dehydration. It is preferable to use a drip irrigation system, as it reduces water waste and ensures moisture to the roots effectively. The importance of proper fertilization needs saffron onions sufficient nutrients to ensure healthy growth. It is important to use a balanced fertilizer that includes nitrogen, phosphorous, and potassium. Composts must be applied during the active growth periods of plants, to provide the necessary nutrition and enhance productivity. Good care through irrigation and fertilization contributes to obtaining an abundant crop of saffron.
* All articles published on this blog are sourced from various websites and are provided for informational purposes only. They should not be considered as confirmed studies or accurate information. Please verify the information independently before relying on it.

Similar ARTICLES

Backyard Microgreens for Year Round Fresh Harvests
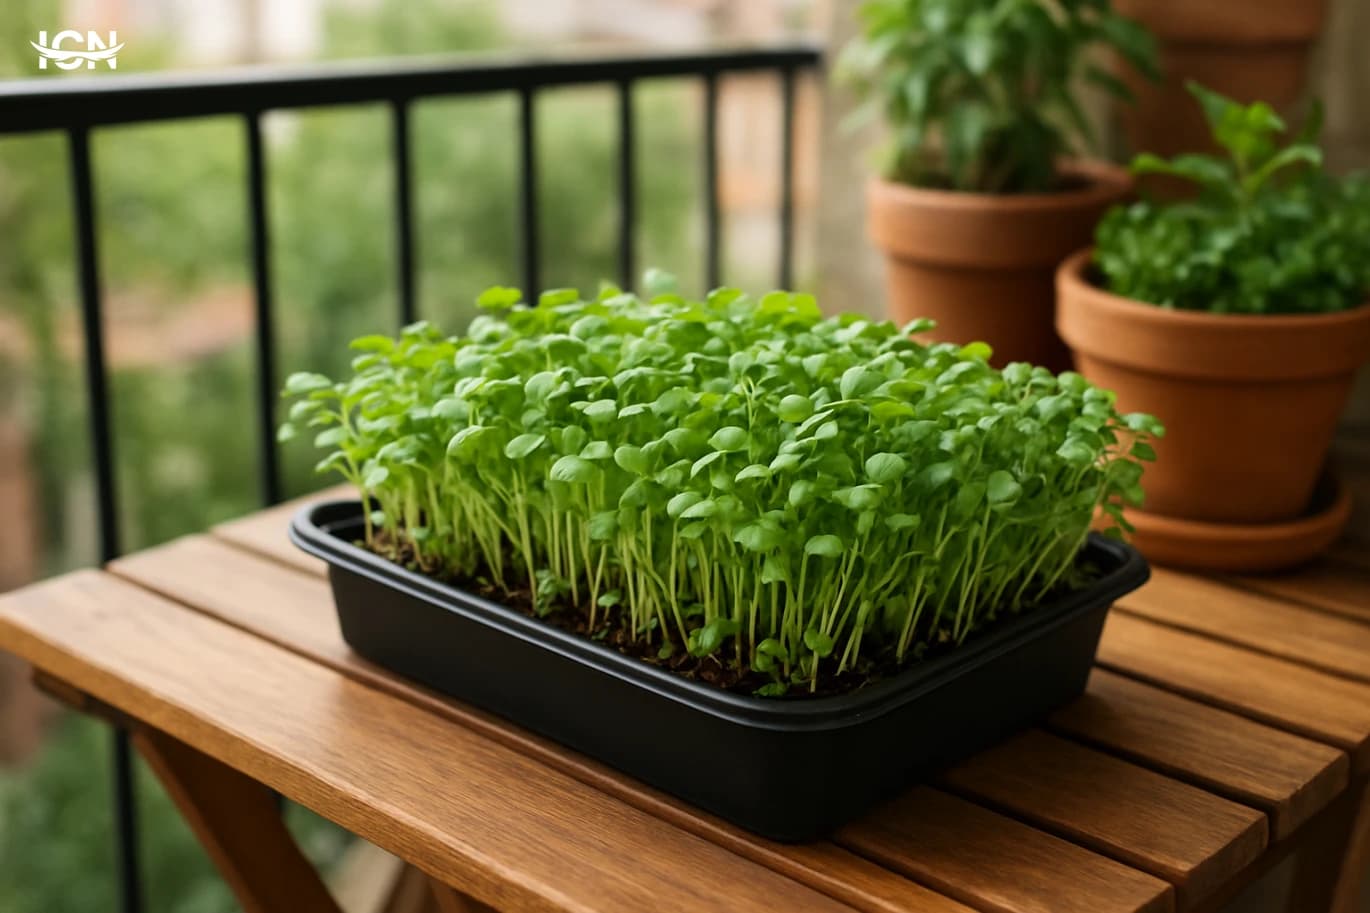
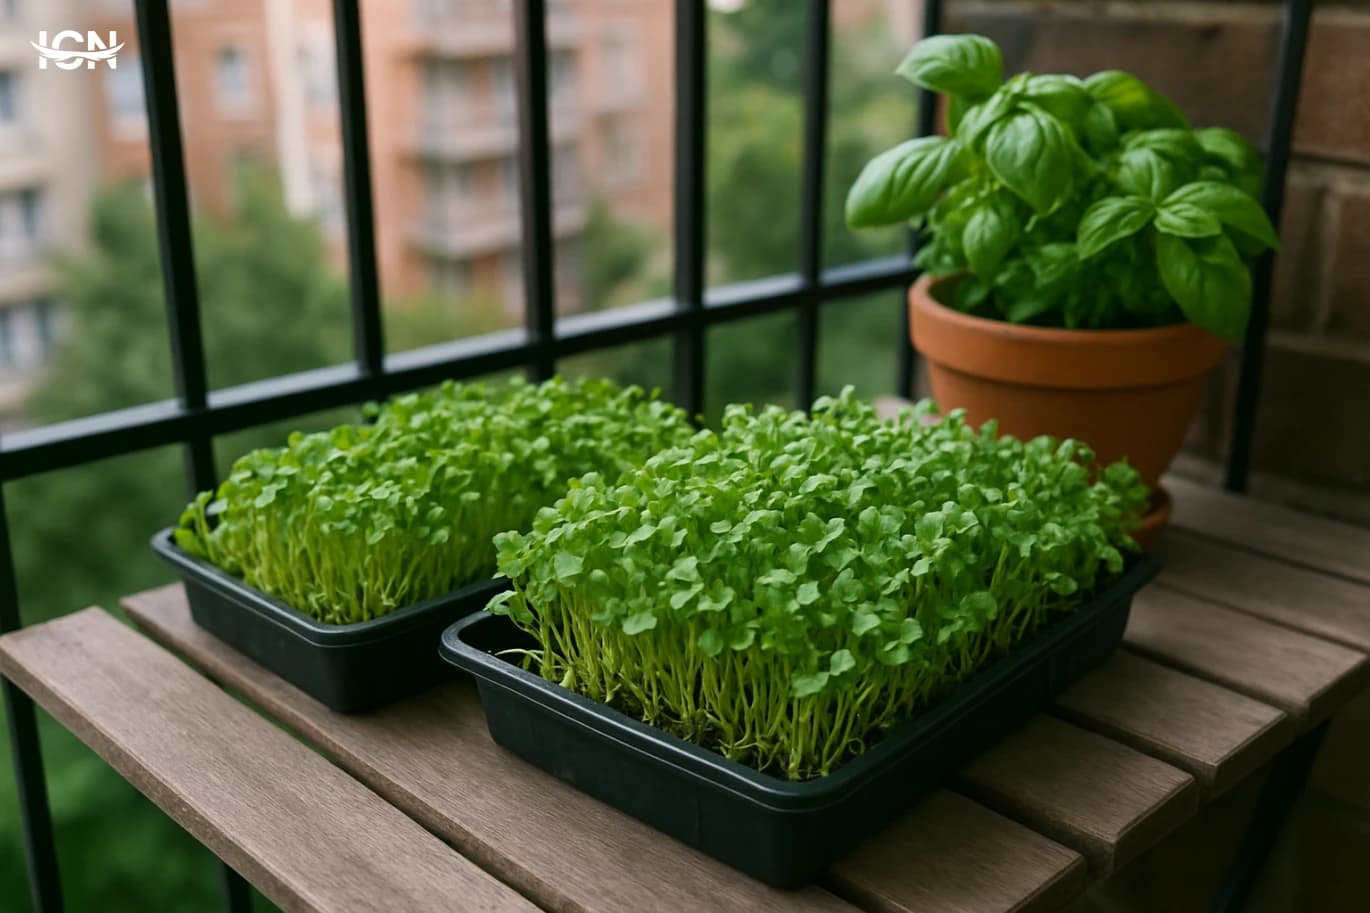
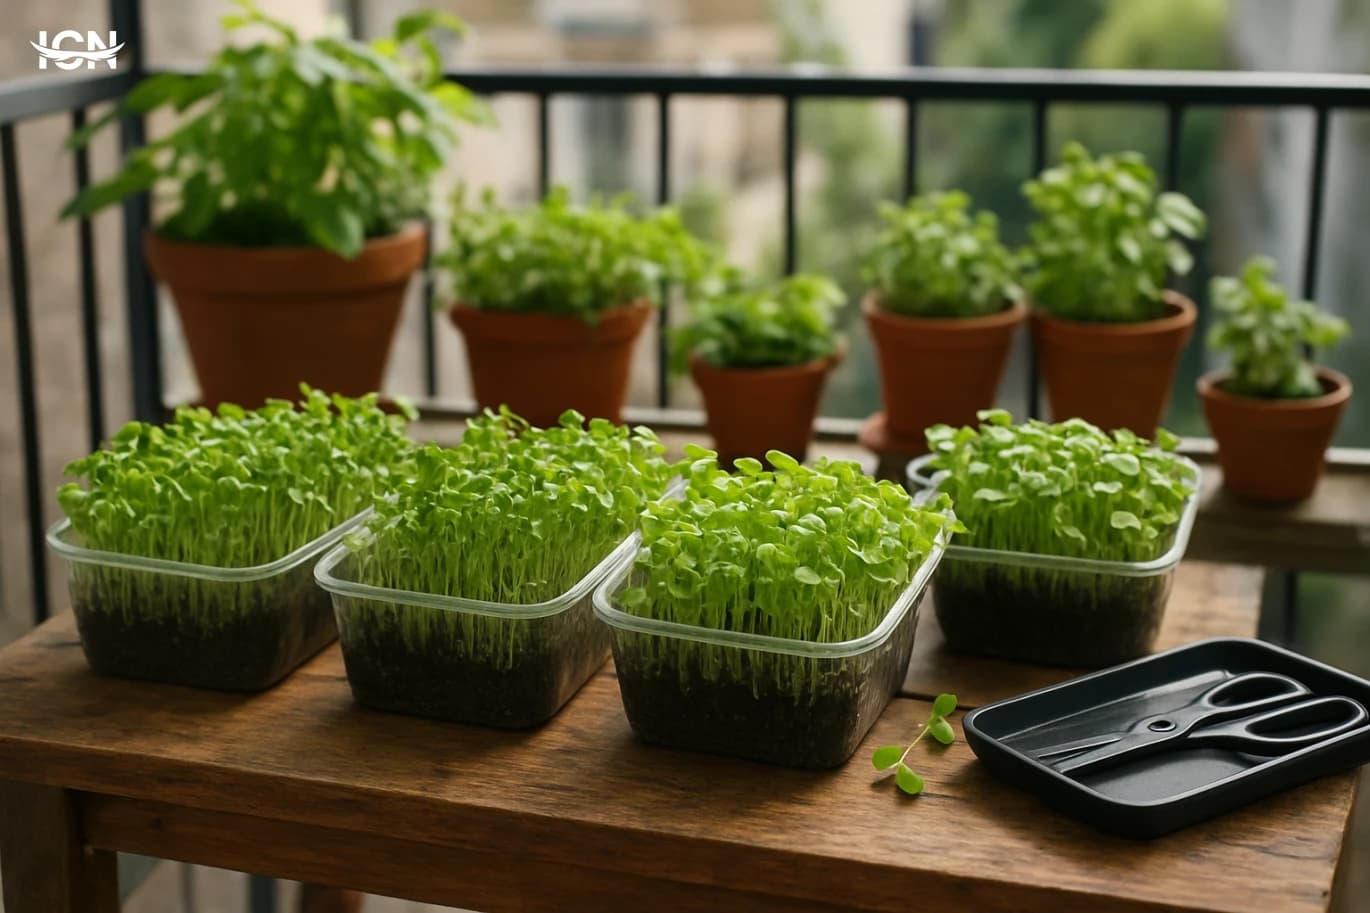
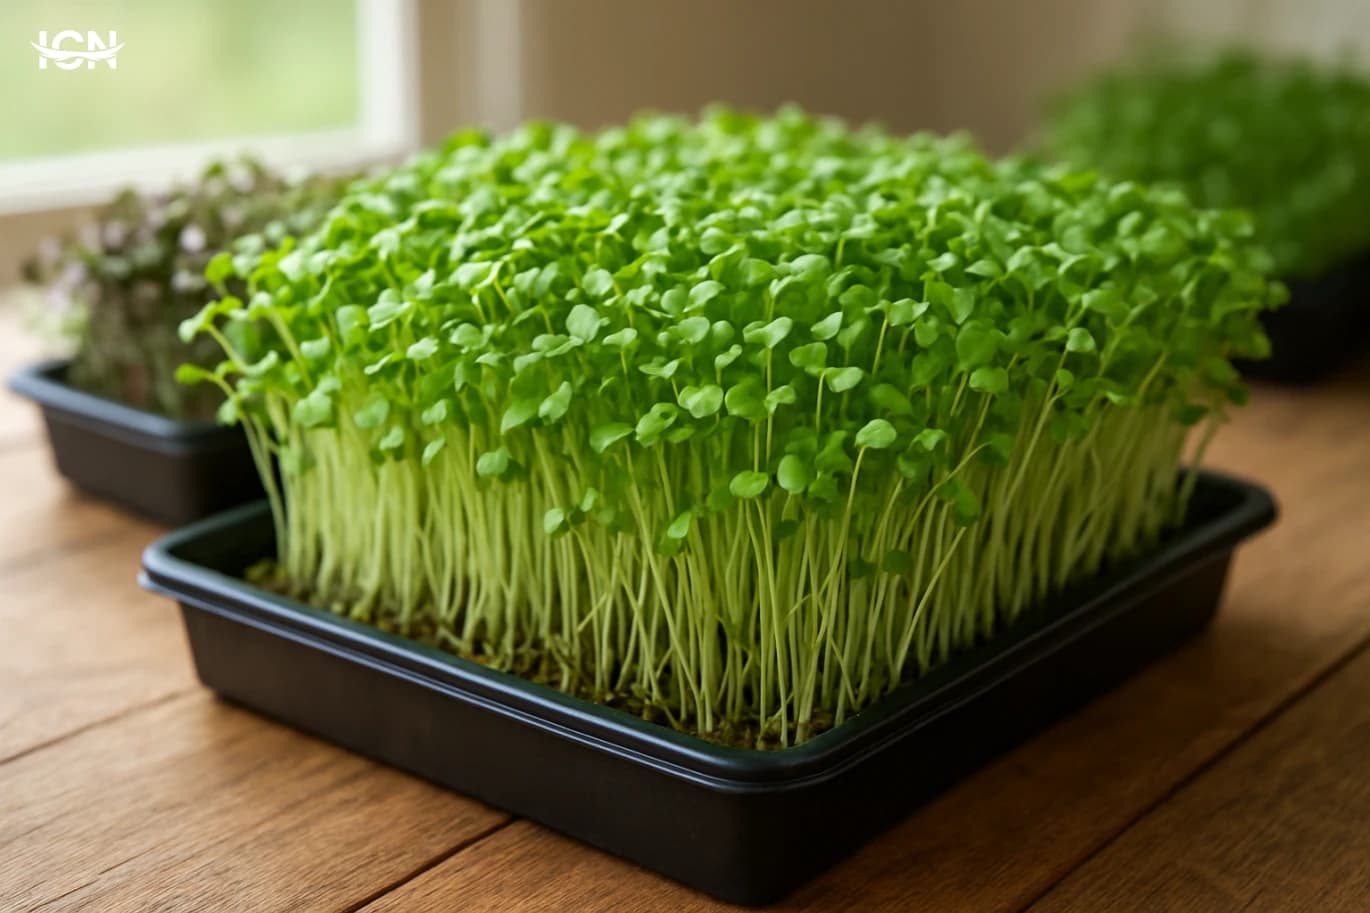
Microgreens are young vegetable and herb seedlings harvested shortly after the first true leaves appear, usually within 7–21 days. For home farming, they solve three common constraints at once: limited space, limited time, and inconsistent weather. A single windowsill or a small shelf can produce multiple trays each week, and the short growth cycle makes it easy to learn from mistakes without losing a whole season. They also reduce grocery dependence for fresh greens, especially when outdoor beds are dormant. From a practical gardening perspective, microgreens are predictable. You can standardize trays, soil depth, and watering, then repeat the same process weekly. This makes them ideal for households that want a steady harvest rather than a single large crop. They also complement traditional gardening: microgreens provide fresh greens while you wait for tomatoes, peppers, or cucumbers to mature outside. The key is to treat them like a small production system with simple routines and basic hygiene.
Balcony Microgreens for Weekly Harvests
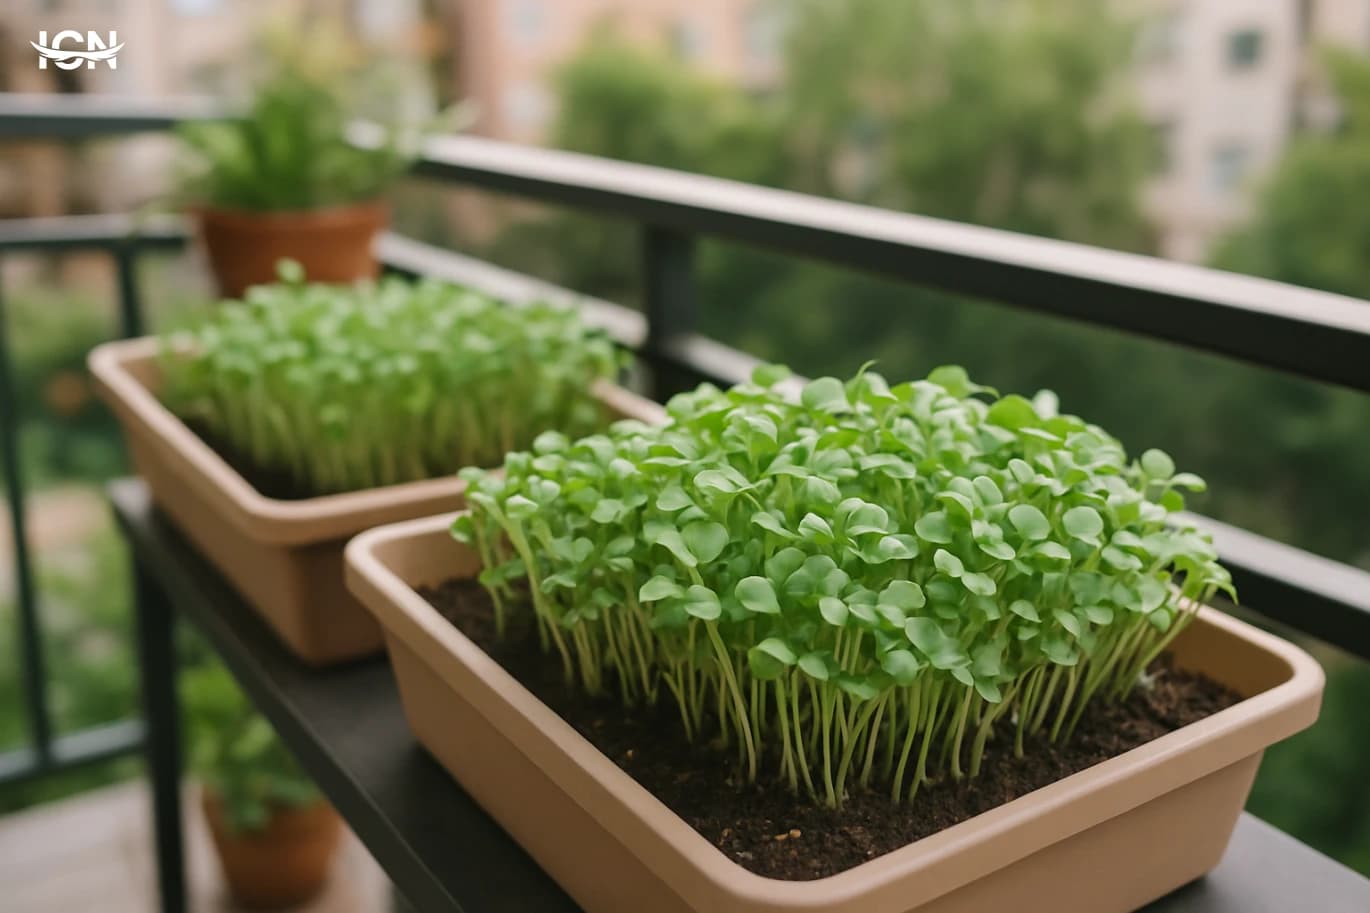
Microgreens are young vegetable and herb seedlings harvested in 7–21 days, which makes them ideal for apartments and busy schedules. They need very little space: a single shelf or a sunny windowsill can produce multiple trays each week. Because you harvest early, you avoid many common balcony problems such as tall plants tipping over in wind, heavy pots, and long watering cycles. The payoff is practical: you can add fresh greens to sandwiches, salads, omelets, and rice bowls without buying large bunches that wilt in the fridge. For home farming, microgreens also offer predictable planning. You can stagger sowing so one tray is ready every few days, creating a steady routine rather than a single big harvest. They are also a good entry point for people who want to grow food but feel intimidated by pests, pruning, or seasonal timing. With basic hygiene and consistent moisture, microgreens are one of the most reliable edible crops you can grow indoors or on a balcony.
Balcony Microgreens for Weekly Fresh Harvests
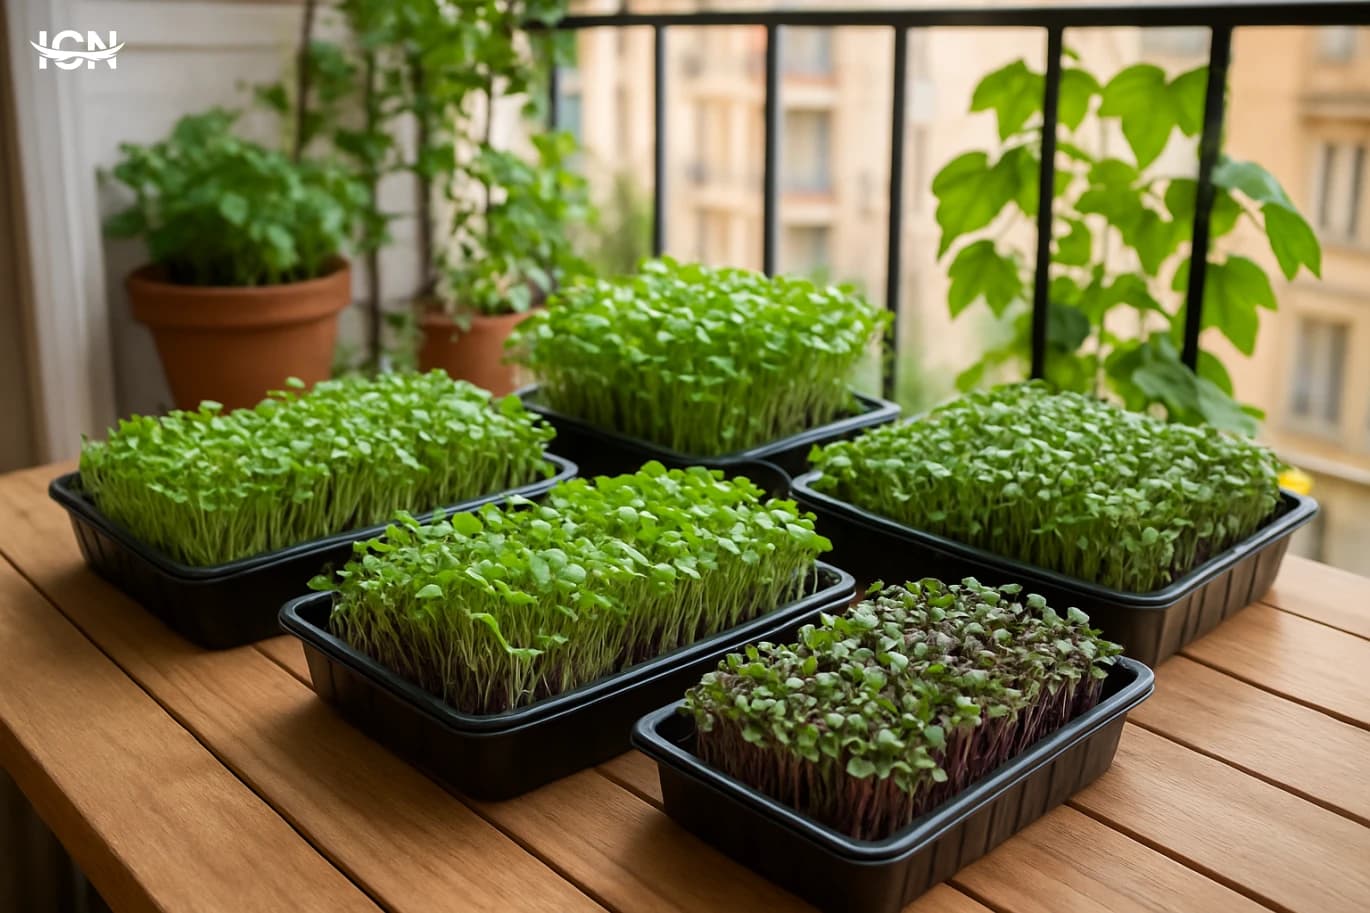
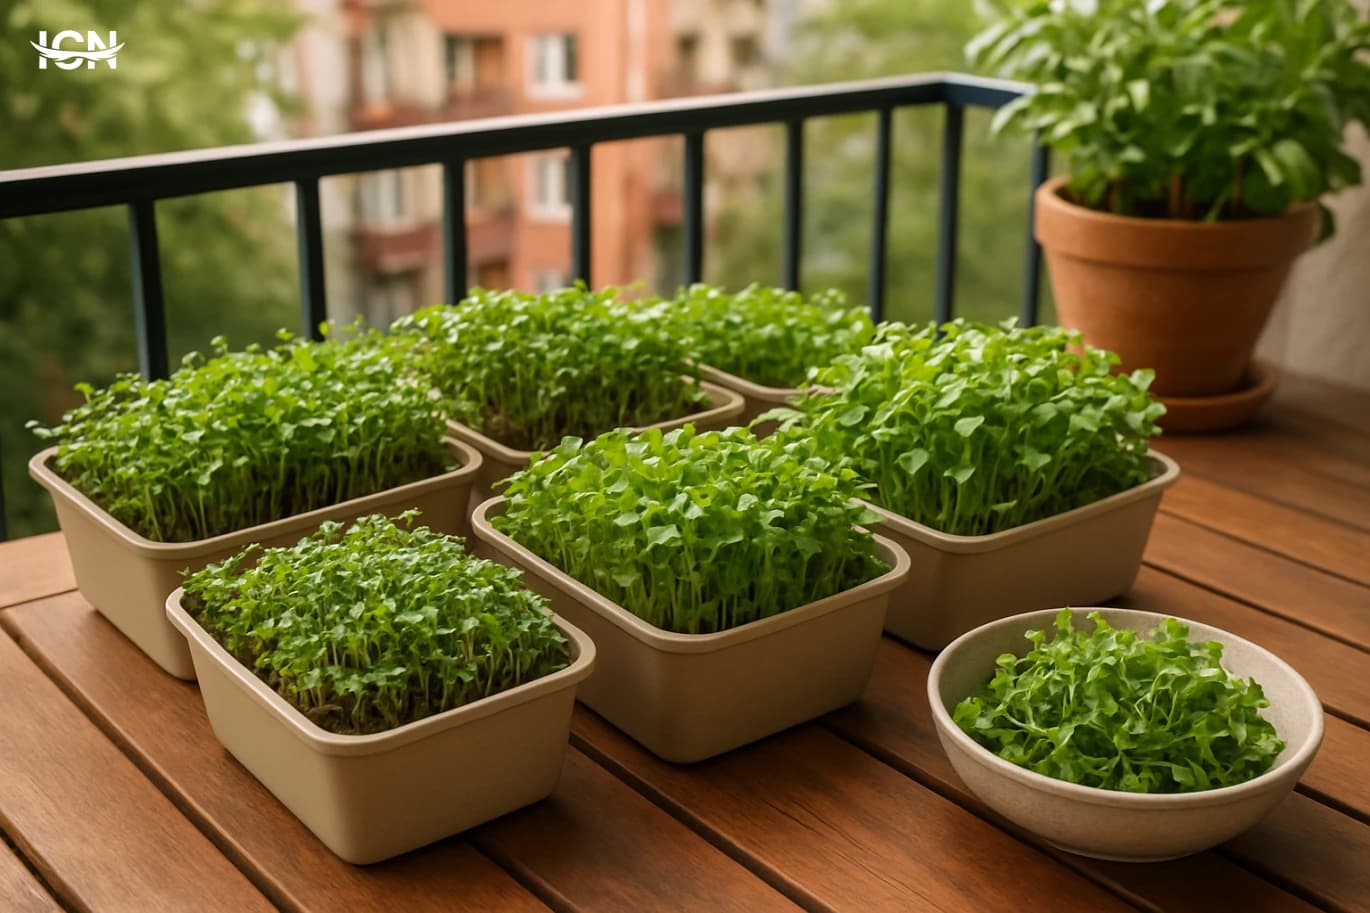
Microgreens are young edible seedlings harvested in roughly 7–21 days, which makes them one of the fastest ways to grow food at home. For apartment dwellers, they solve three common constraints at once: limited space, limited sunlight, and limited time. A single shelf, windowsill, or balcony corner can produce several trays per week, and the crop is harvested before plants need deep soil or large containers. Because you cut microgreens above the growing medium, you avoid many of the long-season problems that frustrate beginners, such as bolting, fruit set, or heavy pest pressure. From a practical home-farming perspective, microgreens also offer predictable planning. You can stagger sowing so that a tray is ready every few days, which reduces grocery runs for salad greens and sandwich toppings. They store well for a few days in the refrigerator when dried properly, and they can be grown year-round with basic indoor lighting if the balcony is too hot, cold, or shaded. Nutritionally, they add concentrated flavor and texture, so a small handful can improve meals without requiring large harvest volumes. This section sets realistic expectations: microgreens are not a full replacement for vegetables, but they are a reliable, high-frequency harvest that fits modern urban living.
Balcony Microgreens for Weekly Harvests
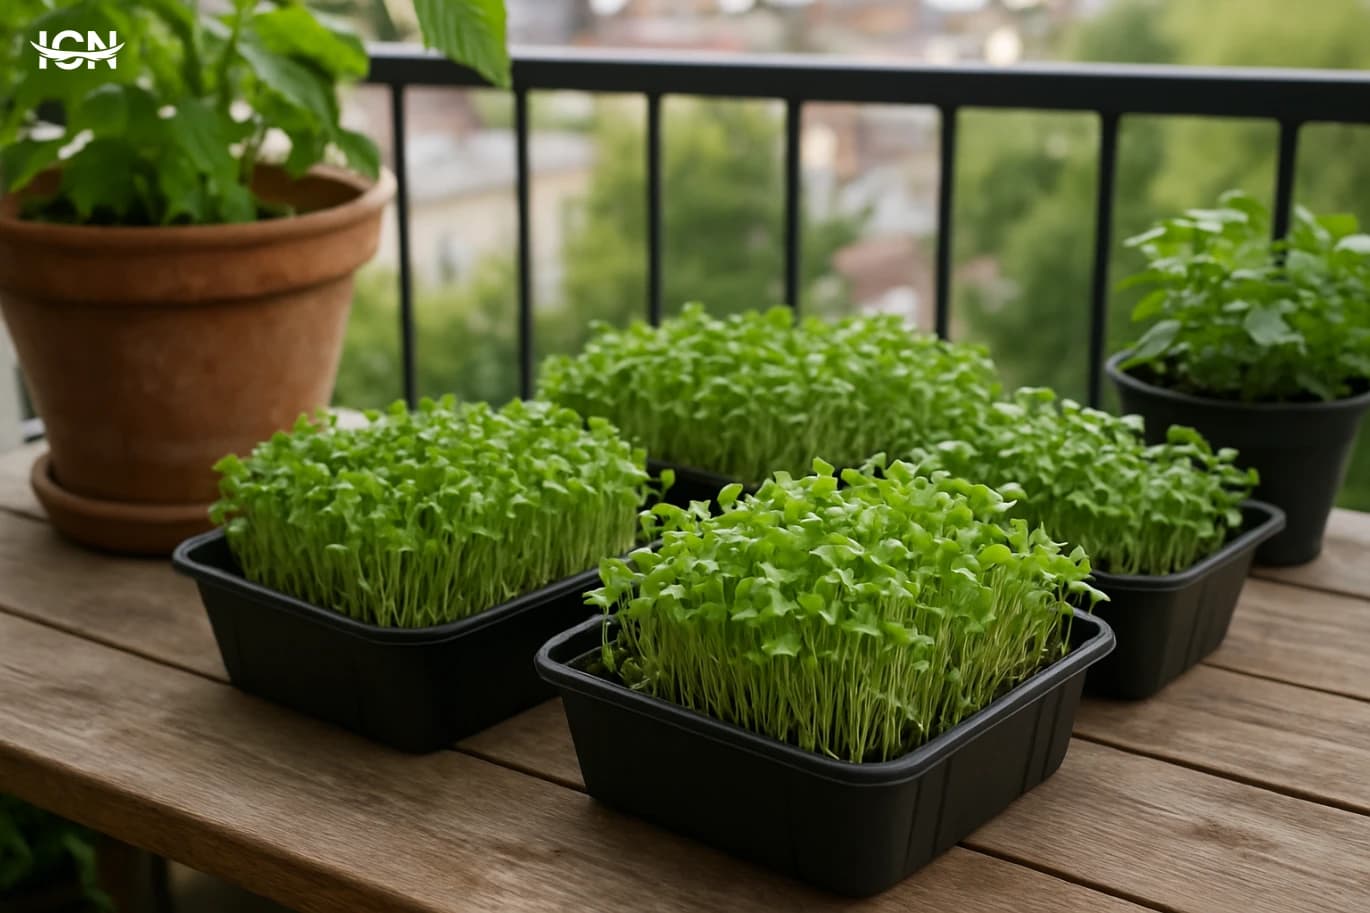
Microgreens are young edible seedlings harvested in about 7–14 days, which makes them ideal for apartments and small homes where space and sunlight are limited. Unlike many container vegetables that need weeks of growth and large pots, microgreens can be produced on a shelf, windowsill, or balcony table using shallow trays. A single tray can supply several servings for salads, sandwiches, omelets, and soups, and you can stagger plantings so something is ready every few days. Because the crop cycle is short, you can learn quickly: if one batch is too dense or too dry, the next batch can be adjusted within a week. This also reduces waste, since you harvest only what you plan to eat and can keep the rest growing for a few more days. For home farming beginners, microgreens offer a clear routine—seed, water, harvest—without complex pruning, pollination, or long-term pest management.
Balcony Microgreens for Weekly Harvests
Microgreens are young edible seedlings harvested in about 7–14 days, which makes them ideal for people who want fresh greens without a garden. A single tray can sit on a balcony table, a sunny windowsill, or a small shelf near light, and it can produce multiple servings each week. Compared with growing full-size lettuce or herbs, microgreens need less space, less time, and simpler tools, while still delivering strong flavor and crisp texture. They also help households control quality and freshness. Store-bought greens can lose moisture and aroma during transport and refrigeration, but home-grown microgreens are cut minutes before eating. This is especially useful for quick meals such as sandwiches, eggs, soups, and grain bowls. For home farming beginners, microgreens provide fast feedback: you can see results in days, learn basic watering habits, and build confidence before moving to larger containers or seasonal crops.
Balcony Microgreens for Fresh Weekly Harvests
Microgreens are young edible seedlings harvested about 7–21 days after sowing, which makes them ideal for people who want fast results without a yard. A single sunny window or a modest balcony can produce a steady supply of greens for salads, sandwiches, and garnishes. Compared with growing full-size herbs or leafy vegetables, microgreens need less space, shorter light exposure, and simpler care, because you harvest before the plants require deep roots or large containers. This topic focuses on building a reliable weekly routine rather than a one-time experiment. The goal is to set up a small “rotation” of trays so you can harvest every week with predictable quality. It also addresses common apartment constraints: limited sunlight, wind on balconies, and the need to keep the setup tidy and odor-free. With a few trays, a basic potting mix or coconut coir, and consistent watering, microgreens can become one of the most practical home-farming projects for busy households.
Balcony Microgreens for Weekly Fresh Harvests
Microgreens are young edible seedlings harvested quickly, usually 7–21 days after sowing, which makes them ideal for apartments and compact homes. A single tray can produce a dense harvest in a footprint smaller than a baking sheet, and you can run multiple trays on a shelf to create a steady weekly supply. They also reduce waste compared with buying large herb bunches that wilt in the fridge, because you cut only what you need. For home farming beginners, microgreens offer fast feedback: you can see germination, growth, and results in days, not months. They require minimal tools, no outdoor soil beds, and they can thrive on a bright windowsill or a balcony with partial sun. Nutritionally, they add concentrated flavor and texture to salads, sandwiches, eggs, and soups, helping you increase vegetable intake without changing your cooking routine. The key is consistency: a simple sowing schedule and basic hygiene deliver reliable harvests with very low ongoing cost.
April Planting Guide for a Thriving Garden
April is a transition month in many regions: days get longer, soil warms up, and growth accelerates. That combination makes it ideal for sowing fast crops and transplanting seedlings that need mild weather to establish roots. Still, April is not the same everywhere. Coastal areas may already be warm, while higher elevations can have cool nights. Before planting, check two practical indicators: soil temperature and night lows. Many vegetables germinate reliably when the top 5–10 cm of soil is around 10–18°C, while warm-season crops prefer 18–24°C. Use April to set your garden’s rhythm. Start with soil preparation, then stagger sowing every 10–14 days for continuous harvests. If your area still has chilly nights, keep lightweight frost cloth or plastic tunnels ready for sudden dips. In warmer climates, focus on moisture management and mulching early, because April sun can dry the surface quickly. The goal is to plant at the right pace: enough to fill beds, but not so much that you struggle with watering, pests, or harvesting all at once.
Balcony Microgreens for Fresh Weekly Harvests
Microgreens are young edible seedlings harvested in 7–21 days, which makes them ideal for apartments and compact homes where space and sunlight are limited. A single tray can produce a steady supply of fresh greens for sandwiches, salads, and quick meals without needing a garden bed. Compared with full-size vegetables, microgreens require shallow containers, minimal tools, and short daily attention, so they fit busy schedules. They also help reduce food waste because you harvest only what you plan to eat, and the rest stays growing until the next cut. For households trying to improve diet quality, microgreens add color and texture with a small footprint. They are also a practical entry point into home farming because results are visible quickly, which helps you learn watering, airflow, and hygiene basics before moving to larger crops.
Rainwater Gardening for Small Home Yards
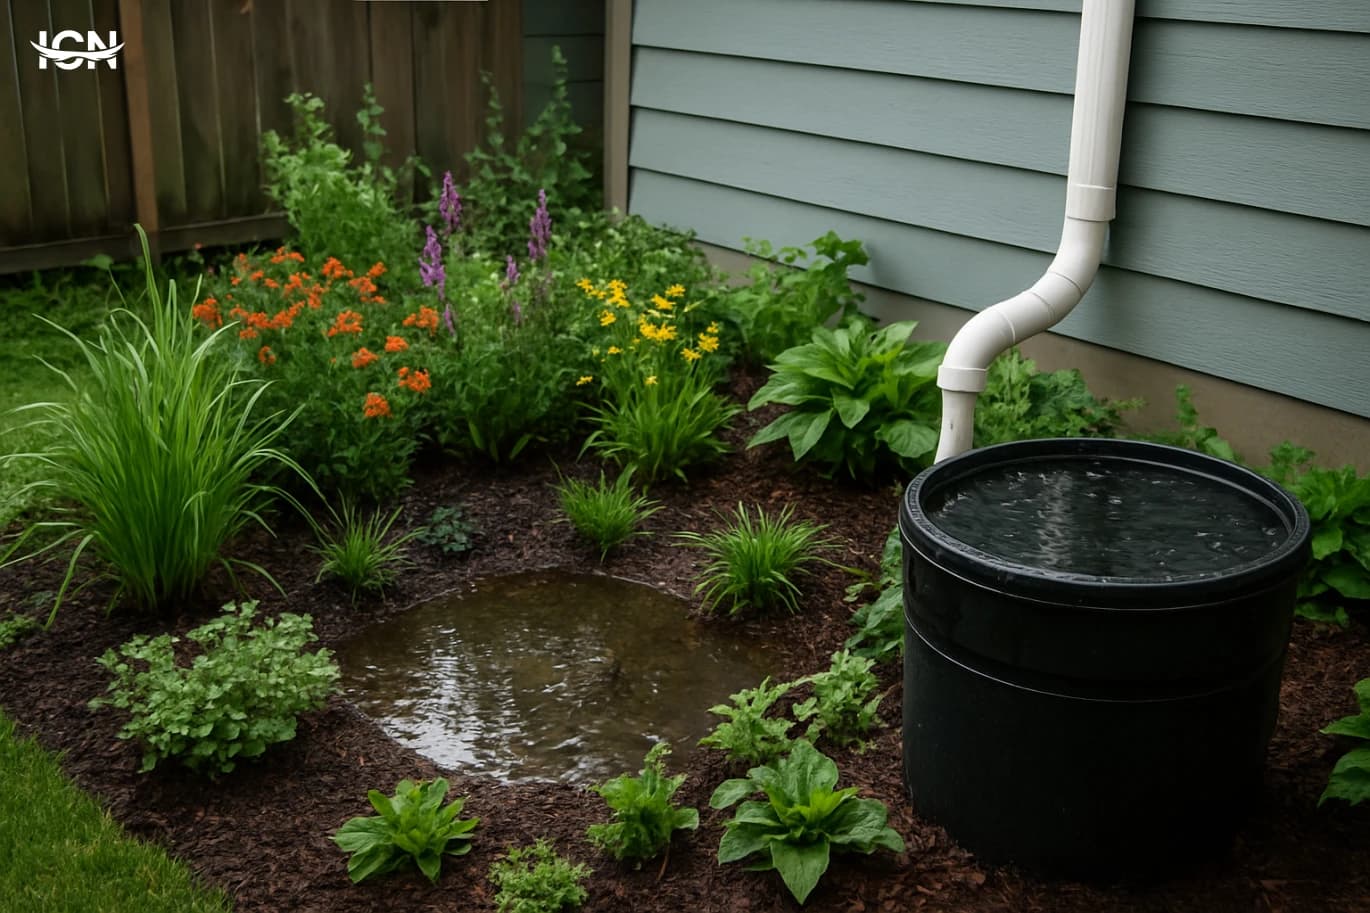
In a small yard, every watering decision shows up quickly in plant health, soil structure, and monthly utility costs. Rainwater harvesting is not only about saving money; it can also stabilize watering during hot weeks and reduce stress on container plants that dry out fast. Rainwater is typically free of the salts and additives that can accumulate when using some tap water sources, which matters when you grow herbs, leafy greens, or strawberries in pots where minerals build up over time. A practical rainwater setup also helps you plan your garden around real water availability. When you know you can store a certain number of liters, you can choose crops and planting density accordingly, rather than overplanting and then struggling to keep everything alive. For home farming, this approach supports consistent harvests: basil that stays tender, lettuce that avoids bitterness, and tomatoes that don’t swing between drought and heavy watering. The key is to treat rainwater as a managed resource with simple rules for collection, storage, and use.
Balcony Microgreens for Weekly Fresh Harvests
Microgreens are young edible seedlings harvested about 7–14 days after germination, which makes them one of the fastest ways to grow food at home. For apartment balconies and compact patios, they solve two common problems at once: limited space and inconsistent sunlight. A single tray can produce a dense, usable harvest without deep soil, large pots, or long-term plant care. Because you harvest early, you avoid many issues that frustrate new gardeners, such as bolting, fruit set, and seasonal pests. From a practical home-farming perspective, microgreens are also predictable. You can plan a weekly routine where one tray is seeded every few days, creating a steady supply for salads, sandwiches, omelets, and rice bowls. They store well for several days in the refrigerator when dried and packed properly, so you can harvest once and use them across multiple meals. The goal of this topic is to show how to set up a simple balcony system that produces a reliable weekly harvest with minimal equipment and clear, repeatable steps.
Year Round Salad Greens on a Balcony
Salad greens are one of the most reliable crops for balcony and patio growers because they deliver fast harvests, tolerate partial sun, and can be grown in shallow containers. Many varieties are ready for “cut-and-come-again” picking within 25–40 days, which means you can harvest multiple times from the same pot instead of waiting for a single large crop. This matters in small spaces where every container needs to earn its place. Greens also let you manage risk. If a heat wave, pests, or a missed watering ruins one planting, you can reseed quickly and be back to harvesting in a few weeks. Compared with fruiting plants like tomatoes or peppers, greens demand less root volume and less structural support, so you can use window boxes, fabric pots, or recycled tubs with drainage holes. A steady routine of sowing small batches every 2–3 weeks can keep bowls of fresh leaves coming even when you only have a few square meters to work with.
By clicking the SUBSCRIBE button, you are agreeing to our Privacy & Cookie Policy If you want to unsubsribe the marketing email, please proceed to our privacy center.
© 2005-2026 ICN. All Rights Reserved.