Balcony Microgreens for Fresh Weekly Harvests
- Why Microgreens Fit Small Homes
- Choosing Seeds and Safe Varieties
- A Simple Tray Setup for Balconies
- Watering, Light, and Temperature Basics
- Hygiene and Mold Prevention
- Harvesting, Storage, and Weekly Planning
Why Microgreens Fit Small Homes
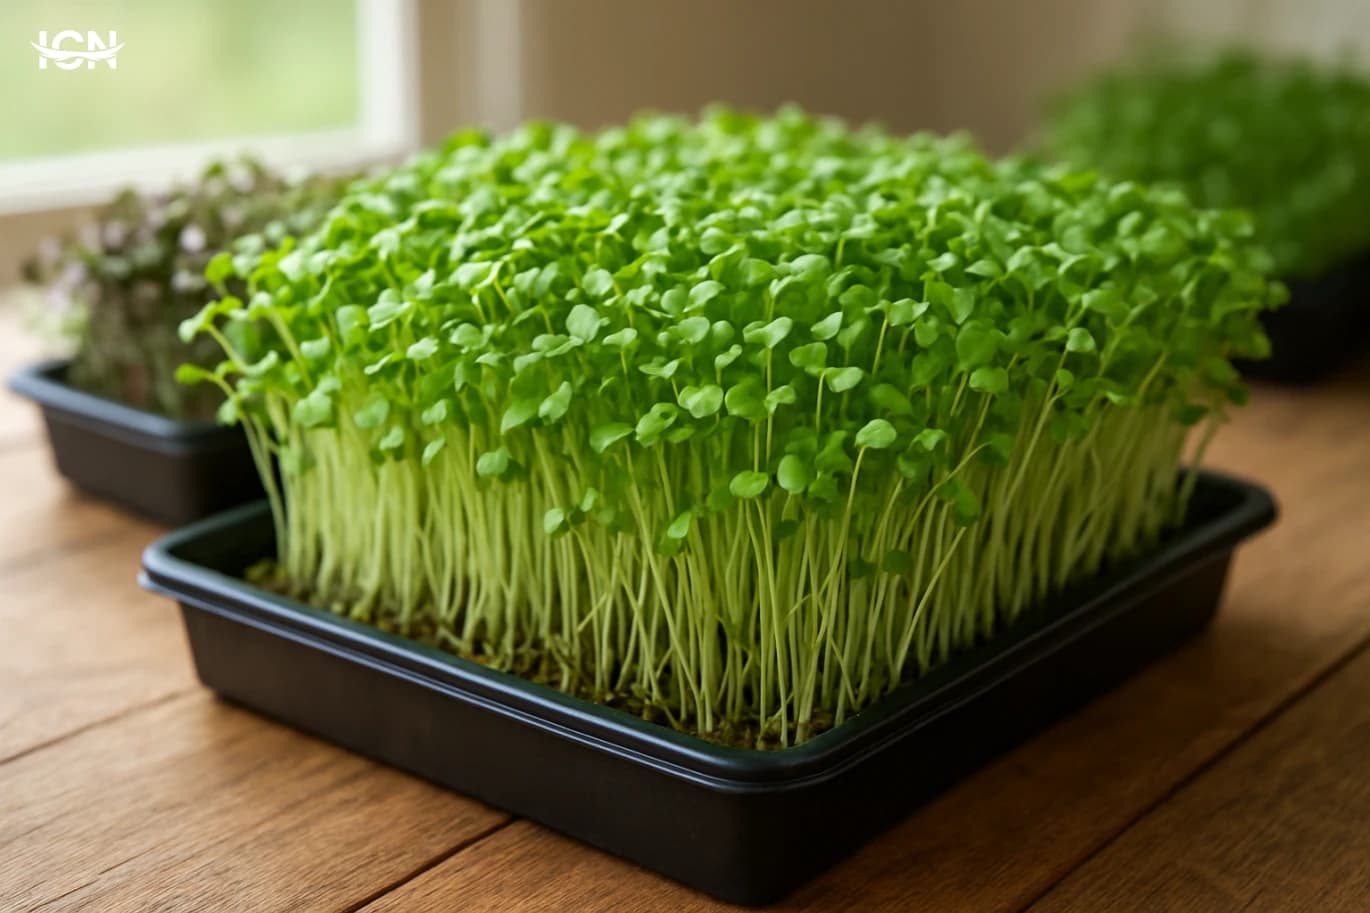
Microgreens are young edible seedlings harvested in 7–21 days, which makes them ideal for apartments and compact homes where space and sunlight are limited. A single tray can produce a steady supply of fresh greens for sandwiches, salads, and quick meals without needing a garden bed. Compared with full-size vegetables, microgreens require shallow containers, minimal tools, and short daily attention, so they fit busy schedules. They also help reduce food waste because you harvest only what you plan to eat, and the rest stays growing until the next cut. For households trying to improve diet quality, microgreens add color and texture with a small footprint. They are also a practical entry point into home farming because results are visible quickly, which helps you learn watering, airflow, and hygiene basics before moving to larger crops.
Choosing Seeds and Safe Varieties
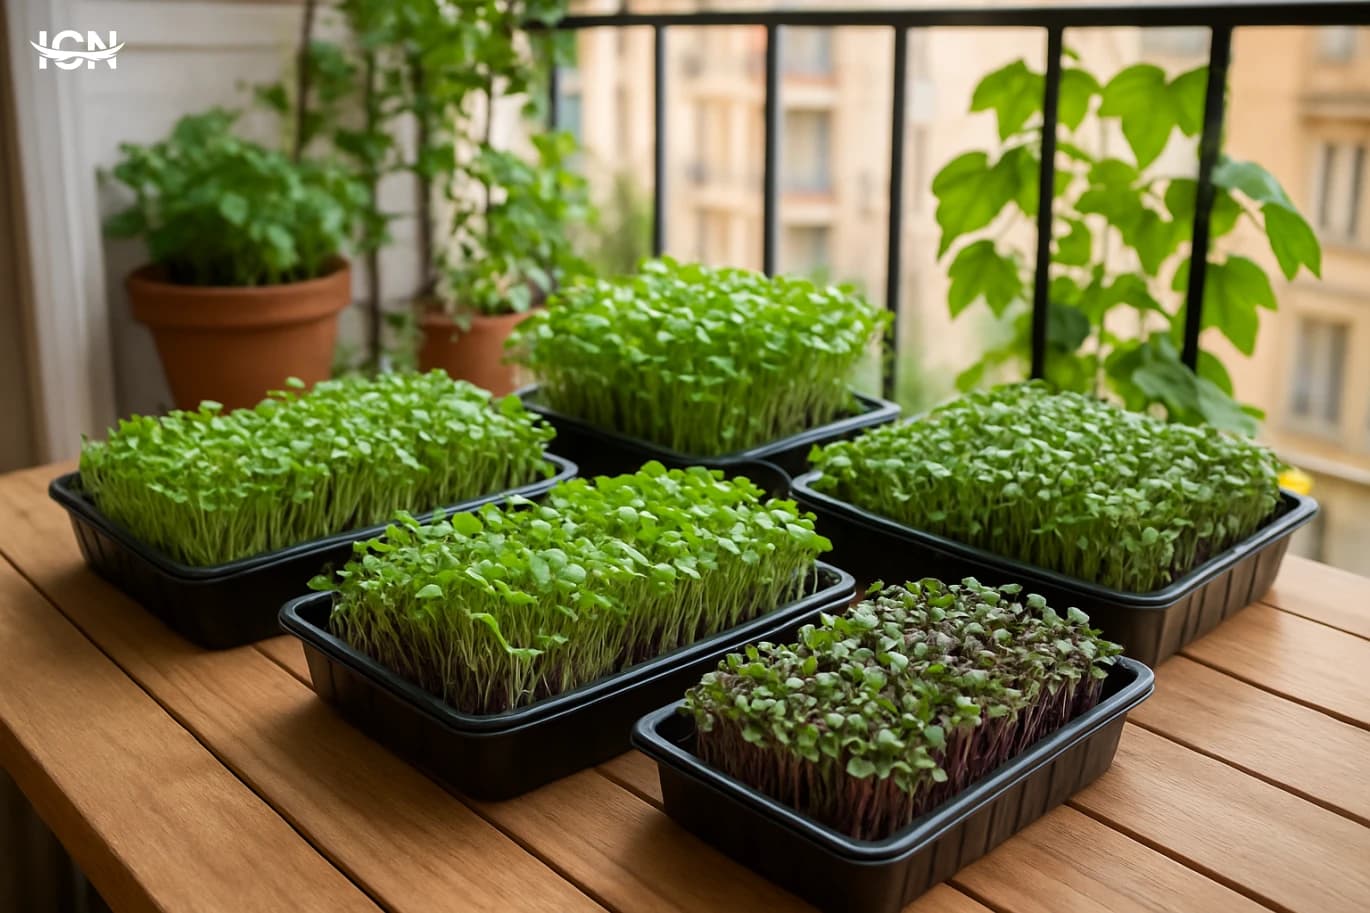
Start with seeds labeled for sprouting or microgreens, sourced from reputable suppliers that provide lot information and basic testing notes. Popular, reliable options for beginners include radish, broccoli, kale, mustard, arugula, sunflower, and pea shoots. Each has a different growth speed and flavor profile: radish is fast and peppery, peas are mild and productive, and sunflower offers a thicker stem and nutty taste. Avoid using treated garden seeds that may be coated for outdoor planting. For home setups, it helps to pick two fast crops and one slower crop so you can stagger harvests. Also consider household preferences and how you plan to use them: mild greens work well for daily topping, while stronger flavors are better as accents. If anyone in the home has food sensitivities, keep the first rounds simple and introduce new varieties one at a time.
A Simple Tray Setup for Balconies
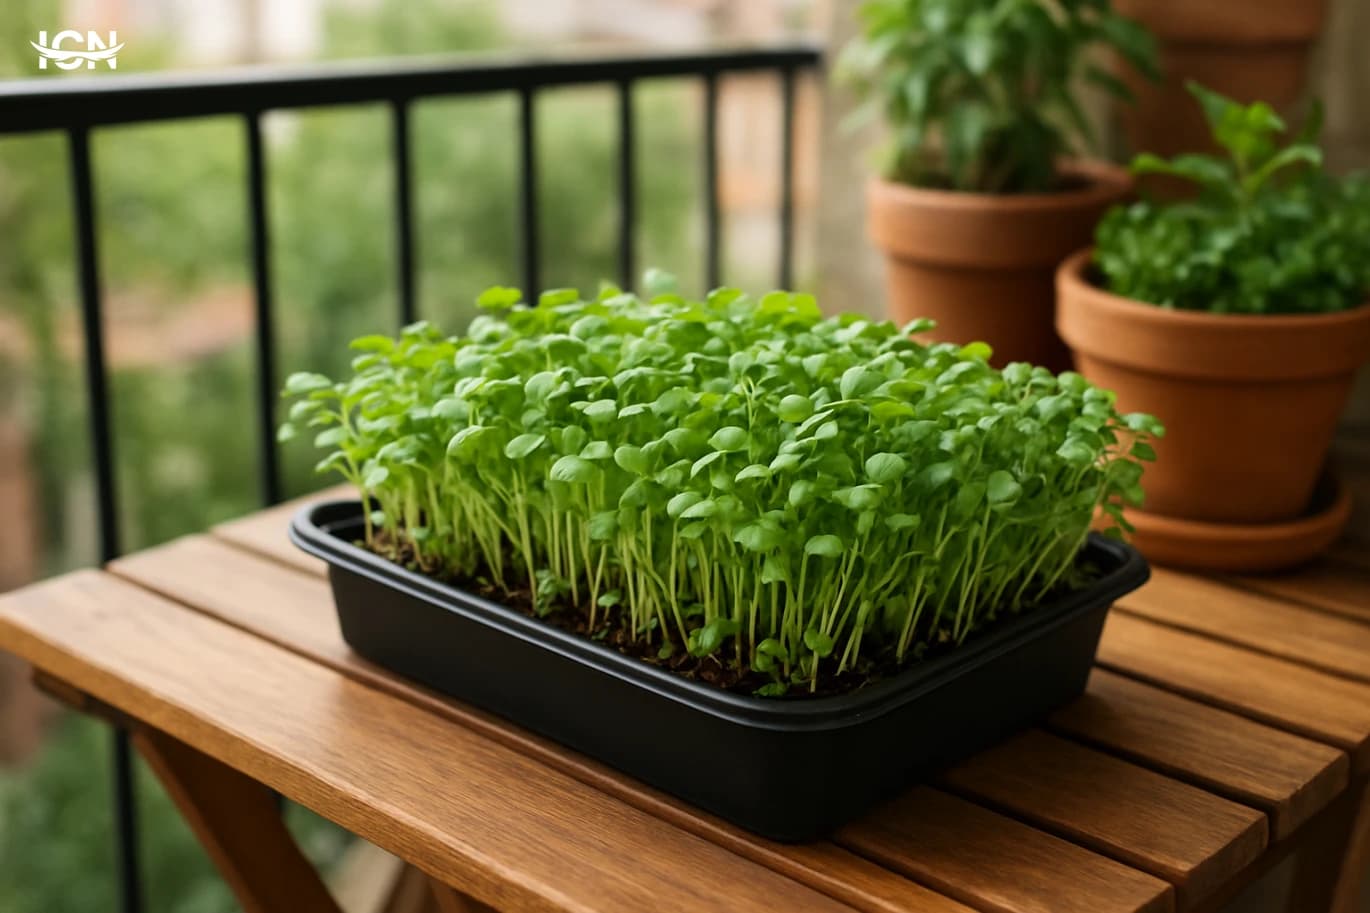
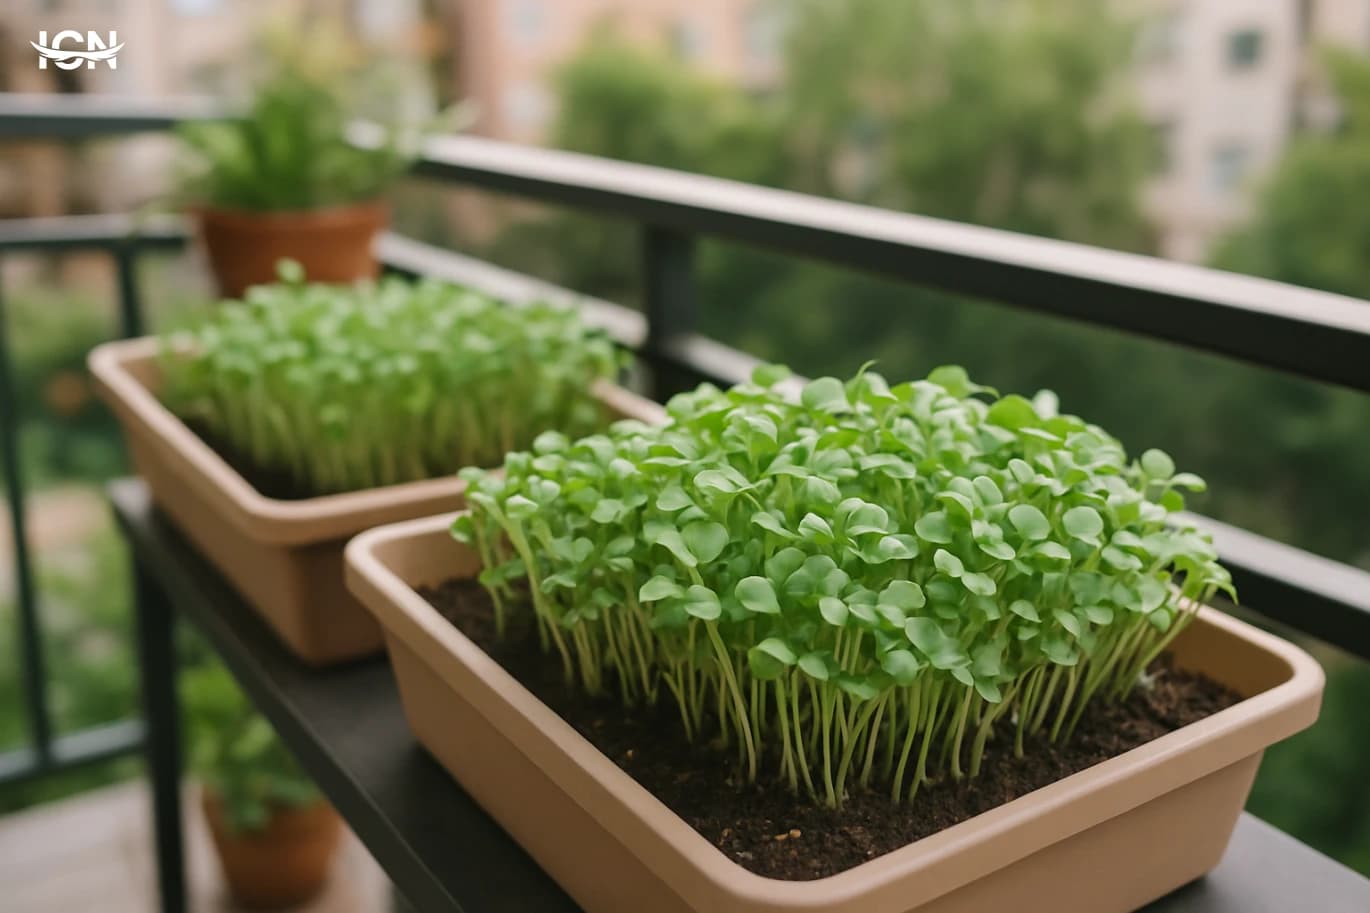
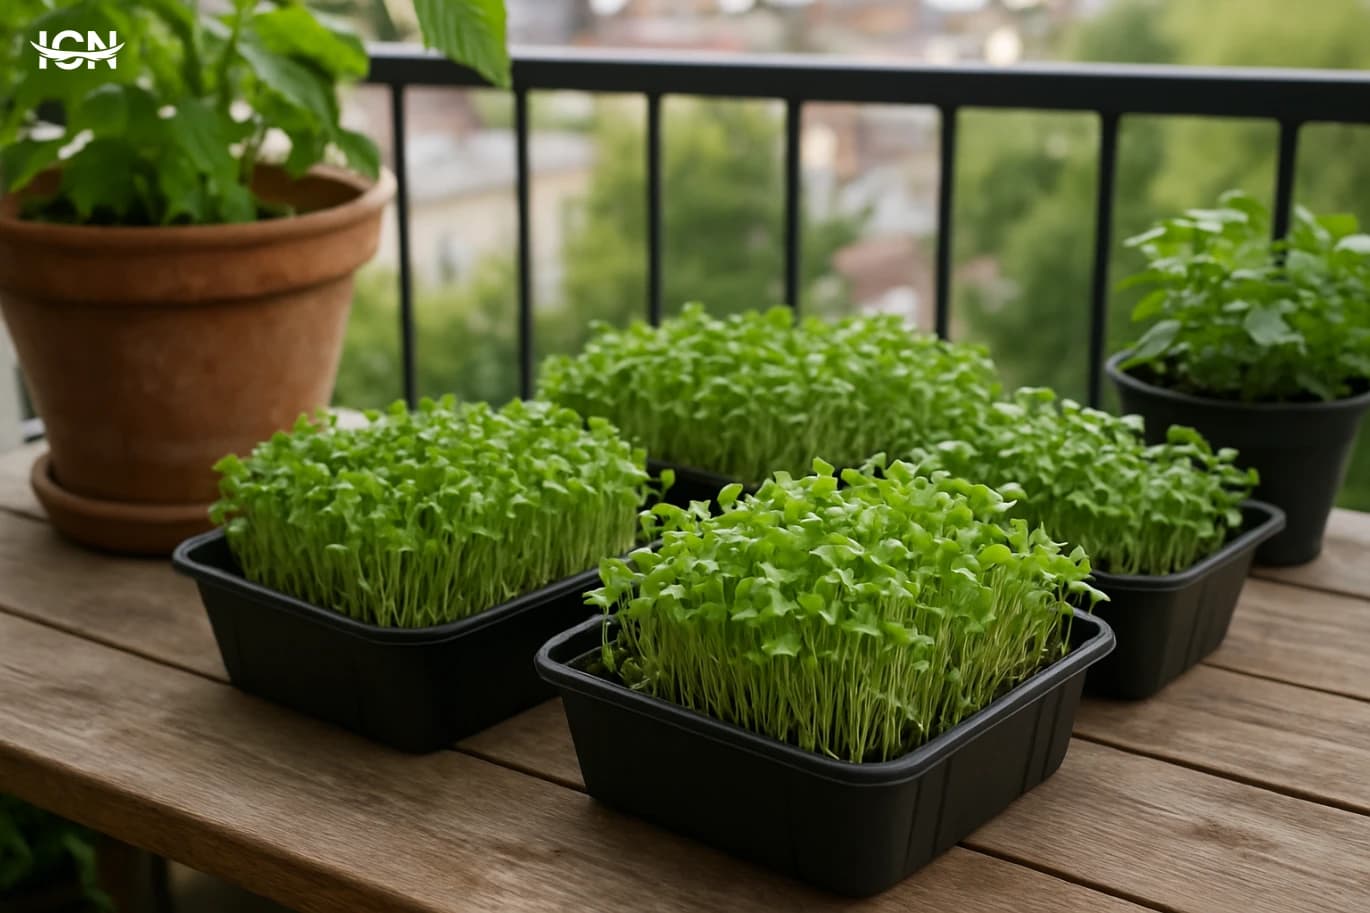
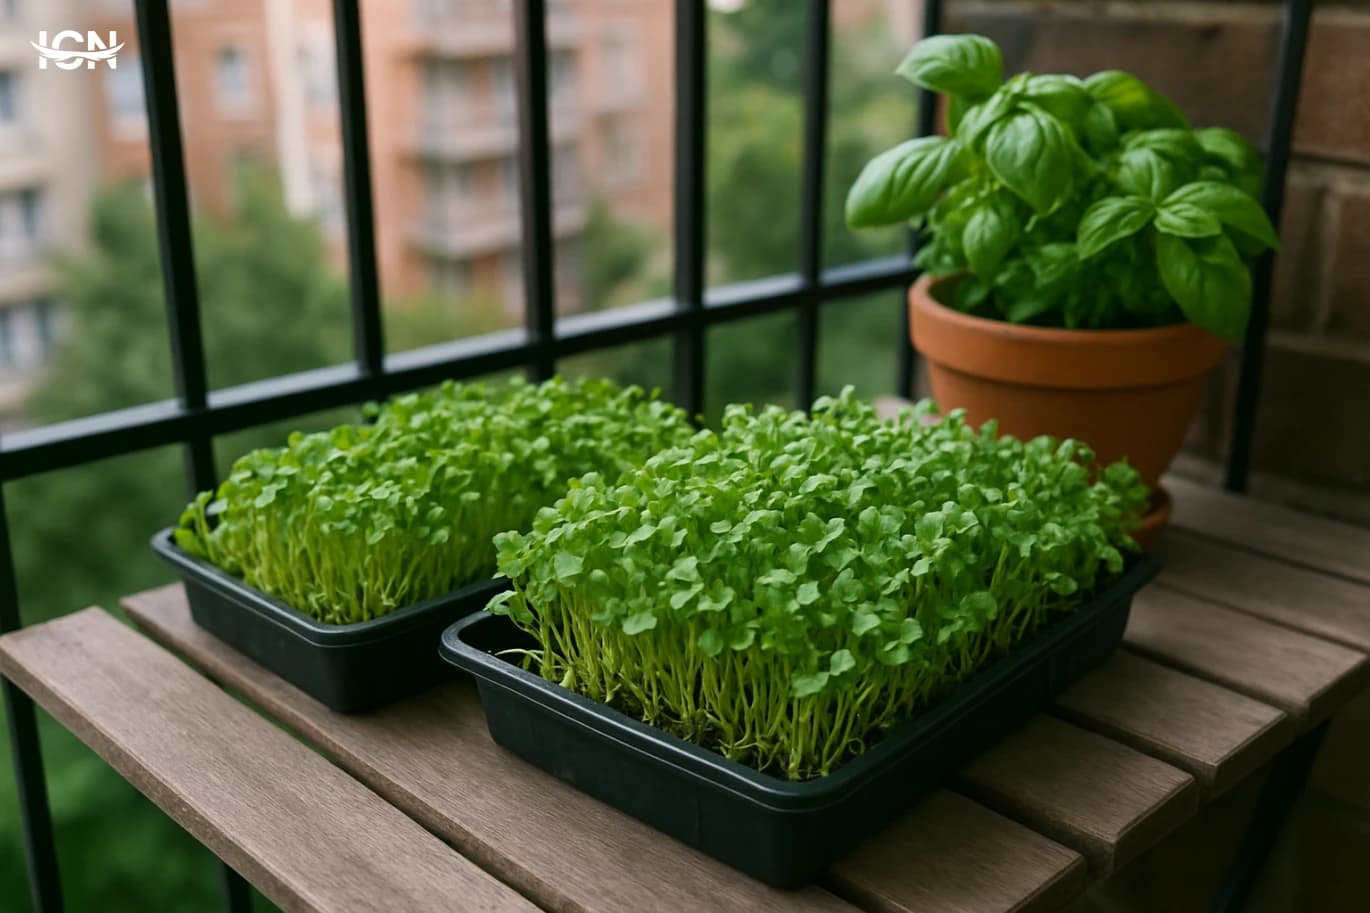
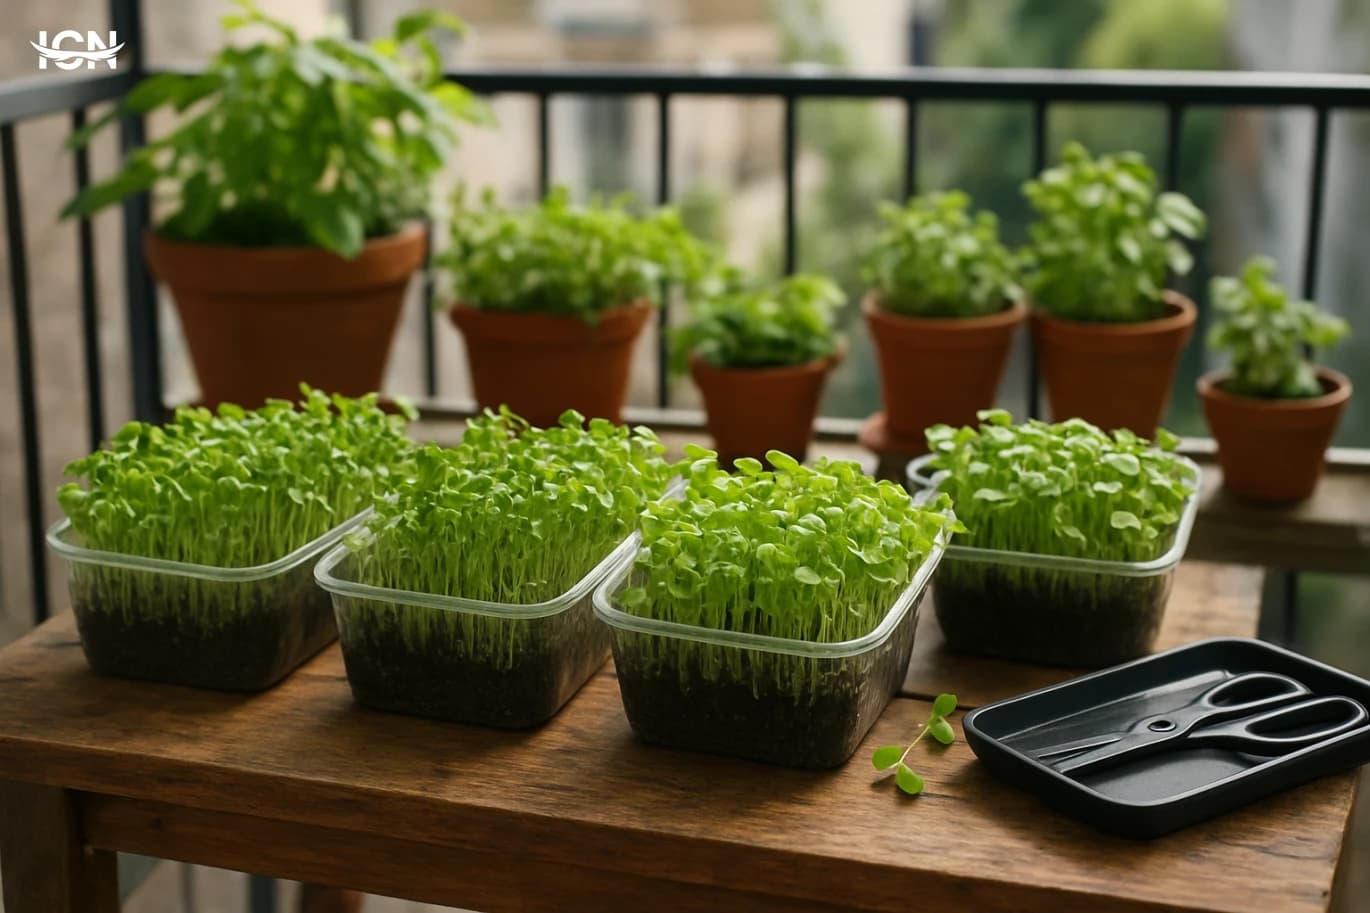
You can grow microgreens with two nesting trays: one with drainage holes and one solid tray underneath to catch water. Use a shallow growing medium such as coconut coir, a seed-starting mix, or a clean soil blend designed for indoor use. Aim for a 2–4 cm layer of medium, leveled and lightly pressed so seeds sit evenly. A small spray bottle, a measuring cup, and a clean pair of scissors are usually enough. On a balcony, place trays where they receive bright light but are protected from harsh midday sun and strong wind. If your balcony is shaded, a compact LED grow light on a timer can stabilize results; 12–16 hours of light per day is common for consistent growth. Keep the setup off the floor to reduce dust and pests, and ensure there is airflow around the trays. Label each tray with the sowing date and variety so you can track performance and improve your routine.
Watering, Light, and Temperature Basics
The most common cause of failure is overwatering. After sowing, mist the surface to settle seeds, then keep the medium evenly moist rather than wet. Bottom watering is often cleaner: add a small amount of water to the lower tray and let the medium absorb it for 10–20 minutes, then pour off any excess. This reduces mold risk on the surface and keeps stems sturdier. For germination, many growers cover the tray for 2–4 days to maintain humidity and encourage even sprouting, then uncover and move to strong light. Temperature matters: most microgreens do well around 18–24°C. In hot weather, increase airflow and water earlier in the day; in cooler weather, avoid placing trays against cold walls at night. Watch for stretching (long, pale stems), which usually indicates insufficient light. Adjust distance to the light source or move the tray to a brighter spot.
Hygiene and Mold Prevention
Because microgreens are grown densely and harvested young, cleanliness is not optional. Wash trays with hot water and mild soap between cycles, then rinse thoroughly and let them dry. Use clean tools for sowing and harvesting, and avoid reusing old medium indoors. Good airflow is a practical mold deterrent; a small fan set on low, not blowing directly onto the trays, can help keep surfaces dry. If you see fuzzy growth on the medium, first confirm whether it is root hair (common on radish and broccoli) or actual mold. Root hair usually appears uniformly around roots and disappears after misting, while mold forms irregular patches and has a musty smell. Reduce humidity by uncovering earlier, switching to bottom watering, and spacing trays so air can circulate. If mold persists, discard the tray rather than trying to salvage it for eating.
Harvesting, Storage, and Weekly Planning
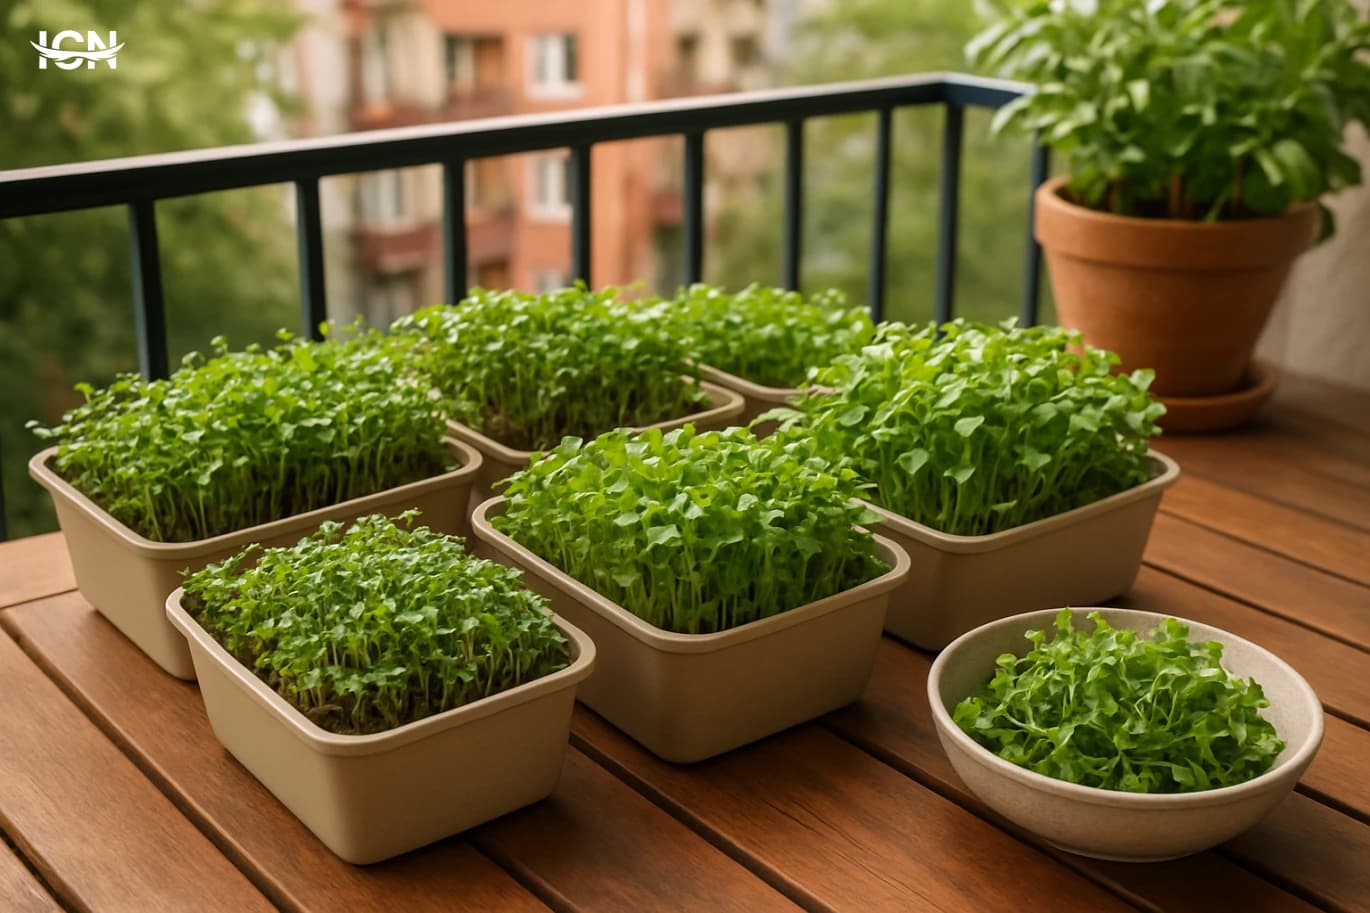
Harvest when the first true leaves begin to appear or when the greens reach 5–10 cm, depending on the variety. Use clean scissors and cut just above the medium to avoid bringing soil into the kitchen. For best flavor and texture, harvest when the greens are dry, typically later in the morning after any surface moisture has evaporated. Store microgreens in a breathable container lined with a paper towel to manage moisture, and keep them in the refrigerator. Most varieties stay in good condition for 3–7 days, with peas and sunflower often lasting longer than delicate brassicas. To create a weekly rhythm, sow one tray every 3–4 days: for example, radish on day 1, broccoli on day 4, peas on day 7. This staggered approach delivers continuous harvests and helps you learn which crops match your balcony conditions. Track results in a simple note: sowing density, days to harvest, and any issues with light or watering, then adjust the next cycle.