Balcony Microgreens for Weekly Fresh Harvests
- Why microgreens fit small homes
- Choosing seeds and safe supplies
- A repeatable weekly planting schedule
- Light, temperature, and balcony placement
- Harvesting, storage, and kitchen use
- Troubleshooting common failures
Why microgreens fit small homes
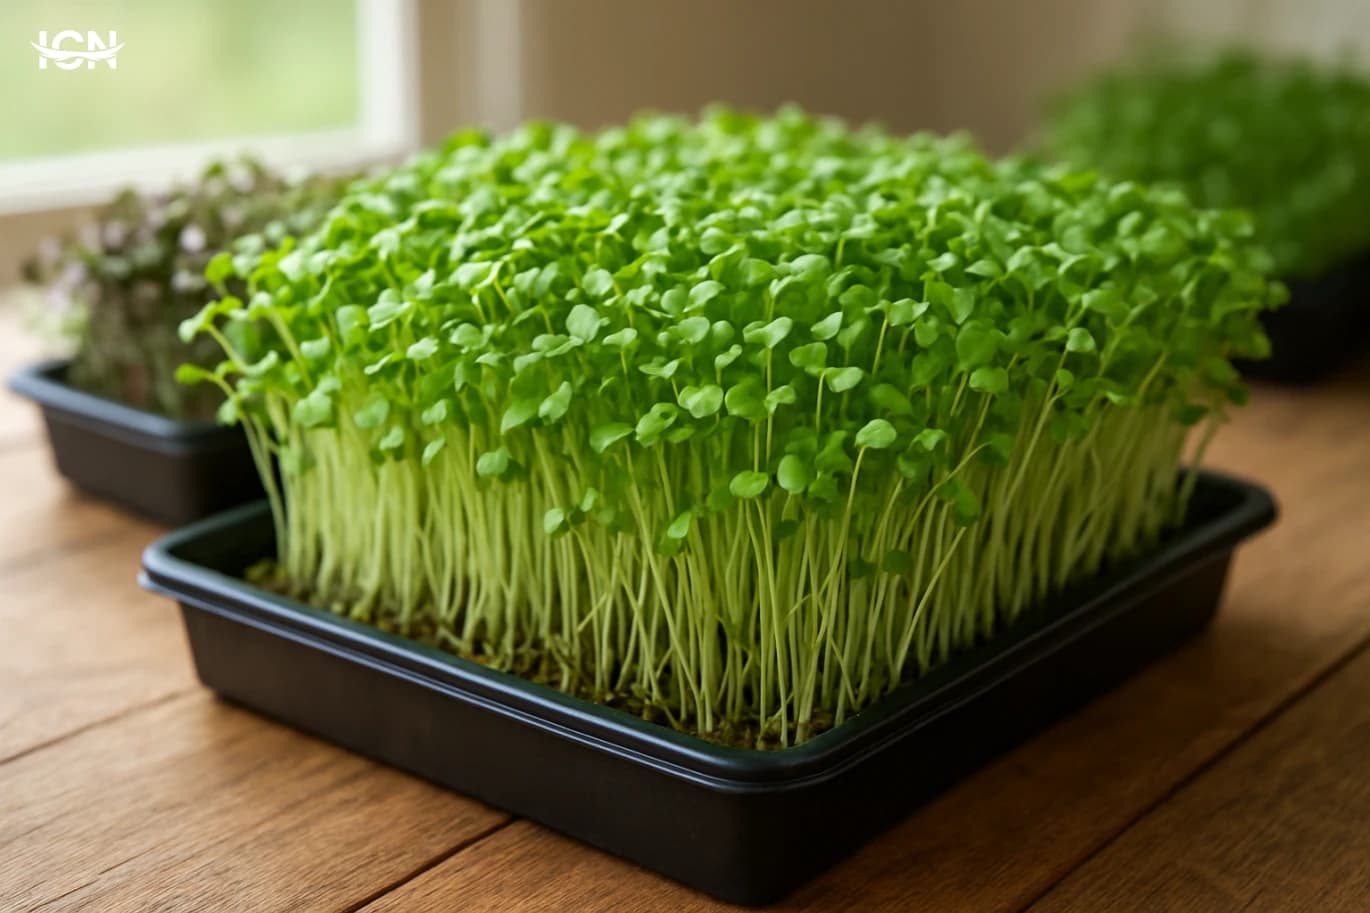
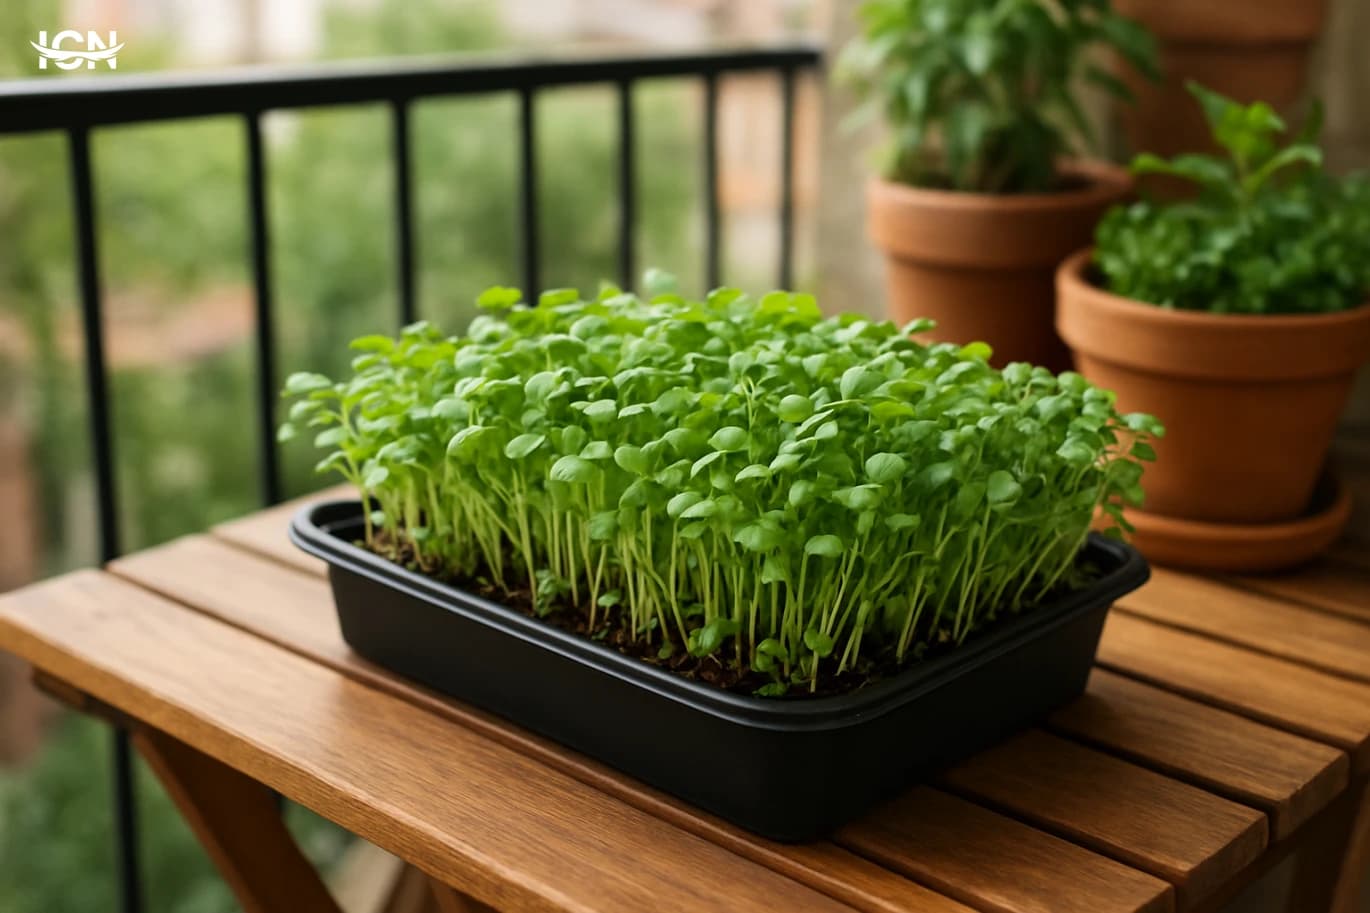
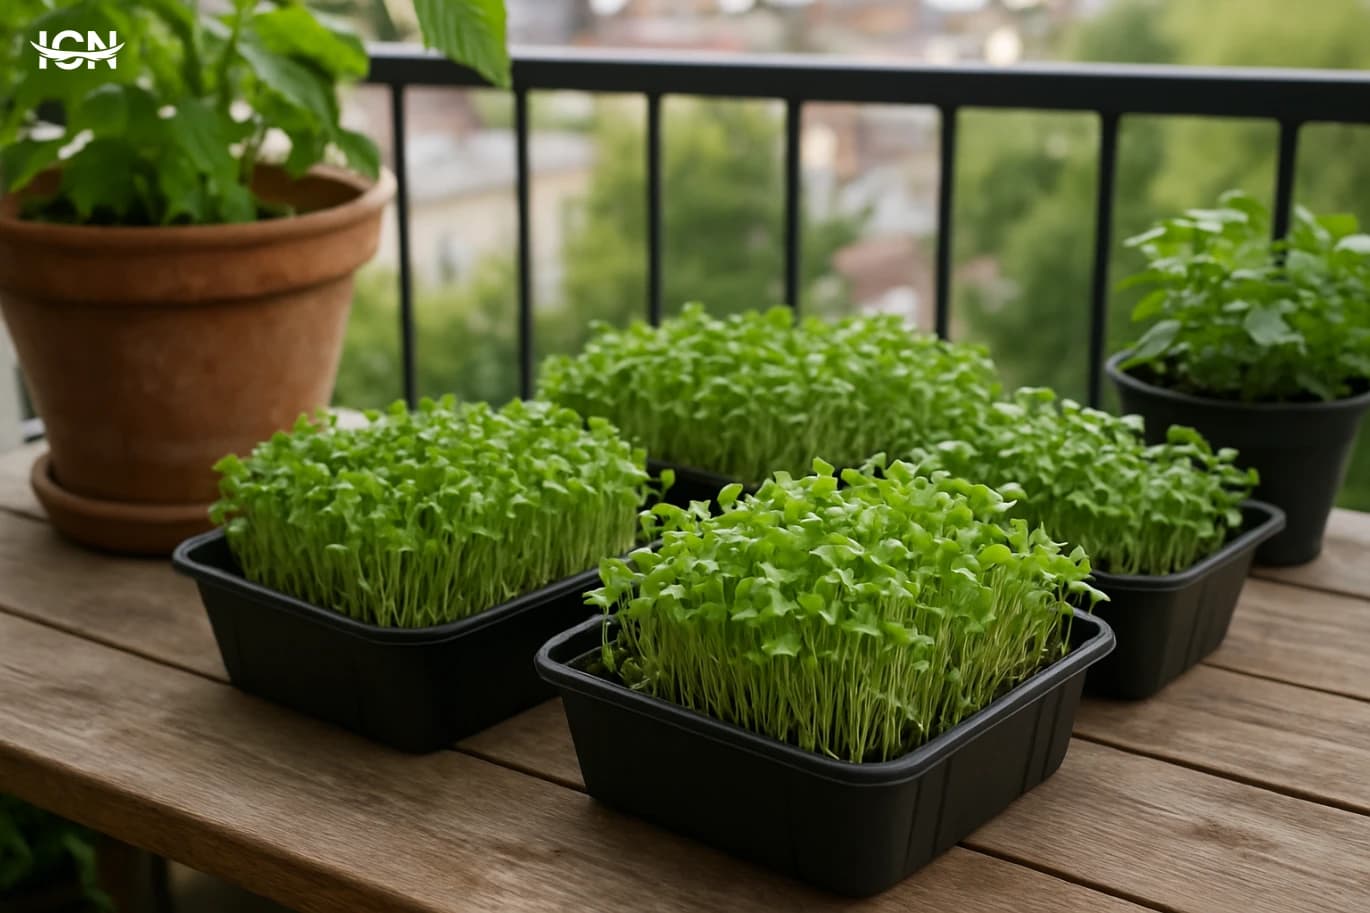
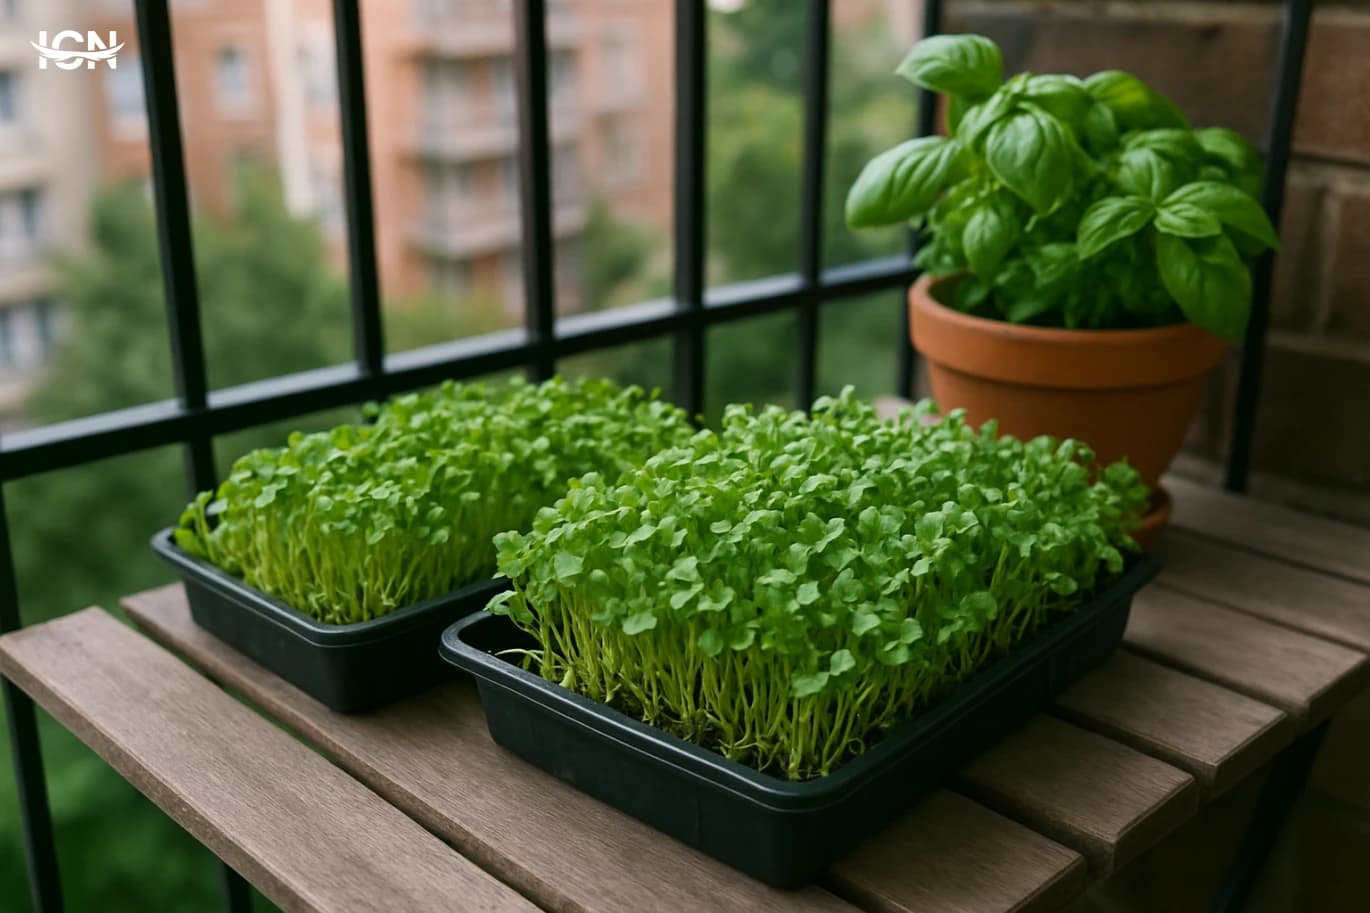
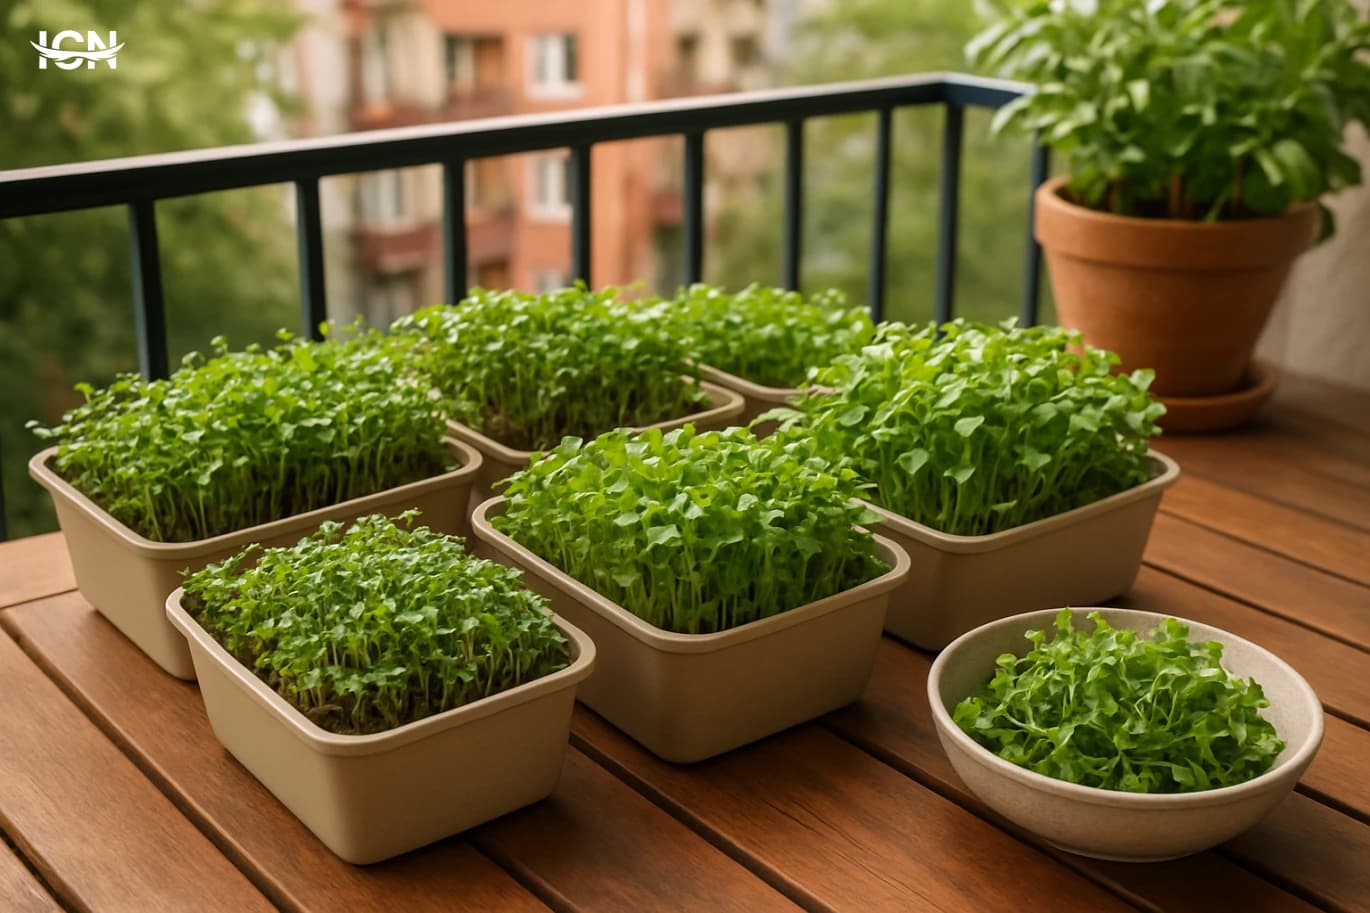
Microgreens are young edible seedlings harvested about 7–14 days after germination, which makes them one of the fastest ways to grow food at home. For apartment balconies and compact patios, they solve two common problems at once: limited space and inconsistent sunlight. A single tray can produce a dense, usable harvest without deep soil, large pots, or long-term plant care. Because you harvest early, you avoid many issues that frustrate new gardeners, such as bolting, fruit set, and seasonal pests. From a practical home-farming perspective, microgreens are also predictable. You can plan a weekly routine where one tray is seeded every few days, creating a steady supply for salads, sandwiches, omelets, and rice bowls. They store well for several days in the refrigerator when dried and packed properly, so you can harvest once and use them across multiple meals. The goal of this topic is to show how to set up a simple balcony system that produces a reliable weekly harvest with minimal equipment and clear, repeatable steps.
Choosing seeds and safe supplies
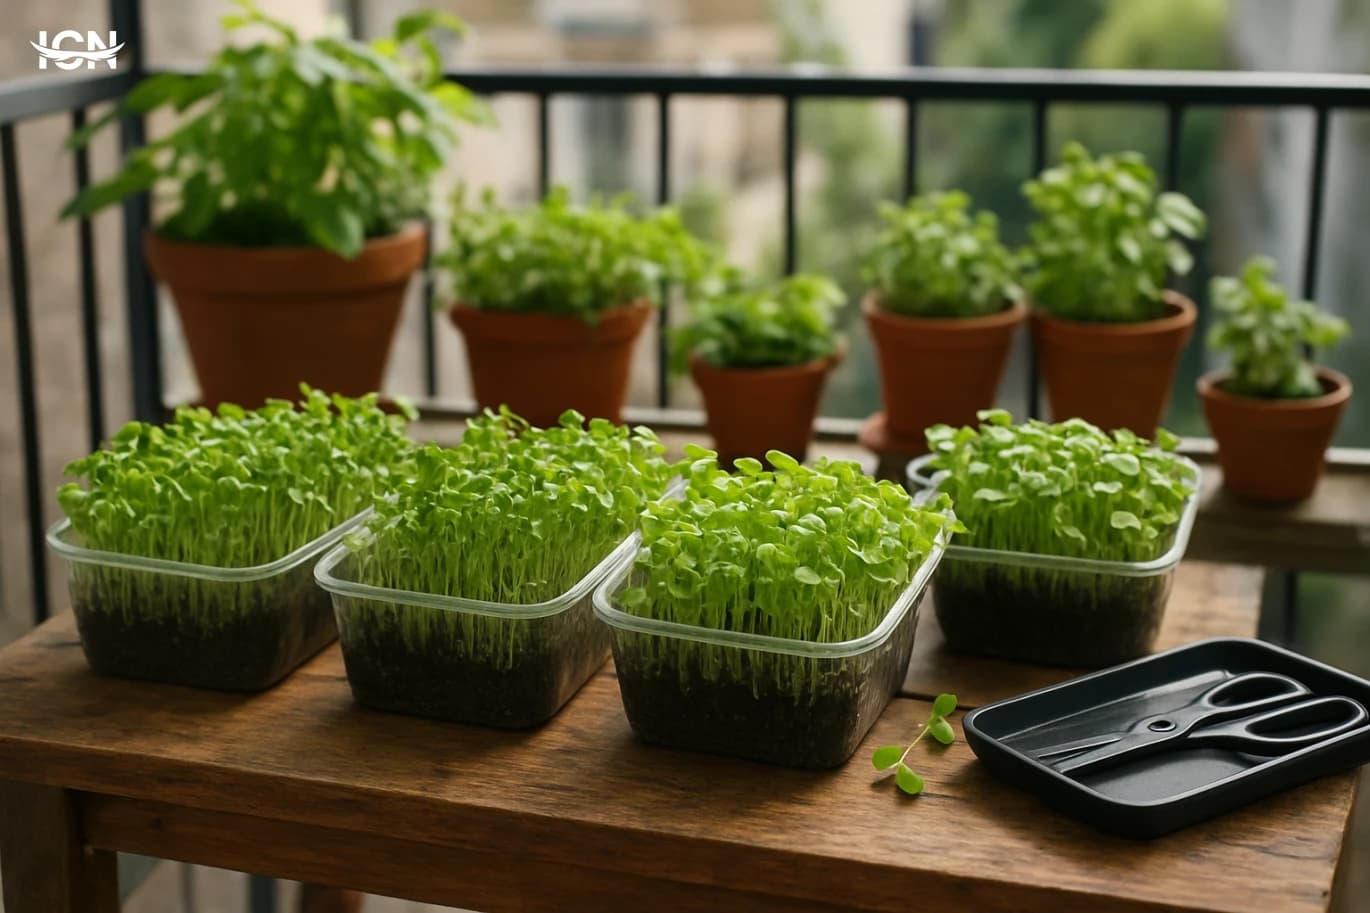
Start with seeds sold specifically for sprouting or microgreens, because they are typically cleaned and handled with food use in mind. Popular beginner varieties include radish (fast and spicy), broccoli (mild), sunflower (nutty), pea shoots (sweet), and mustard (peppery). For a weekly harvest plan, choose at least two speed categories: quick growers like radish and mustard for 7–10 days, and slightly slower options like peas and sunflower for 10–14 days. This mix helps you avoid gaps in supply. For containers, shallow trays work best. Many home growers use a two-tray method: one tray with drainage holes nested inside a solid tray to catch runoff. If you prefer to avoid plastic, look for food-grade trays or sturdy reusable options that can be sanitized. You will also need a growing medium. Coconut coir is clean and consistent, while a seed-starting mix can work if it is fine-textured and free of large wood pieces. Avoid garden soil from outdoors on a balcony tray because it compacts, drains poorly, and can introduce pests. Basic tools include a small spray bottle or watering can with a gentle rose, scissors for harvesting, and a clean container for storage. If your balcony has limited sun, a simple LED grow light can stabilize results, but it is not mandatory if you have a bright window or several hours of indirect light. The key is to keep supplies food-safe and easy to clean so your routine stays consistent.
A repeatable weekly planting schedule
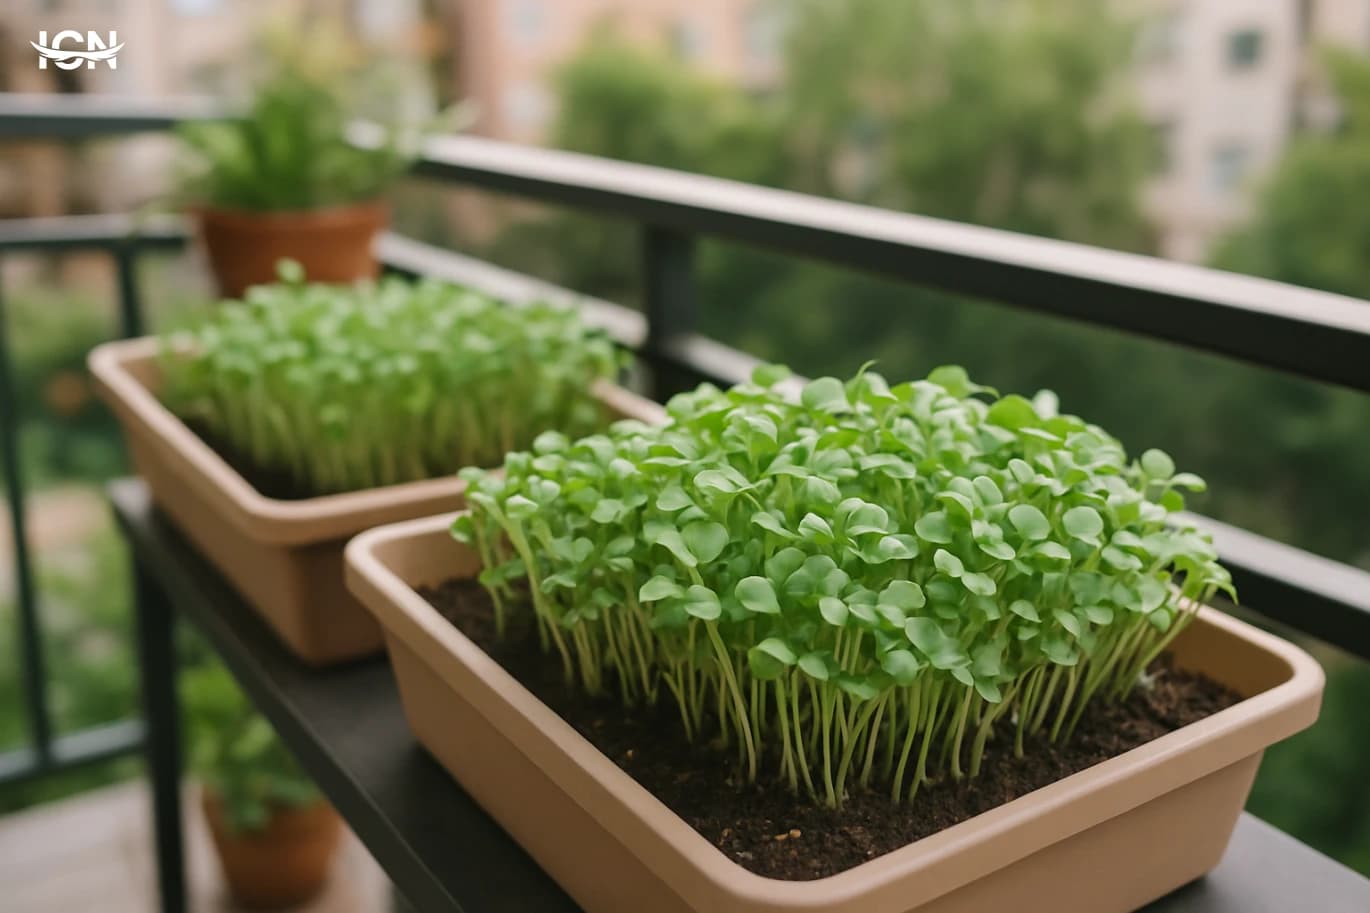
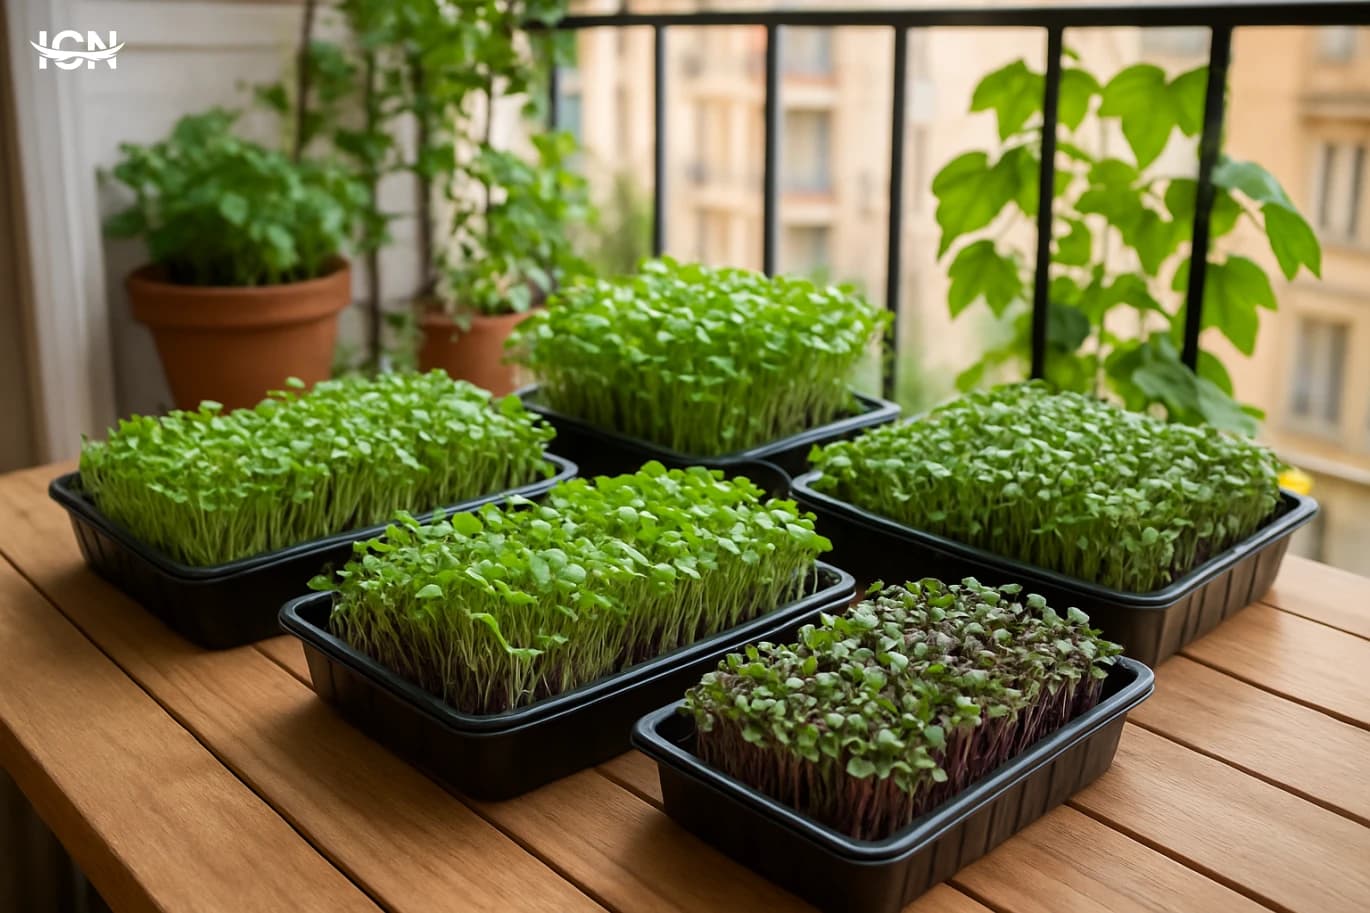
A reliable microgreens routine depends on staggering trays. A simple plan uses three trays in rotation. On Day 1, seed Tray A with a fast variety like radish. On Day 4, seed Tray B with broccoli or mustard. On Day 7, seed Tray C with peas or sunflower. By the end of Week 2, you will be harvesting one tray while another is mid-growth and a third is just starting. This creates a weekly harvest rhythm without needing many trays. Seeding density matters. Too sparse and you waste space; too dense and airflow drops, increasing the risk of mold. As a general approach, spread seeds in a single even layer with minimal overlap. Larger seeds like peas and sunflower need more space than tiny brassica seeds. After sowing, mist the surface, then cover the tray for a short blackout period to encourage strong stems. Many growers place an empty tray on top and add a light weight for 1–3 days, especially for peas and sunflower, to help roots anchor. Once most seeds have sprouted, remove the cover and move the tray to bright light. Water from the bottom when possible by adding a small amount of water to the lower tray and letting the medium wick it up. This keeps leaves drier and reduces fungal issues. In warm weather, check moisture twice daily because shallow trays dry faster on balconies. The schedule works best when you treat it like a small kitchen habit: seed on set days, check moisture at the same time each morning, and harvest on a predictable day each week.
Light, temperature, and balcony placement
Microgreens do not need full sun all day, but they do need strong light once uncovered to stay compact and flavorful. On many balconies, the best spot is bright shade or morning sun with protection from harsh afternoon heat. If trays receive intense midday sun through glass or in a windless corner, the medium can dry quickly and seedlings may wilt. A simple fix is to move trays slightly back from the railing, use a light shade cloth, or place them where they get several hours of bright indirect light. Temperature affects speed and quality. Most microgreens perform well around typical indoor comfort ranges, roughly 18–24°C. In hotter conditions, growth can accelerate but stems may become thinner and watering needs increase. In cooler conditions, germination slows and harvest dates shift later, which matters for your weekly schedule. If your balcony is exposed to cold nights, start trays indoors for the first few days and move them out once they are established. Airflow is often overlooked. Gentle air movement helps prevent damp surfaces and reduces mold risk. Avoid sealing trays in humid corners or stacking them too tightly. If you use a grow light indoors, keep it close enough to prevent stretching, and run it consistently each day. The practical goal is stable conditions: consistent light after sprouting, moderate temperatures, and enough airflow to keep leaves dry between waterings.
Harvesting, storage, and kitchen use
Harvest timing is straightforward: cut when the first true leaves begin to appear or when the tray looks dense and upright, depending on the variety. Use clean scissors and cut just above the growing medium to avoid bringing soil or coir into your food. Harvesting in the morning often gives crisper greens because plants are well-hydrated. For storage, keep microgreens as dry as possible. If you must rinse them, do it quickly and dry thoroughly using a salad spinner or clean towels. Then store in a breathable container lined with a paper towel to absorb excess moisture. Most microgreens hold quality for 3–5 days in the refrigerator, though pea shoots and sunflower can last a bit longer if kept dry. In the kitchen, treat microgreens as a finishing ingredient rather than something you cook heavily. Add them to salads, top soups after serving, mix into sandwiches, or sprinkle over eggs and roasted vegetables. If you are planning weekly harvests, build meals around the flavors: radish and mustard for spicy notes, broccoli for mild crunch, and peas for sweetness. This section can also cover a simple household metric: weigh one harvest to understand how many trays you need per week, then adjust your seeding schedule accordingly.
Troubleshooting common failures
The most common issue is mold, often mistaken for root hairs. Root hairs look like fine fuzz attached to roots and disappear when misted, while mold tends to spread across the medium and smells musty. To reduce mold risk, avoid overwatering, improve airflow, and keep leaves dry by bottom watering. Also sanitize trays between cycles using hot soapy water and a mild disinfecting rinse, then dry completely. Leggy, pale microgreens usually indicate insufficient light after the blackout period. Move trays to brighter conditions immediately after sprouting, or add a small grow light positioned close enough to keep seedlings compact. Uneven growth often comes from uneven moisture or an unlevel surface; ensure the tray sits flat and water consistently. If germination is poor, check seed freshness and soaking needs. Large seeds like peas and sunflower often benefit from soaking for 6–12 hours before sowing, while tiny seeds generally do not. Finally, if the medium dries too fast on a windy balcony, use a simple windbreak or move trays to a more sheltered spot. Troubleshooting is easiest when you change one variable at a time and keep notes on seeding date, variety, and harvest results, so your weekly system becomes more predictable over time.