Balcony Microgreens for Weekly Harvests
- Why Microgreens Fit Small Homes
- Choosing Seeds and Safe Varieties
- Trays, Soil, and a Clean Setup
- Sowing, Watering, and Light on a Balcony
- Harvest Timing, Storage, and Food Use
- Troubleshooting and a Simple Weekly Schedule
Why Microgreens Fit Small Homes
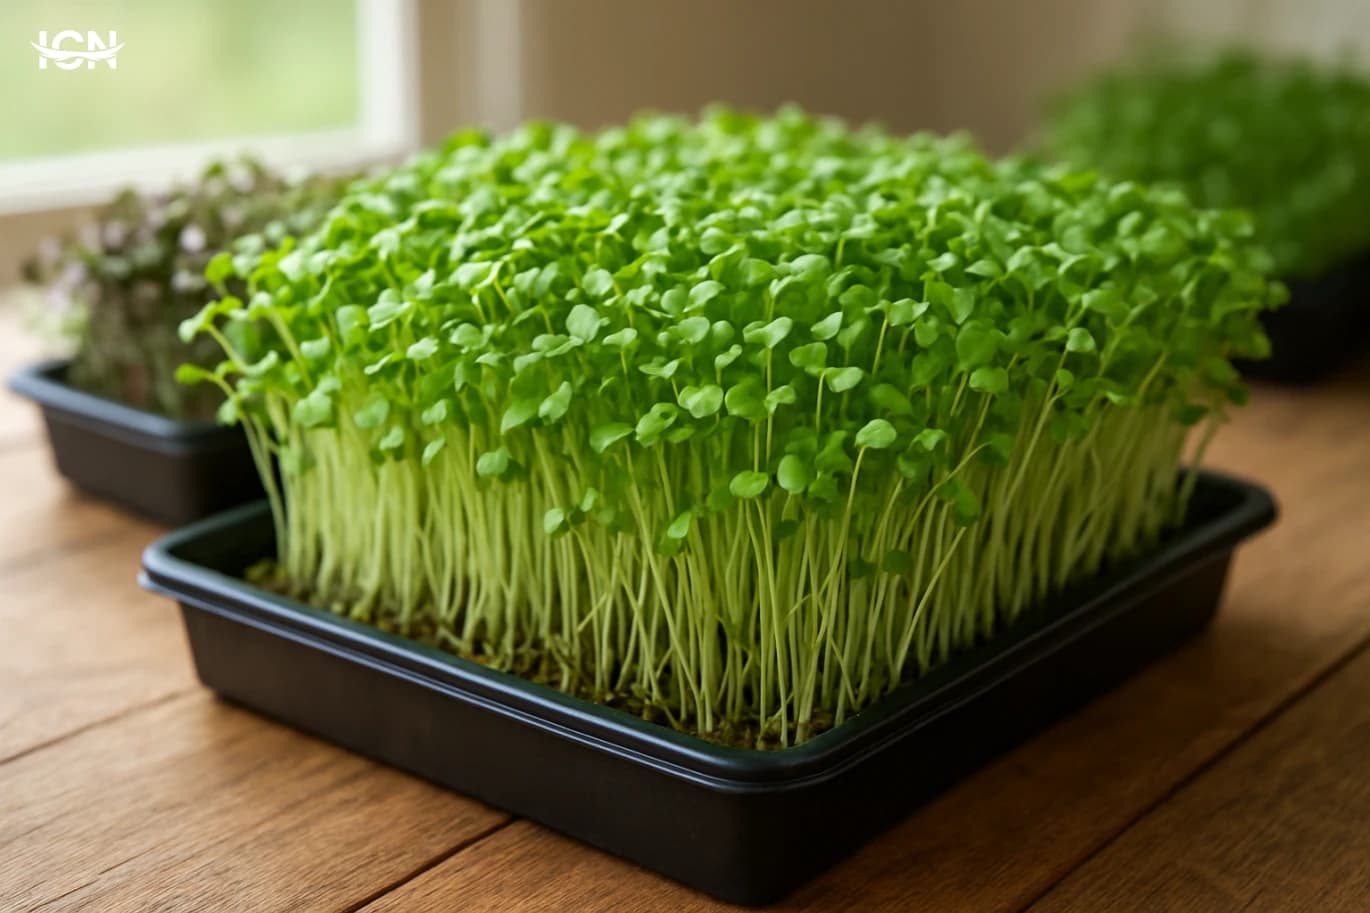
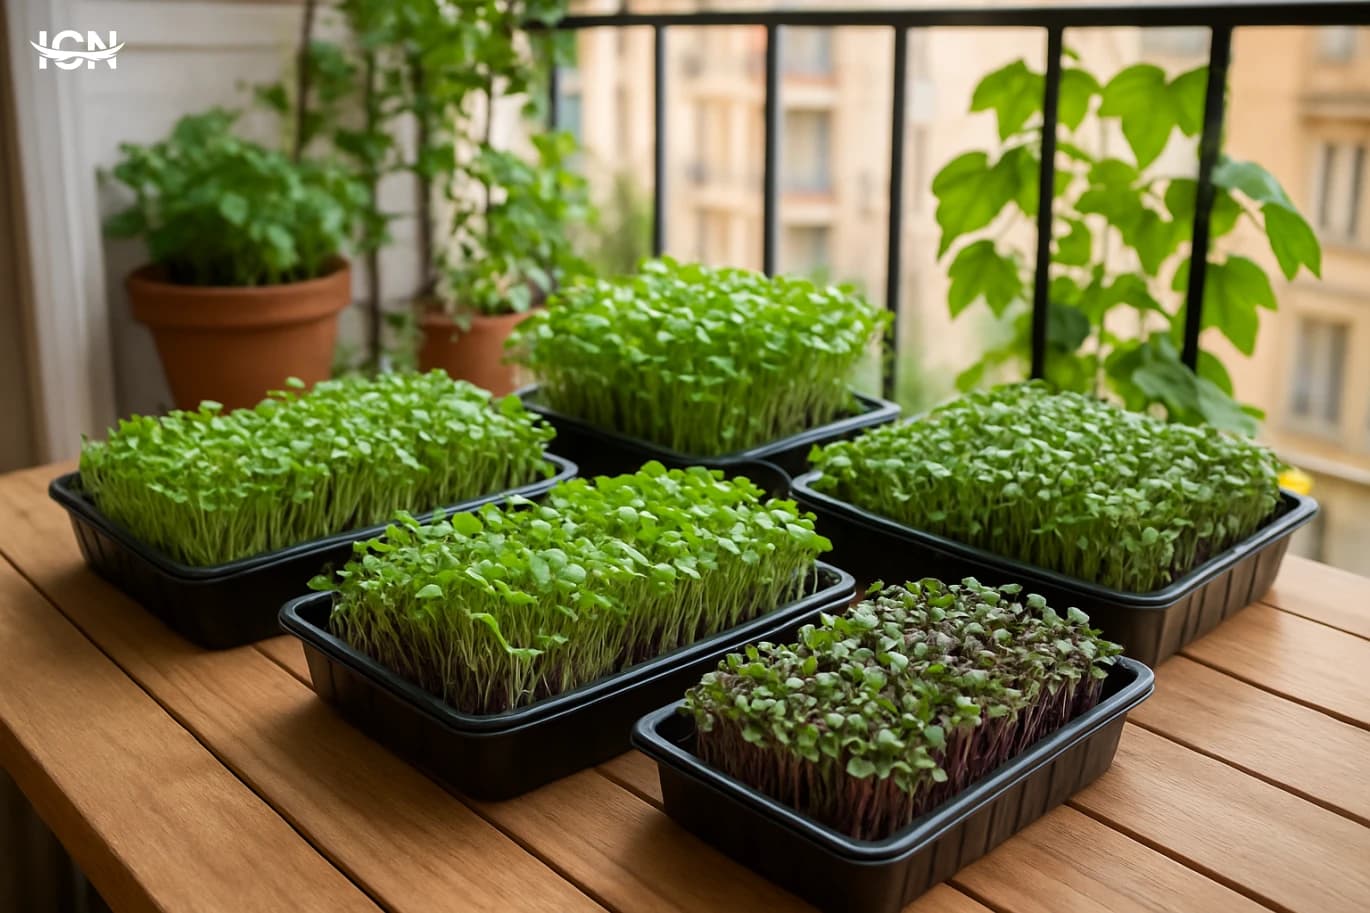
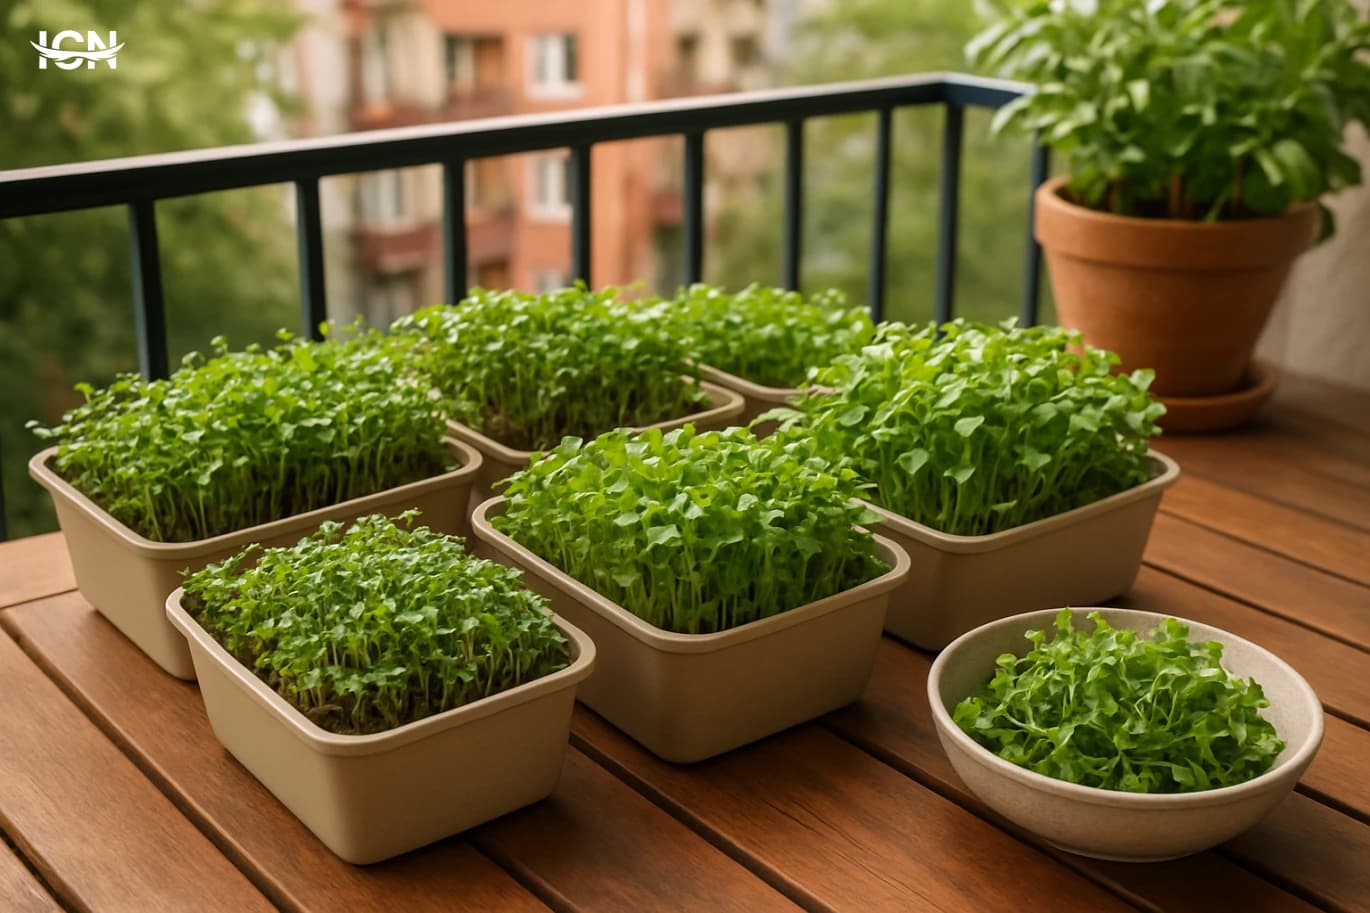
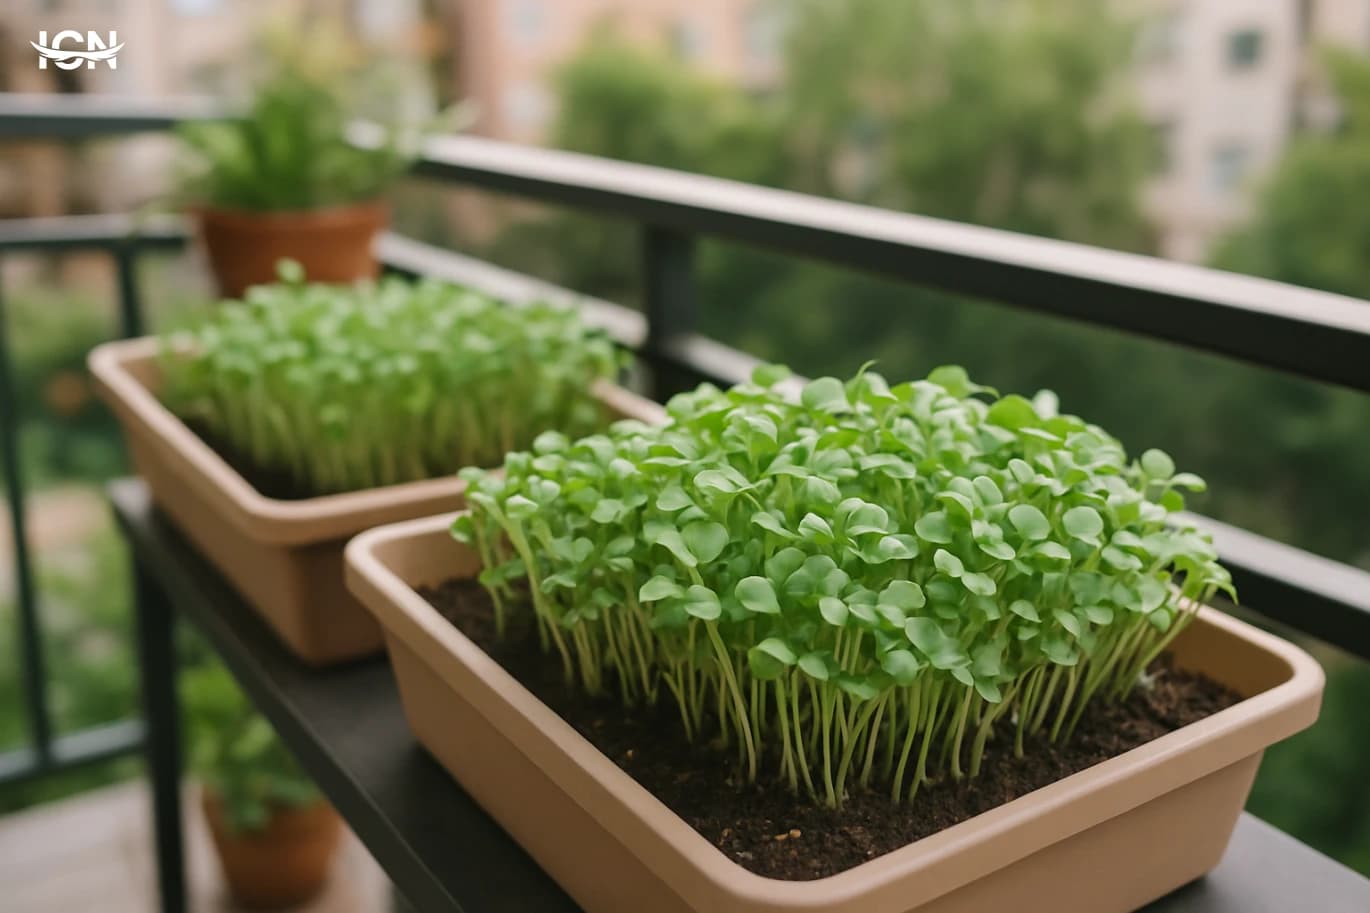
Microgreens are young edible seedlings harvested in about 7–14 days, which makes them ideal for apartments and small homes where space and sunlight are limited. Unlike many container vegetables that need weeks of growth and large pots, microgreens can be produced on a shelf, windowsill, or balcony table using shallow trays. A single tray can supply several servings for salads, sandwiches, omelets, and soups, and you can stagger plantings so something is ready every few days. Because the crop cycle is short, you can learn quickly: if one batch is too dense or too dry, the next batch can be adjusted within a week. This also reduces waste, since you harvest only what you plan to eat and can keep the rest growing for a few more days. For home farming beginners, microgreens offer a clear routine—seed, water, harvest—without complex pruning, pollination, or long-term pest management.
Choosing Seeds and Safe Varieties
Start with seeds sold specifically for sprouting or microgreens, because they are typically tested and handled with food use in mind. Popular, reliable options include radish (fast and spicy), broccoli (mild), kale (slightly sweet), arugula (peppery), sunflower (nutty), and pea shoots (crisp). For a balcony setup, choose varieties that perform well in moderate light and do not require special temperature control. Avoid using treated garden seeds that may be coated for field planting. Also avoid plants that are commonly considered unsafe at the seedling stage for home microgreen use, and stick to well-known edible greens. If you want consistent results, buy one or two varieties first and repeat them for several cycles before expanding. Label each tray with the variety and sowing date; this simple habit prevents confusion when you start staggering plantings. Finally, consider flavor balance: pairing a mild green like broccoli with a punchy one like radish can make a tray more versatile for everyday meals.
Trays, Soil, and a Clean Setup
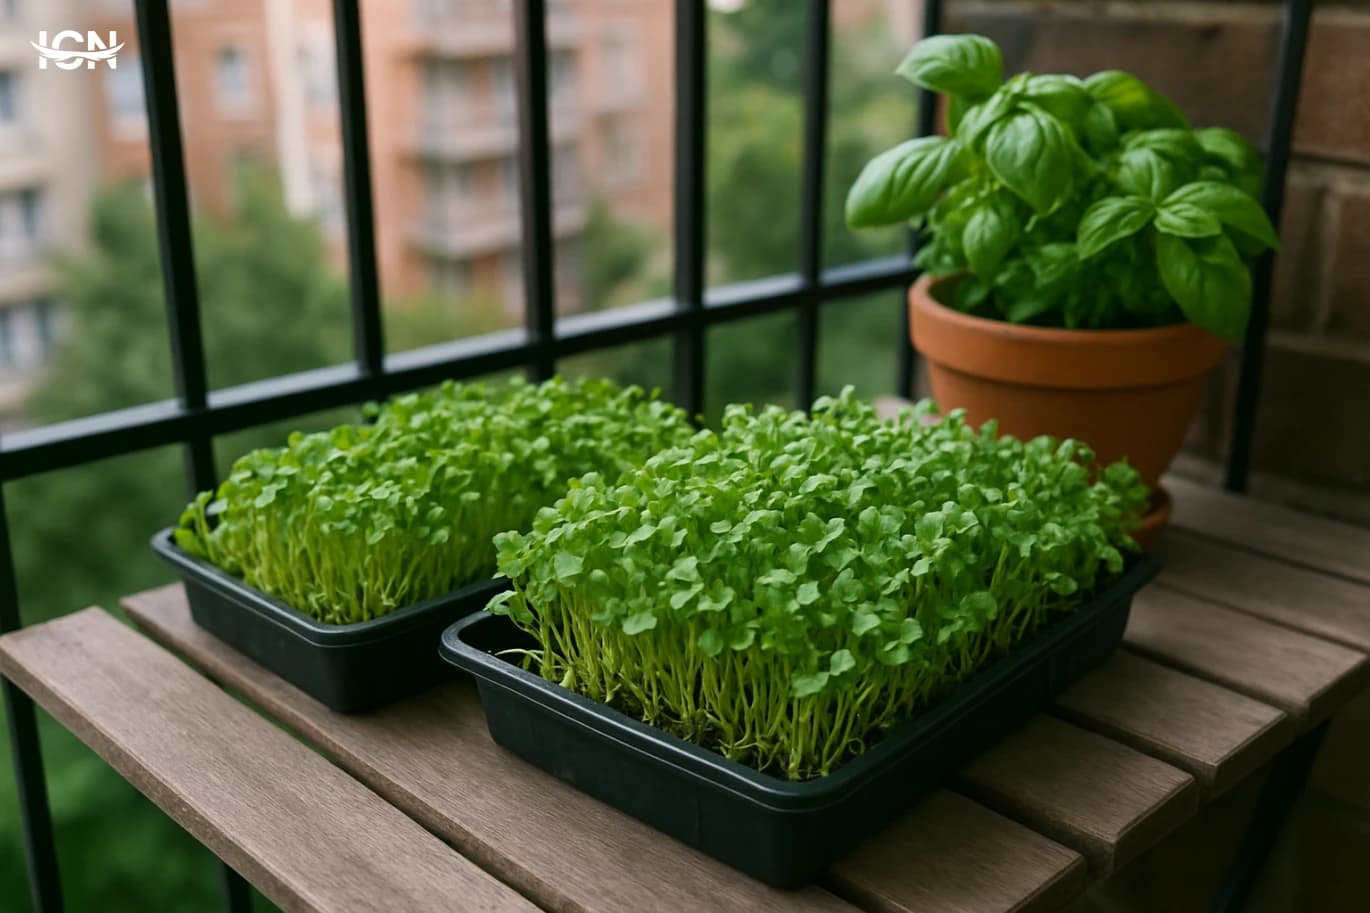
A practical balcony microgreen station needs only a few items: shallow trays, a growing medium, a spray bottle or small watering can, and a clean surface. Many growers use two trays per batch: one with drainage holes nested inside a solid tray to catch runoff. This helps prevent water from dripping onto balcony floors and reduces mess. For the medium, you can use a seed-starting mix, coconut coir, or a blend designed for microgreens; the goal is a fine, even texture that holds moisture without becoming soggy. Fill the tray with about 2–3 centimeters of medium, level it, and lightly press it so seeds sit evenly. Cleanliness matters because the crop is harvested young and eaten fresh. Wash trays between cycles with hot water and mild soap, then rinse well and let them dry. Keep pets away from the growing area, and avoid placing trays where dust or cooking fumes collect. If your balcony is windy, a simple cover or a low plastic dome can reduce drying, but it must allow some airflow to prevent stale humidity.
Sowing, Watering, and Light on a Balcony
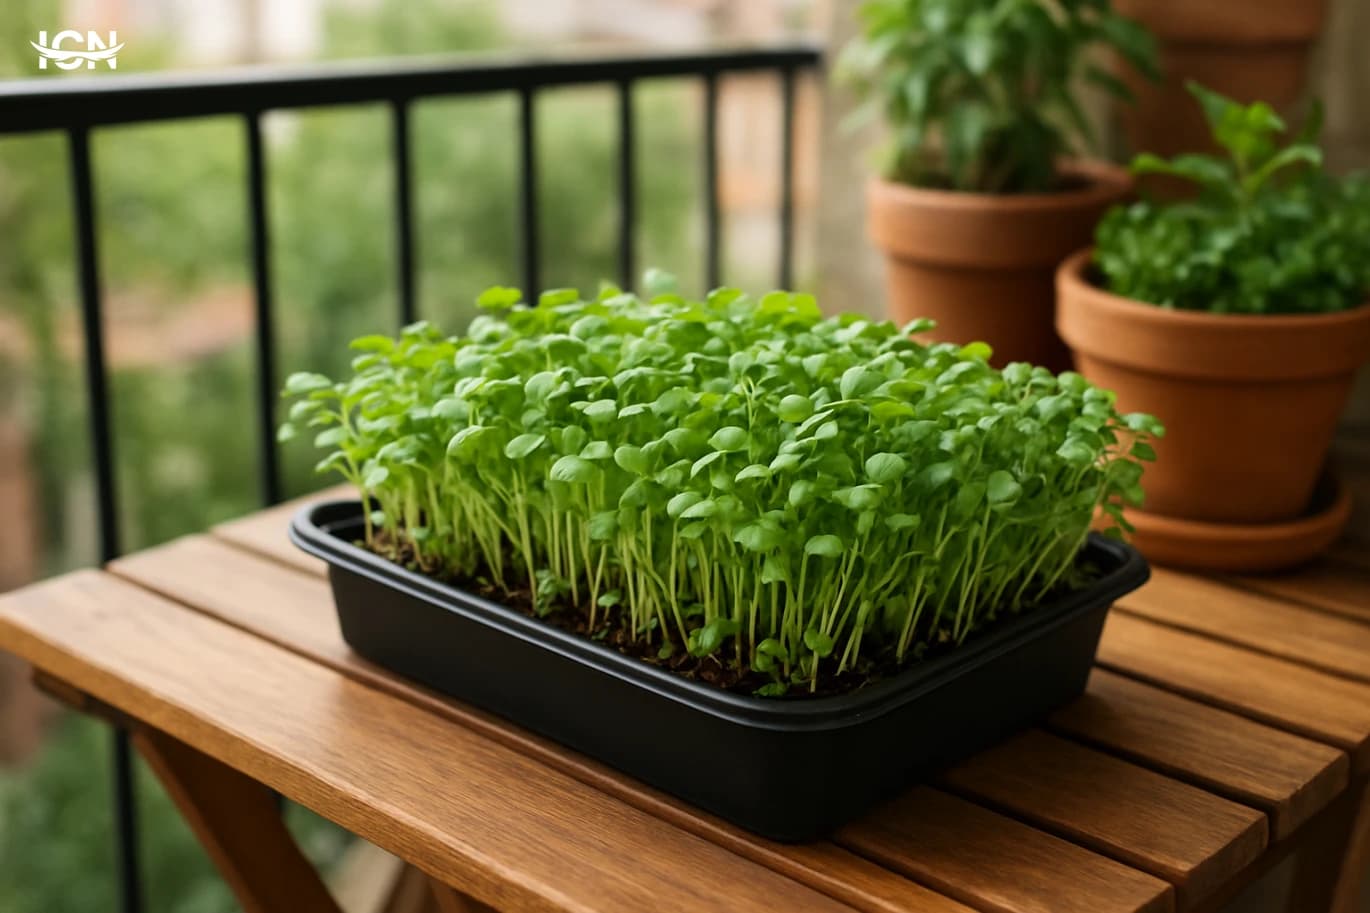
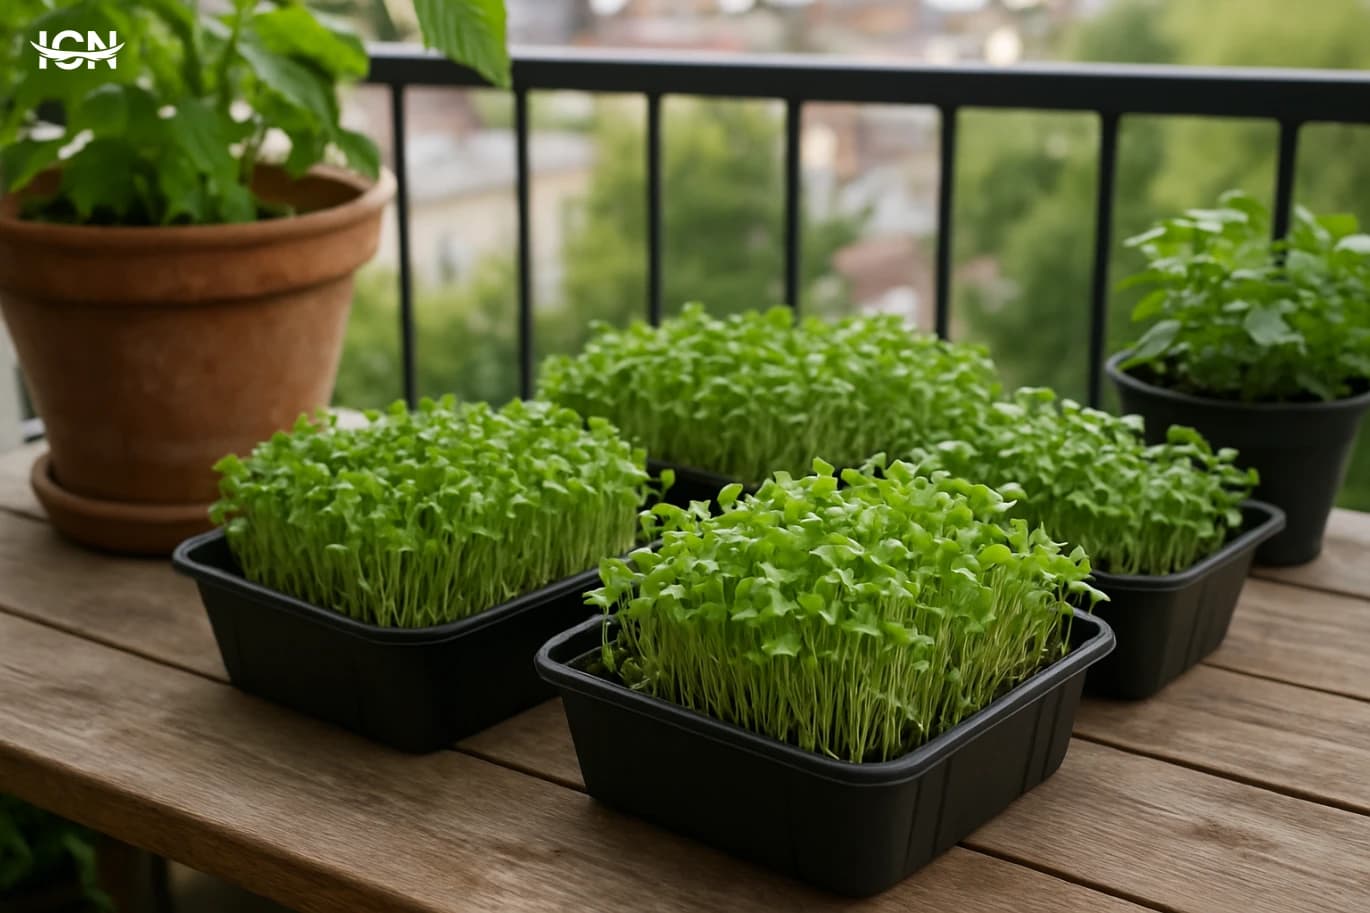
For even germination, spread seeds in a single dense layer without piling them into clumps. Different seeds need different densities: tiny broccoli seeds can be sown more thickly than large sunflower seeds. After sowing, mist the surface and cover the tray for the first 2–3 days to encourage sprouting; many people place an empty tray on top as a simple blackout cover. Check daily and keep the medium consistently moist, not wet. Overwatering is a common mistake and can lead to weak growth and unpleasant odors. Once most seeds have sprouted, move the tray into light. On a balcony, bright indirect light or a few hours of gentle morning sun often works well. Harsh midday sun can dry trays quickly, especially in warm seasons, so shade cloth or moving trays slightly back from the railing can help. Rotate trays every day or two so seedlings grow upright instead of leaning toward one side. If your balcony is very shaded, a small LED grow light on a timer can provide consistent results without taking much space.
Harvest Timing, Storage, and Food Use
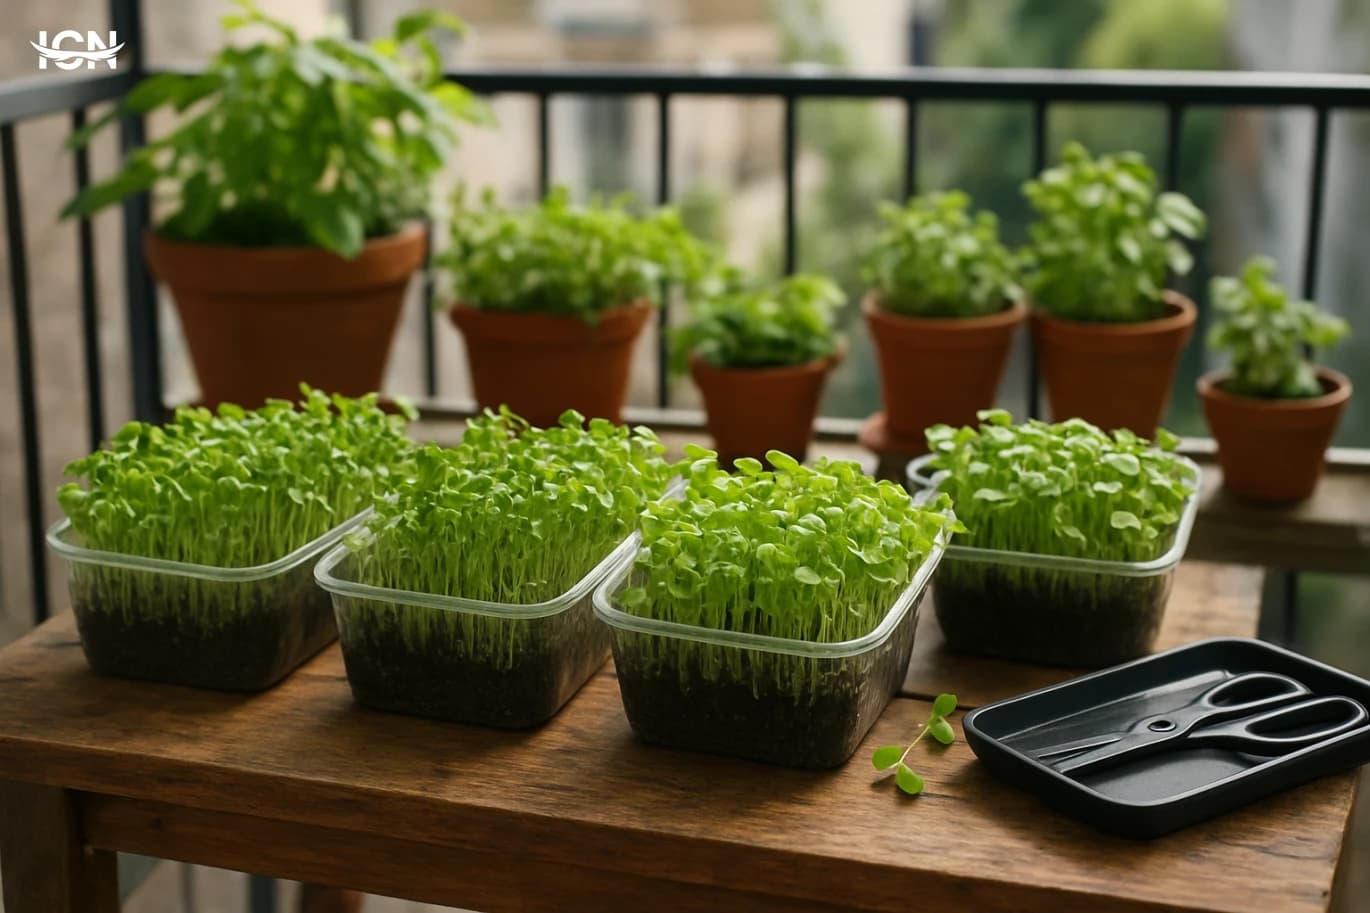
Most microgreens are ready when they have opened their first true leaves or are just before that stage, typically 7–14 days depending on the variety and temperature. Use clean scissors to cut just above the medium line, and avoid pulling seedlings out with roots because that brings soil into the harvest. For best flavor and texture, harvest when the greens are dry on the surface; if you just watered, wait a few hours. Rinse gently only if needed, then dry well using a salad spinner or clean towels. Store microgreens in a breathable container lined with paper towel in the refrigerator, and aim to use them within 3–5 days for peak quality. In daily cooking, treat them like a finishing ingredient: add to salads, top soups after heat is off, mix into sandwiches, or fold into scrambled eggs at the end. Because they are delicate, high heat can reduce their texture and freshness. Keeping a simple weekly plan—two trays started on different days—can provide a steady supply without overwhelming your fridge.
Troubleshooting and a Simple Weekly Schedule
If you see mold-like fuzz, first confirm whether it is actually root hair, which can look white and wispy near the base of seedlings and is normal. True mold often spreads in patches and smells musty; it is usually caused by excess moisture, poor airflow, or overly dense sowing. Reduce watering, uncover earlier, and improve ventilation. If seedlings are tall and pale, they need more light; move trays to a brighter spot or add a small grow light. If growth is uneven, check whether the medium was level and whether watering reached the corners. For balcony growers, heat and wind are the main variables: hot afternoons can dry trays quickly, while strong wind can tip trays or desiccate seedlings. Use a stable table, a catch tray, and a consistent watering routine. A straightforward schedule is to sow Tray A on Saturday and Tray B on Wednesday, harvest each about 10 days later, and immediately re-sow the empty tray. This rhythm creates a predictable cycle, keeps your setup small, and turns a balcony corner into a reliable source of fresh greens.