App Logo

Download Our App

Shop your way

logologo
Image

Homemade Makeup Remover

01/07/2024By: Tasnim.H
Homemade Makeup Remover

A Comprehensive Guide

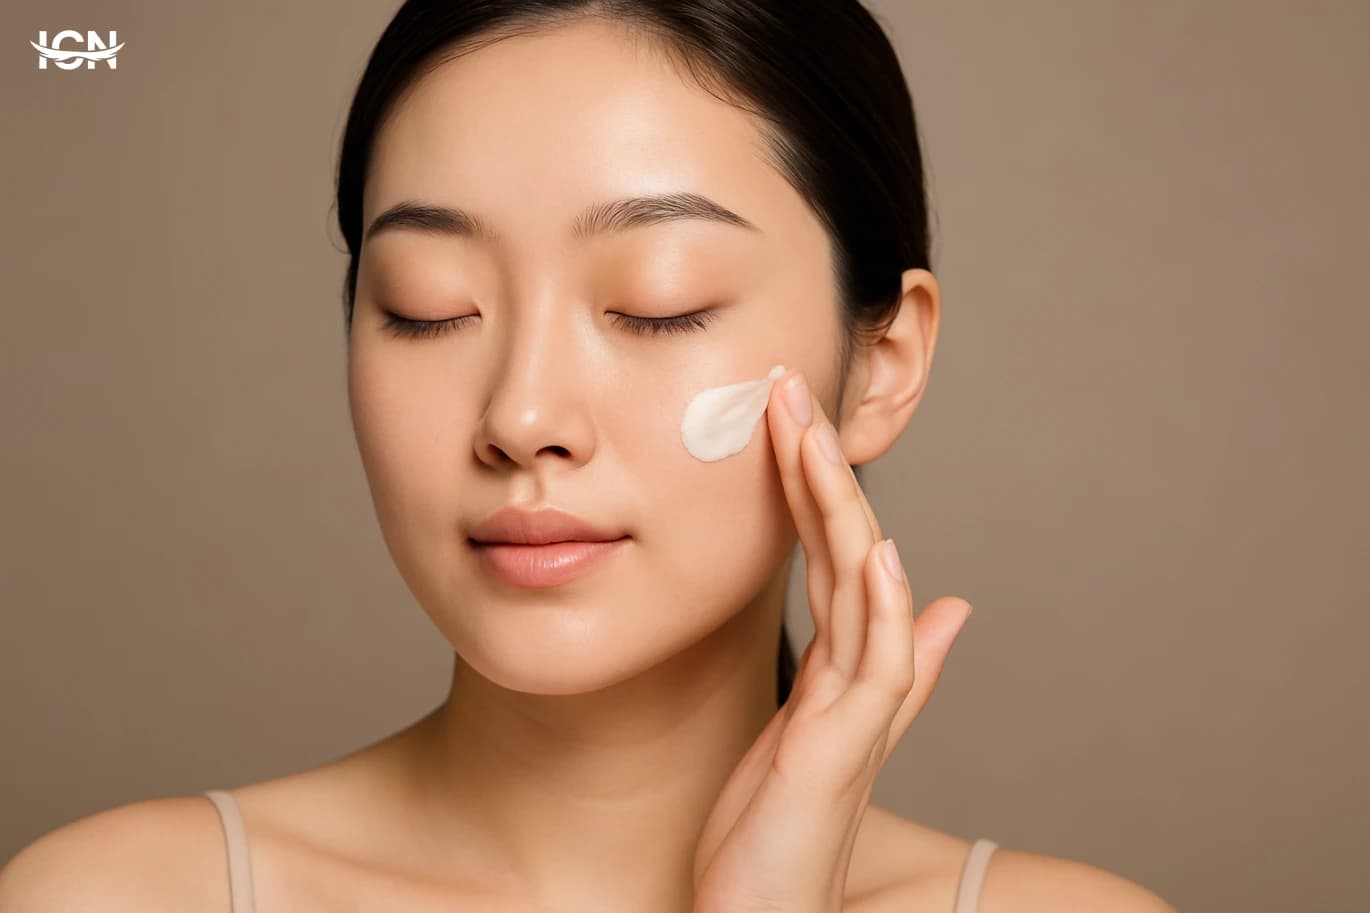
Makeup remover is an essential part of any skincare routine, as it helps effectively cleanse the skin and remove makeup, dirt, and impurities. While there are many commercial makeup removers available, some people prefer natural and homemade alternatives to avoid potential chemical irritants or to reduce their environmental impact. In this comprehensive guide, we will explore various homemade makeup remover options, their benefits, and how to make them.

Benefits of Homemade Makeup Remover:

• Natural Ingredients: Homemade makeup removers typically use natural ingredients, reducing the exposure to potentially harsh chemicals found in some commercial products. • Cost-Effective: Many homemade makeup remover recipes use ingredients commonly found in your kitchen, making them cost-effective compared to buying commercial options. • Customizable: You can tailor your homemade makeup remover to your specific skin type and needs by choosing the ingredients that work best for you. • Eco-Friendly: Making your makeup remover at home can reduce the need for single-use plastic packaging, which is common with store-bought products.

How to Make Oil-Based Makeup Remover:

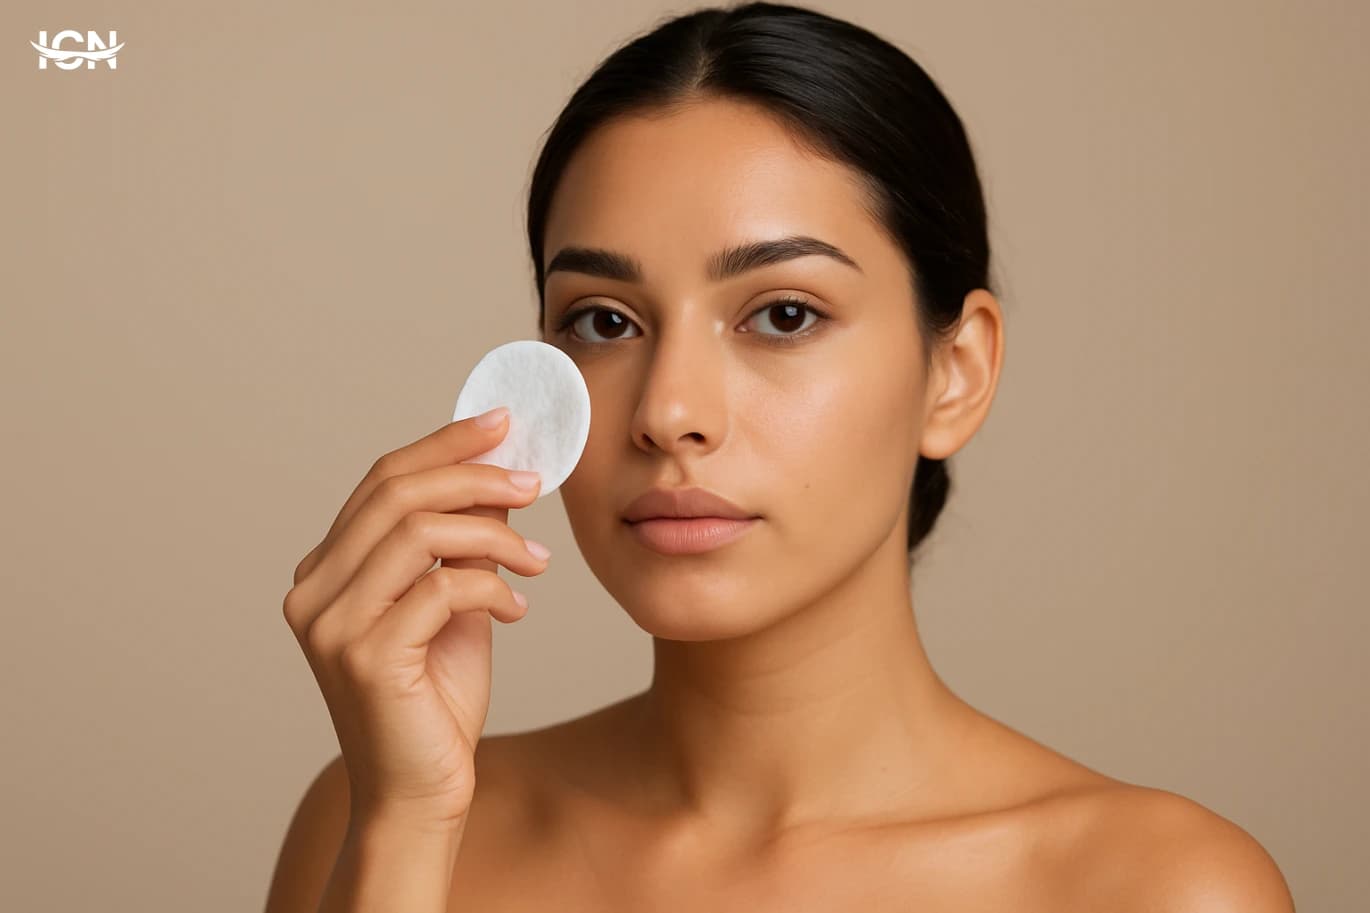
Oil-based makeup remover is one of the most effective ways to remove makeup, even waterproof makeup. Here are the steps to prepare an oil-based makeup remover at home: Ingredients: • Olive oil, coconut oil, or sweet almond oil (choose the oil you prefer). • Cotton pads or a soft, reusable cloth. • A clean, airtight container for storing the makeup remover. Steps: 1. Choose the Oil: • Select the oil you'd like to use. Common choices include olive oil (suitable for dry skin), coconut oil (suitable for oily skin), and sweet almond oil (suitable for sensitive skin). 2. Prepare the Container: • Get a clean, airtight container for storing the makeup remover. The container must be completely clean to avoid contaminating the remover. 3. Measure the Oil: • Fill the container with a small amount of the chosen oil. You can start with about a teaspoon of oil and increase it if needed. 4. Using the Makeup Remover: • Before using the makeup remover, make sure to wash your hands thoroughly. • Dip a cotton pad or a soft cloth into the oil in the container. • Gently blot the cotton pad to remove excess oil to avoid over-saturation. • Gently swipe the cotton pad over the makeup area on your face. Press gently to remove makeup. • You can use a clean side of the cotton pad to wipe away any makeup residue. 5. Washing: • After using the oil-based makeup remover, wash your face with water and soap to remove any remaining oil. 6. Moisturize Your Skin: • After washing, apply an appropriate moisturizer for your skin type to maintain its hydration. Reminder: Store the oil-based makeup remover in a cool, dry place, and make sure to seal the container tightly after use.

How to Make Micellar Water:

You can easily prepare micellar water makeup remover at home. Here's the method: Ingredients: • One cup of distilled water. • One tablespoon of liquid castile soap (you can use the unscented version if preferred). • A clean, airtight container for storing the micellar water. Steps: 1. Prepare the Container: • Use a clean, airtight container for storing the micellar water makeup remover. Make sure the container is thoroughly clean to prevent contamination. 2. Mix the Ingredients: • In the container, combine one cup of distilled water with one tablespoon of liquid castile soap. Opt for the unscented version if you want to avoid fragrances. 3. Stir: • Use a spoon or a small stirrer to gently mix the micellar water, ensuring that the castile soap is well incorporated into the water. 4. Store the Micellar Water: • Once you've finished mixing, securely close the container and store the micellar water in a cool, dry place. You can refrigerate it if you wish to enhance its freshness. 5. Using Micellar Water: • Before each use, gently shake the container to ensure the mixture is uniform. • Apply a small amount of the micellar water to a cotton pad. • Use the pad to wipe and remove makeup from your face. You can also use it on other areas of the body as needed. 6. Reminder: After each use, be sure to seal the container tightly and store the micellar water in a cool, dry place.

How to Make Cucumber and Aloe Vera Makeup Remover:

Here is how to prepare cucumber and aloe vera makeup remover at home: Ingredients: • 1 small cucumber. • 2 tablespoons of aloe vera gel. • 1 tablespoon of rosewater. Steps: 1. Prepare the Cucumber: • Start by thoroughly washing and peeling the cucumber. You can leave the peel on if you prefer. 2. Blending: • Place the cucumber in a blender and blend it until you obtain cucumber juice. 3. Prepare the Makeup Remover: • Mix the cucumber juice with aloe vera gel and rosewater in a clean container. 4. Storage: • Pour the makeup remover into a clean, airtight container. Make sure to seal the container tightly after use. 5. Using the Makeup Remover: • Before each use, gently shake the container to ensure the mixture is uniform. • Apply a small amount of the makeup remover to a cotton pad. • Use the pad to wipe and remove makeup from your face. You can also use it on other areas of the body as needed. 6. Reminder: • After each use, be sure to seal the container tightly and store the cucumber and aloe vera makeup remover in a cool, dry place.

How to Make Rosewater and Glycerin Makeup Remover:

Making a makeup remover using rosewater and glycerin is simple and effective. Here's how to prepare it: Ingredients: • 1/4 cup of rosewater. • 1 teaspoon of glycerin. • A few drops of your preferred essential oil (optional). Steps: 1. Prepare the Container: • Start by finding a clean, airtight container for storing your makeup remover. Make sure it's completely clean to avoid any contamination. 2. Mix the Ingredients: • In the container, combine 1/4 cup of rosewater with 1 teaspoon of glycerin. If you wish to add a pleasant fragrance, you can also include a few drops of your preferred essential oil. 3. Stir: • Gently stir the mixture to ensure that the glycerin is thoroughly mixed with the rosewater. 4. Storage: • Once you've completed mixing, seal the container securely. Store your rosewater and glycerin makeup remover in a cool, dry place. 5. Using the Makeup Remover: • Before each use, give the container a gentle shake to ensure the mixture is well combined. • Apply a small amount of the makeup remover to a cotton pad. • Use the pad to wipe away and remove makeup from your face. You can also use it on other areas of your body as needed. 6. Reminder: • After each use, be sure to seal the container tightly and store your rosewater and glycerin makeup remover in a cool, dry place. This natural makeup remover not only effectively removes makeup but also provides a soothing and hydrating effect on your skin, thanks to the rosewater and glycerin.

How to Make Honey and Baking Soda Makeup Remover:

Here's how to make a makeup remover using honey and baking soda: Ingredients: • 1 tablespoon of honey. • 1 teaspoon of baking soda. • Water (optional, for dilution). • A clean, airtight container for storing the makeup remover. Steps: 1. Prepare the Container: • Find a clean, airtight container for storing your makeup remover. Ensure that it's completely clean to prevent any contamination. 2. Mix the Ingredients: • In a small bowl, mix 1 tablespoon of honey with 1 teaspoon of baking soda. You can add a few drops of water to dilute the mixture if needed, depending on your preference. 3. Stir: • Gently stir the mixture to achieve a consistent paste-like texture. Ensure that the baking soda is well combined with the honey. 4. Storage: • Once you've finished mixing, transfer the makeup remover to the clean, airtight container. Seal the container tightly. 5. Using the Makeup Remover: • Before each use, give the container a gentle shake to ensure the mixture is well combined. • Take a small amount of the honey and baking soda makeup remover and apply it to your face or the area with makeup. • Massage the mixture into your skin gently to help break down the makeup. • Wipe off the makeup and mixture with a damp cloth or cotton pad. • Rinse your face with water to remove any residue. 6. Reminder: • After each use, seal the container tightly, and store the makeup remover in a cool, dry place. This natural makeup remover with honey and baking soda is effective for removing makeup and can also help exfoliate your skin.

Usage Tips:

• Always store your homemade makeup remover in a clean, airtight container to prevent contamination. • Perform a patch test on a small area of your skin to ensure you don't have any adverse reactions to the ingredients. • When using oil-based makeup removers, make sure to follow up with a gentle cleanser to remove any residue. In conclusion, homemade makeup removers offer a natural, cost-effective, and customizable alternative to commercial products. By choosing the right ingredients and following proper usage guidelines, you can effectively remove makeup while promoting healthy and radiant skin.

* All articles published on this blog are sourced from various websites and are provided for informational purposes only. They should not be considered as confirmed studies or accurate information. Please verify the information independently before relying on it.

Similar ARTICLES

Heatproof Makeup for Humid Days
Humidity changes how makeup behaves because it adds moisture to the skin surface and slows down evaporation. When sweat mixes with skincare and foundation, pigments can separate and slide, especially around the nose, upper lip, and under-eye area. Oil production often increases in warm weather, and that extra sebum can dissolve creamy products and make powder look patchy. The result is familiar: shine that appears quickly, base makeup that transfers onto masks or collars, and blush or bronzer that fades unevenly. The key is to treat humidity as a formula and layering problem, not a “more product” problem. Heavy layers trap moisture and encourage movement. Instead, the goal is a thin, flexible base that grips the skin, plus targeted setting where you actually need it. Understanding where your makeup fails—creases, separation, fading, or transfer—helps you choose the right fix rather than adding another random step.
Longwear Makeup That Still Looks Like Skin
A longwear base can last 8–12 hours and still look natural, but only if “longwear” is built through thin layers, controlled shine, and smart placement. Skin-like makeup is not the same as matte makeup. It keeps dimension on the high points of the face, avoids heavy texture around the nose and mouth, and does not settle into fine lines by midday. The goal is even tone and a healthy finish, not a mask. The biggest misconception is that more coverage equals more durability. In practice, thick foundation breaks faster because it moves with facial expressions and mixes with oil. A skin-like longwear routine relies on targeted correction, flexible formulas, and setting only where needed. It also depends on the condition of the skin underneath: dehydration, flaking, or excess oil will show through any product. When you understand the “why,” you can choose steps that improve wear time without sacrificing realism.
Makeup Trends Shaping 2026
In 2026, makeup is moving toward a deliberate “edited” look: fewer heavy layers, more targeted details, and finishes that read well in daylight and on high-resolution cameras. The biggest shift is balance. Instead of full glam across every feature, one element takes the lead—crystal accents, feathered brows, or a glossy lip—while the rest stays clean and controlled. This approach also reflects how people shop: they invest in a few high-impact products and rely on technique to make them look expensive. Another defining theme is adaptability. Many looks are designed to transition from work to evening with one quick step, such as adding face crystals at the outer corner of the eye or brushing brows into a lifted shape. Skin prep is treated as part of makeup rather than a separate routine, with primers and complexion products that focus on texture, comfort, and longevity. The result is makeup that looks intentional up close, not just from a distance.
Find Your True Skin Type
Many people label their skin as “oily” or “dry” based on one symptom, then build a routine around that label. The problem is that shine, tightness, or breakouts can be temporary reactions to weather, harsh cleansers, over-exfoliation, or heavy products. A foaming cleanser used twice daily can strip the surface and create tightness that looks like dryness, while the skin may still produce excess oil later in the day. Likewise, a rich cream can mask dehydration and make normal skin feel greasy. A more accurate approach separates three things: skin type (your baseline oil production), skin condition (temporary states like dehydration or sensitivity), and skin behavior (how it reacts to products and climate). When you treat a temporary condition as a permanent type, you often chase problems: oily skin gets over-dried and becomes reactive, and dry skin gets overloaded with occlusive layers that cause congestion. The goal is to observe your baseline under controlled conditions, then confirm it with repeatable signs rather than a single moment in the mirror.
Longwear Makeup That Still Looks Like Skin
Longwear makeup often fails for one reason: it is built like a mask. Many routines stack heavy primer, full-coverage foundation, thick powder, and a strong setting spray, then wonder why the face looks dry, textured, or separated by midday. The real goal is different: extend wear while keeping the finish close to real skin, with minimal product movement around the nose, mouth, and under-eyes. A practical way to think about it is “thin layers, targeted grip.” Instead of trying to lock down the entire face with the same intensity, you create durability only where oil and friction break makeup first. That means focusing on the T-zone, smile lines, and under-eye creases, while letting the cheeks and perimeter stay lighter. This approach also photographs better because it avoids a flat, powdery surface and keeps dimension in the complexion. In this topic, the focus is on techniques that work across budgets: how to prep without over-moisturizing, how to choose compatible textures, and how to set strategically. The result should be makeup that lasts through a workday, commuting, and indoor heating or air conditioning, while still looking like your skin up close.
How to Use Setting Spray Correctly
Setting spray is designed to help makeup look more consistent and last longer by forming a light, flexible film over the finished layers. It can reduce the powdery look, soften harsh edges between products, and make skin appear more even in photos and in daylight. Many formulas also help limit transfer onto masks, collars, or phones, although no spray can make makeup completely transfer-proof. It is important to separate setting spray from similar products. A facial mist is mainly for comfort and hydration and may not improve wear time. A primer is used before foundation to improve grip and texture. Setting spray is typically the final step, though some routines use it in between layers. Knowing this difference helps you choose the right product and avoid expecting a single spray to fix issues like wrong shade matching or heavy application.
Longwear Makeup That Still Looks Like Skin
Longwear makeup often gets associated with heavy layers, visible texture, and a flat finish that looks fine in photos but obvious in daylight. A skin-like longwear routine aims for a different result: makeup that stays put through normal daily conditions while still showing natural dimension, minimal product buildup, and a finish that moves with the face. The key is to separate “lasting” from “thick.” Longevity comes from smart placement, compatible formulas, and controlled prep, not from adding more foundation. Skin-like longwear also depends on realistic expectations: makeup can resist fading and separating, but it will still soften over time. The goal is an even, fresh look at hour eight, not a frozen look at hour one. This approach is especially useful for people who deal with midday shine, dry patches, or makeup that breaks apart around the nose and mouth. It also suits anyone who wants coverage without the obvious makeup line at the jaw or the powdery look that can show up under office lighting. The rest of this topic breaks down a practical system you can adapt to your skin type and climate.
Makeup That Survives Heat and Humidity
Heat and humidity don’t just make you sweat; they change how every layer of makeup behaves. When skin temperature rises, sebum production often increases, and that oil mixes with sunscreen, moisturizer, and foundation, loosening pigments and causing sliding around the nose, chin, and forehead. Humidity adds another problem: water in the air keeps sweat from evaporating quickly, so moisture sits on the surface and dilutes products that were designed to set dry. The most common “summer failures” are patchy foundation, creased concealer, and blush that disappears by midday. These issues are usually blamed on the foundation, but they often start earlier in the routine: heavy skincare, incompatible sunscreen, or applying too much product too quickly. In hot weather, the goal is not maximum coverage; it’s controlled layers that can bond to skin and set. A long-wear look is built by reducing slip, choosing textures that set, and giving each step time to lock in before the next one goes on.
Teeth
Teeth
Teeth whitening is a cosmetic procedure that aims to improve the color of the teeth and make it brighter and white. This is done using chemicals such as hydrogen peroxide or carbamide peroxide, which remove stains and pigmentation. The teeth whitening process is common among individuals who want to improve smile and self -confidence. How to whiten teeth begins with teeth whitening the dental assessment of the current position of the teeth. Next, the whitening material is applied to the teeth and left for a certain period to achieve the required results. The process can be done in the dental clinic or by using home tools. Factors that affect the color of the teeth. Many factors are associated with teeth color, including eating habits, smoking, and the quality of oral hygiene. The spots resulting from coffee or tea, as well as aging, play an important role in determining the color of the teeth.
By clicking the SUBSCRIBE button, you are agreeing to our Privacy & Cookie Policy If you want to unsubsribe the marketing email, please proceed to our privacy center.
© 2005-2026 ICN. All Rights Reserved.