Pro Methods to Clean Makeup Sponges
- Why sponge hygiene matters
- Daily quick-clean routine
- Deep cleaning like a pro
- Safe sanitizing without damage
- Drying and storage that prevent odor
- When to replace and common mistakes
Why sponge hygiene matters
Makeup sponges sit at the intersection of moisture, skin oils, and product residue. That combination can quickly turn a soft tool into a surface that transfers old foundation back onto the face, dulls the finish, and shortens the sponge’s life. When a sponge stays damp for hours, it also becomes harder to fully rinse, because residue settles deeper into the pores. The result is often uneven blending, patchy coverage, and a “muddy” look that people mistakenly blame on the foundation itself. Professional artists treat sponges like consumables with a strict routine: frequent cleaning, thorough drying, and timely replacement. Hygiene is not only about cleanliness; it is also about performance. A clean sponge expands evenly when wet, bounces back faster, and distributes product in a controlled way. If you notice a persistent odor, discoloration that does not fade after washing, or a sponge that feels slimy even when rinsed, those are practical signs that your routine needs an upgrade.
Daily quick-clean routine
A daily quick-clean is the closest thing to a professional set habit. Right after use, rinse the sponge under lukewarm running water, squeezing gently to push out tinted water. Avoid twisting or pulling, which can tear the foam and loosen the seams. Apply a small amount of gentle liquid soap or a dedicated sponge cleanser directly onto the sponge, then work it in by pressing the sponge into your palm repeatedly. This “press and release” motion mimics how the sponge is used and helps lift product from the center. Rinse until the water runs clear. If you still see beige or pink water after several rinses, repeat with a second small dose of cleanser rather than using a large amount once. Finish by pressing the sponge between clean paper towels to remove excess water. The goal is not to make it bone-dry immediately, but to reduce moisture so it can dry faster and more evenly.
Deep cleaning like a pro
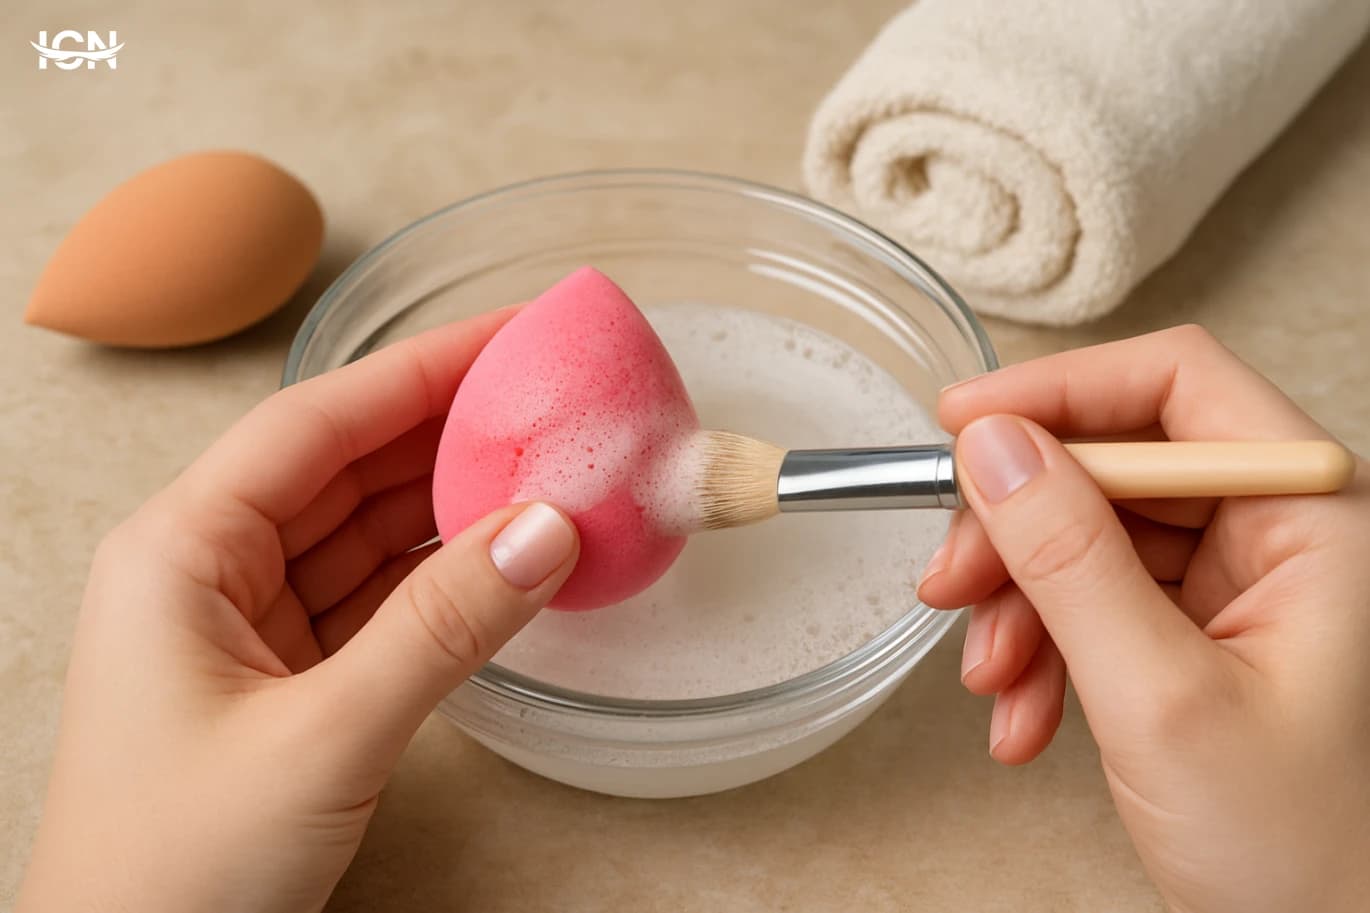
Even with daily rinsing, sponges need a deeper clean one to two times per week, depending on how often you use liquid foundation or cream products. Start by wetting the sponge fully with lukewarm water so the foam opens up. In a small bowl, mix warm water with a few drops of gentle dish soap or a sponge cleanser. Press the sponge into the solution repeatedly, then massage the stained areas with your fingertips. Focus on the rounded base where product tends to build up. For stubborn residue, use a “double cleanse” approach: first, work in cleanser on the dry or slightly damp sponge to break down oils and silicone-based products; second, add water and continue pressing until the foam runs clean. If you use a cleansing bar, rub the sponge on the bar in short strokes, then squeeze and rinse. Avoid harsh bleach or strong disinfectants that can degrade the foam and leave lingering odors. After washing, do a final rinse under running water, then squeeze gently until the sponge feels light. Pat dry with a clean towel and reshape it with your hands so it dries in its original form. This step helps prevent dents and uneven expansion later.
Safe sanitizing without damage
Cleaning removes visible residue; sanitizing is about reducing what you cannot see. The safest approach for most sponges is to sanitize after a thorough wash, not before. A practical at-home method is a diluted isopropyl alcohol mist (around 70%) sprayed lightly onto the surface, then left to air-dry completely. The key is “lightly”: soaking the sponge in alcohol can dry out the foam and make it crumble over time. Another gentle option is a short soak in warm water with a small amount of mild cleanser, followed by a complete rinse and full drying. If you choose to use a UV sanitizing box designed for beauty tools, treat it as an extra step, not a replacement for washing, because UV does not remove oils and product buildup. Avoid high heat methods that can warp the sponge. Boiling water and prolonged microwaving are risky because heat distribution can be uneven, and the foam can deform. If you ever try a heat-based method, keep it brief, monitor closely, and prioritize the sponge’s shape and texture. If the sponge becomes stiff, cracked, or loses bounce, it is no longer reliable for smooth makeup application.
Drying and storage that prevent odor
Most sponge problems start after washing, not during it. A sponge that dries slowly stays damp inside, which encourages odor and makes the next use feel unpleasant. After squeezing out water with a towel, place the sponge in a well-ventilated area. A wire stand or a breathable mesh pouch works better than a closed plastic case. If you must travel, pack the sponge only when it is fully dry, or use a vented travel case designed to let air circulate. Keep sponges away from humid bathrooms when possible. If your only option is the bathroom, store them high and away from the shower area, and avoid leaving them on a sink edge where they can pick up residue. Also separate clean sponges from used ones. A simple two-container system—one for clean, one for “needs washing”—prevents accidental reuse and keeps your routine consistent.
When to replace and common mistakes
No sponge lasts forever, even with perfect care. If you use a sponge daily, a realistic replacement window is every one to three months, depending on quality and how aggressively it is cleaned. Replace sooner if you see tears, peeling, permanent stains that never lift, or a texture that feels rough. A sponge that no longer expands evenly when wet or that stays compressed in spots will apply makeup inconsistently. Common mistakes include using very hot water, overloading cleanser, and scrubbing with nails or brushes that shred the foam. Another frequent issue is leaving the sponge soaking for long periods, which weakens the structure and can cause it to split. Finally, avoid sharing sponges. If you do makeup for others at home, treat sponges as single-person tools and keep backups on hand. A professional-level routine is simple: quick-clean after each use, deep clean weekly, sanitize gently, dry completely, and replace on schedule. That combination protects the tool, improves makeup results, and keeps your kit organized.