Parquet Care That Actually Lasts
- Know Your Parquet Before You Clean
- Daily and Weekly Routine Without Overdoing It
- Spills, Stains, and the First 60 Seconds
- Protection Strategies That Prevent Scratches
- Deep Cleaning and Seasonal Maintenance
- When to Repair, Recoat, or Call a Professional
Know Your Parquet Before You Clean
Reliable parquet care starts with identifying what you have, because the finish—not just the wood—determines what products and routines are safe. In most homes you will find either solid wood parquet, engineered parquet (a real-wood top layer over stable layers), or laminate that only imitates wood. The daily approach can look similar, but the tolerance for moisture, abrasion, and refinishing is very different. Next, check the surface finish. A polyurethane or factory-sealed finish is common and generally more resistant to spills, while oiled or waxed parquet needs gentler cleaning and periodic re-oiling. A quick practical test is visual: sealed floors tend to have a more uniform sheen, while oiled floors often look more matte and show “dry” areas in high-traffic zones. If you are unsure, avoid strong detergents and excessive water until you confirm. Finally, map the risk zones in your space. Entryways, kitchen edges, and areas near balconies receive the most grit and moisture. Furniture legs, rolling chairs, and pet bowls are typical damage points. By identifying these zones, you can focus protection where it matters instead of over-cleaning the entire floor, which often causes more wear than normal use.
Daily and Weekly Routine Without Overdoing It
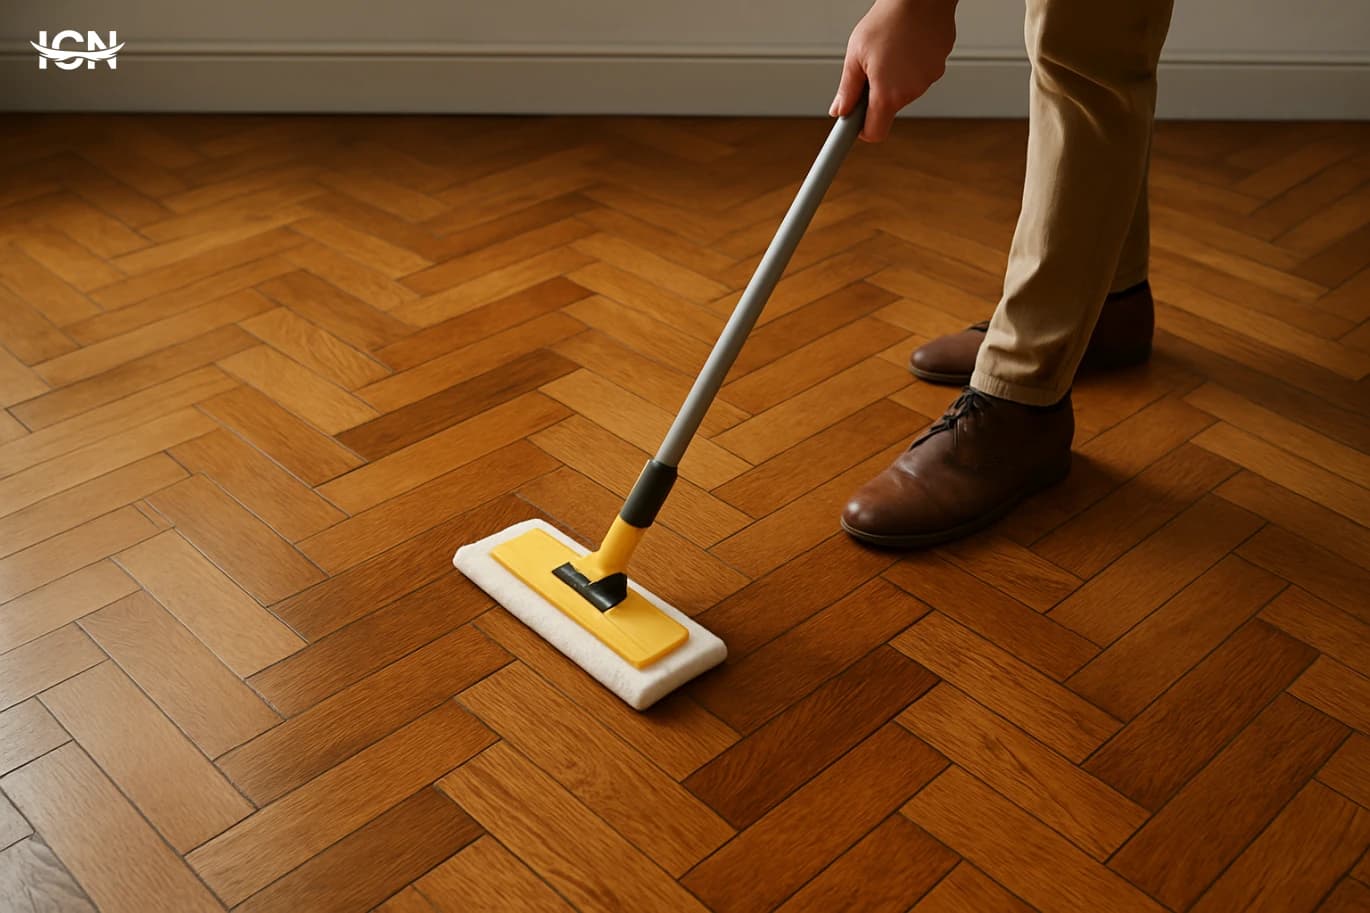
The most effective parquet routine is not aggressive scrubbing; it is consistent removal of grit. Dust and sand act like fine sandpaper under shoes and chair legs. Use a soft-bristle broom or a vacuum with a parquet setting and a clean brush head. Avoid beater bars designed for carpets, which can leave micro-scratches and dull the finish over time. For weekly cleaning, use a microfiber mop that is damp, not wet. The goal is to pick up residue, not to flood the surface. If you can see water trails or feel the mop dripping, it is too much. Work in small sections and dry any visible moisture immediately with a clean cloth. This single habit prevents edge swelling and the “raised seams” look that is hard to reverse. Choose a pH-neutral cleaner made for wood floors, and measure it accurately. More product does not mean more cleanliness; it often leaves a sticky film that attracts dirt and makes the floor look cloudy. If you prefer a simpler approach, plain warm water on a well-wrung microfiber mop can be enough for sealed parquet, followed by quick drying. For oiled floors, follow the manufacturer’s guidance and avoid generic multi-surface sprays that can strip the protective oils.
Spills, Stains, and the First 60 Seconds
Parquet damage often happens in minutes, not months. The first 60 seconds after a spill are your best chance to prevent staining, swelling, or a dull patch. Blot immediately with an absorbent cloth or paper towel. Do not rub aggressively, because rubbing can push liquid into seams and spread pigments. After blotting, clean the area with a lightly damp microfiber cloth and a small amount of wood-floor cleaner if needed, then dry thoroughly. For sticky residues such as juice or soft drinks, repeat with a fresh cloth rather than adding more liquid. If the spill reached gaps between pieces, place a dry cloth over the area and apply gentle pressure; then allow airflow to help the area dry. For common stains, use targeted, low-risk steps. Grease marks often respond to a tiny amount of cleaner on a cloth, followed by drying. Dark marks from rubber soles can sometimes be lifted with a soft eraser designed for floors, used lightly. Avoid harsh solutions like strong vinegar mixes, bleach, or abrasive powders; they can etch the finish and create a permanent dull spot that looks worse than the original stain. When in doubt, test any method in an inconspicuous corner and stop if the sheen changes.
Protection Strategies That Prevent Scratches
Scratch prevention is cheaper than any repair. Start with entry control: a coarse doormat outside and a softer mat inside reduce grit dramatically. If possible, adopt a no-shoes policy in key rooms or at least near the parquet areas. Small habits here deliver measurable results because most surface wear is caused by particles dragged across the finish. Furniture protection should be systematic. Install felt pads under chair and table legs and replace them when they compress or collect grit. For heavy pieces, use wide, non-staining floor protectors rather than small pads that concentrate pressure. If you use a rolling office chair, a clear floor mat designed for hard floors prevents the repeated micro-scratching that quickly turns into a dull track. Manage indoor climate as part of floor care. Wood reacts to humidity changes; overly dry air can open gaps, while high humidity can cause slight swelling. Aim for stable indoor conditions, especially in seasons when air conditioning or heating runs continuously. Practical tools include a simple hygrometer and, if needed, a humidifier or dehumidifier. This is not about perfection; it is about avoiding extremes that stress the joints and finish.
Deep Cleaning and Seasonal Maintenance
A deeper clean is useful when the floor looks dull despite regular care, but it should be planned, not improvised. Start by vacuuming thoroughly, including edges and under movable furniture, because trapped grit will scratch during mopping. Use a wood-floor cleaner recommended for your finish and follow dilution instructions precisely. Work with two buckets if possible—one for solution and one for rinsing the mop—to avoid spreading dirty water back onto the parquet. For oiled parquet, seasonal maintenance often includes applying a maintenance oil or refresher product that replenishes the protective layer. The key is preparation: the surface must be clean and fully dry, and the product must be applied thinly and evenly to avoid sticky patches. Allow proper curing time and limit foot traffic as directed. This is where many homeowners go wrong: walking too soon can imprint marks and attract dust. For sealed parquet, avoid “polish” products unless they are specifically compatible with your finish. Some shine boosters create a build-up that later requires stripping, which is risky and time-consuming. If the floor has persistent dull areas, the issue may be micro-scratching rather than dirt, and the correct fix might be professional buffing or a recoat, not more cleaning.
When to Repair, Recoat, or Call a Professional
Knowing when to stop DIY is part of guaranteed results. Small surface scratches on sealed parquet can sometimes be reduced with a manufacturer-approved touch-up kit or a color-matched repair marker, used sparingly and only after cleaning. For tiny dents, a professional may use controlled methods depending on the wood and finish, but home experiments can worsen the spot. If you see widespread dullness, peeling finish, or areas that absorb water quickly, the protective layer may be failing. In many cases, a “screen and recoat” (light abrasion and a new topcoat) restores appearance without full sanding, but it must match the existing finish and requires proper ventilation and drying time. Full sanding and refinishing is more invasive and may not be suitable for thin engineered wear layers. Call a professional when boards are lifting, seams are opening significantly, or there is repeated moisture exposure near a leak-prone area. Also seek help if you are unsure whether the floor is oiled, waxed, or sealed; using the wrong process can lock in stains or create adhesion problems for future coatings. A short on-site assessment can save the floor from irreversible damage and often costs less than correcting a failed DIY attempt.