Clean Your Home AC the Right Way
- What you can safely clean yourself
- A quick pre-check before cleaning
- Cleaning the filters and front panel
- Vents, dust control, and odor prevention
- Outdoor unit care without overdoing it
- A realistic maintenance plan and when to call a pro
What you can safely clean yourself
Home air conditioners collect dust, lint, and moisture, which can reduce airflow and make the unit work harder. The good news is that most routine cleaning is simple and safe if you focus on accessible parts: the front panel, air filters, supply vents, and the area around the indoor unit. These steps improve air movement and help the system maintain a steady temperature without long run times. Before you start, turn the unit off from the remote and the wall switch, and if possible cut power at the breaker for extra safety. Prepare a soft microfiber cloth, a small vacuum with a brush attachment, mild dish soap, a spray bottle of water, and a towel to protect the wall or floor. Avoid harsh cleaners, bleach, strong degreasers, and high-pressure water. They can damage plastic parts, coatings, and electronics. As a rule, you should not open sealed electrical compartments, remove fan motors, or wash the indoor coil with running water unless the manufacturer explicitly allows it. If you notice persistent water leaks, a burning smell, repeated tripping of the breaker, or the unit stops cooling despite clean filters, those are signs to call a qualified technician. Routine homeowner cleaning is about keeping airflow paths clear and surfaces free of dust, not dismantling the system.
A quick pre-check before cleaning
A two-minute check helps you clean more effectively and spot issues early. Start by looking at the air coming out of the indoor unit. If airflow feels weak, filters are usually the first cause. If airflow is strong but the room is not cooling, the issue may be outside the scope of basic cleaning. Next, inspect the front panel and the area below the unit. Dust streaks on the wall often mean air is bypassing a dirty filter or the panel is not seated correctly. Check for water marks or dampness under the unit, which can indicate a partially blocked drain line. Also listen for unusual sounds such as rattling or scraping; those can point to a loose panel or debris near the fan. Finally, note your environment. Homes near busy roads, construction, or with frequent cooking can load filters faster. If you use the AC daily, plan for more frequent filter cleaning. This quick assessment helps you choose the right frequency and prevents you from spending time on steps that will not address the real problem.
Cleaning the filters and front panel
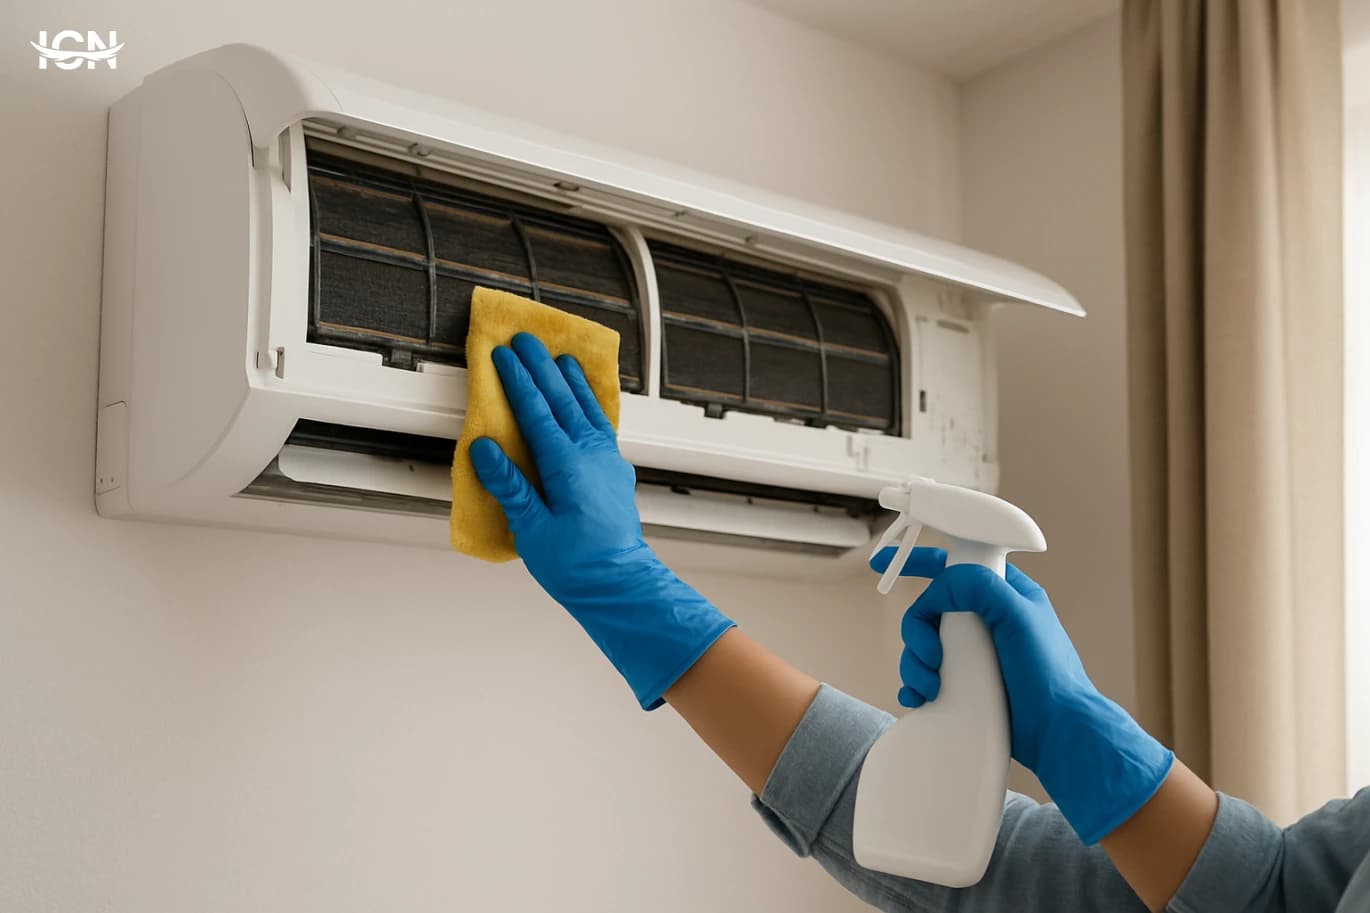
Filters are the highest-impact part of DIY AC cleaning. Open the front panel gently, following the hinge direction, and slide the filters out. Take a photo before removing anything if you are unsure how they sit; it makes reassembly easier. Start with dry cleaning. Use a vacuum brush to remove loose dust from both sides. If the filters are washable, rinse them with lukewarm water from the clean side toward the dirty side to push dust out rather than deeper in. For oily buildup, soak the filters for 10–15 minutes in water with a few drops of mild dish soap, then rinse thoroughly. Do not use hot water, stiff brushes, or strong chemicals; they can warp the mesh or weaken the frame. Let filters dry completely in a shaded, well-ventilated area. Installing damp filters can encourage odors and may lead to moisture collecting inside the unit. While the filters dry, wipe the front panel and louvers with a slightly damp microfiber cloth, then dry them. Pay attention to edges where dust accumulates. If your unit has a small dust screen or secondary filter, clean it the same way, but handle it carefully because these parts can be more fragile. Once everything is dry, reinstall the filters in the correct orientation and close the panel firmly. A properly seated panel prevents air leaks that pull dust into the unit. As a practical schedule, clean filters every two to four weeks during heavy use, and at least once a month in dusty environments.
Vents, dust control, and odor prevention
Even with clean filters, dust can circulate if vents and nearby surfaces are neglected. Vacuum the supply vents and the return area (if your system has one) using a soft brush attachment. For wall-mounted split units, focus on the louvers and the air outlet where dust can cling to edges. Wipe surrounding walls lightly; this prevents dust streaks that often reappear after cleaning. Odors usually come from moisture and trapped particles. After cleaning and reassembling, run the fan-only mode for 20–30 minutes if your unit offers it. This helps dry internal surfaces and reduces musty smells. If your AC has a “dry” or dehumidify mode, using it occasionally can also limit moisture buildup, especially in humid climates. Avoid masking smells with perfumes or strong sprays inside the unit. They can coat surfaces and attract more dust. If you want a simple, safe approach, keep the room’s dust load low: vacuum floors regularly, wash curtains, and avoid placing the indoor unit above sources of steam or grease. In kitchens or open-plan spaces, a range hood and basic ventilation reduce the oily film that makes AC cleaning harder. If odors persist after filter cleaning and drying, the issue may be deeper, such as buildup on the indoor coil or in the drain pan. That is a good point to schedule professional maintenance rather than repeatedly spraying products into the unit.
Outdoor unit care without overdoing it
The outdoor unit needs airflow just as much as the indoor unit. A simple, low-risk routine can improve performance: clear leaves, dust, and debris from around the unit, and keep at least 30–60 cm of open space on all sides if possible. Trim plants that touch the casing, and make sure nothing blocks the fan outlet. For surface dust on the fins, use a soft brush or a vacuum at low suction to clean the exterior gently. Do not bend the fins; they are thin and easily damaged. Avoid using a pressure washer. High pressure can deform fins and force water into sensitive areas. If you must rinse, use a light mist from a garden sprayer and keep water away from electrical panels. Check the unit’s base. If it sits in mud or pooled water, airflow and longevity can suffer. Ensure the area drains well and the unit is stable. Also look for unusual vibration or rattling, which can indicate loose mounting bolts or an unbalanced fan. Those issues are better handled by a technician. Outdoor cleaning is best done during mild weather when the unit is off. If you live in a very dusty area, a quick monthly check during peak season can prevent heavy buildup that is harder to remove later.
A realistic maintenance plan and when to call a pro
A reliable plan is better than occasional deep cleaning. For most homes, filter cleaning every two to four weeks in summer is a practical baseline. Add a quick wipe of the panel and louvers at the same time. Once every two to three months, vacuum vents and check for dust streaks, moisture under the unit, and any change in noise. At least once a year, schedule professional servicing, ideally before peak heat. A technician can clean the indoor coil safely, inspect refrigerant pressures, confirm electrical connections, and flush the drain line properly. This is especially important if you have allergies in the household, if the AC runs many hours daily, or if you notice performance dropping despite clean filters. Call a professional sooner if you see repeated water dripping, ice formation on the indoor unit, a persistent musty smell that returns quickly, or a sudden jump in electricity bills without a change in usage. These symptoms can be linked to restricted airflow, drainage issues, or mechanical problems that basic cleaning will not fix. Keep a simple log on your phone: dates of filter cleaning, any odors, and any unusual sounds. This small habit helps you spot patterns, communicate clearly with a technician, and keep the system running efficiently with minimal effort.