Building a Breast Milk Freezer Stash Safely
- Why a freezer stash helps
- When to start and how much to pump
- Safe collection and storage basics
- Freezing, labeling, and rotation
- Thawing and warming without losing quality
- Common mistakes and quick fixes
Why a freezer stash helps
A small freezer stash can make breastfeeding more flexible without turning pumping into a full-time job. It helps when you have a medical appointment, a short work shift, a family event, or simply need uninterrupted sleep while a partner or caregiver gives a bottle. It can also reduce stress during common disruptions such as a baby’s growth spurt, a parent’s temporary drop in supply from illness or dehydration, or a sudden change in childcare. A useful stash is not necessarily large. Many families do well with enough milk for one to three days of feeds, depending on how often the baby takes a bottle. The goal is reliability and safety, not filling the freezer. Planning around your routine matters: if you mostly nurse directly, you may only need a small buffer; if you return to work soon, you may want a slightly larger supply to cover the first week while you learn a pumping schedule. Before you start, confirm that your baby will take a bottle and that the chosen bottle flow is appropriate. A stash is only helpful if the baby can drink it comfortably and caregivers can follow paced bottle-feeding. If you are dealing with oversupply, frequent clogged ducts, or pain, it is better to address those issues first rather than pumping extra and worsening symptoms.
When to start and how much to pump
Timing depends on your baby’s age, your supply, and your goals. Many parents find it easier to start after breastfeeding is established, often around 3–6 weeks postpartum, but there is no single rule. If you need milk sooner for a return to work or a medical reason, you can start earlier with guidance from a lactation professional, especially if you are also recovering from birth. For most people, one short pumping session per day is enough to build a modest stash over time. A common approach is pumping after the first morning feed, when supply is often higher. Another option is pumping one side while the baby nurses on the other, if that is comfortable and does not cause oversupply. Aim for consistency rather than volume. Even 1–3 ounces (30–90 ml) per day adds up across a week. Avoid pumping so much that it replaces direct feeds unless that is your plan. If you remove a lot of milk in addition to nursing, your body may respond by making more, which can lead to engorgement, fast letdown, or more frequent clogged ducts. If you notice persistent fullness, leaking, or discomfort, reduce pumping time or frequency. Track what you pump and freeze in a simple log: date, amount, and any notes such as “after morning feed” or “pumped at work.” This helps you see patterns and prevents forgotten bags in the back of the freezer.
Safe collection and storage basics
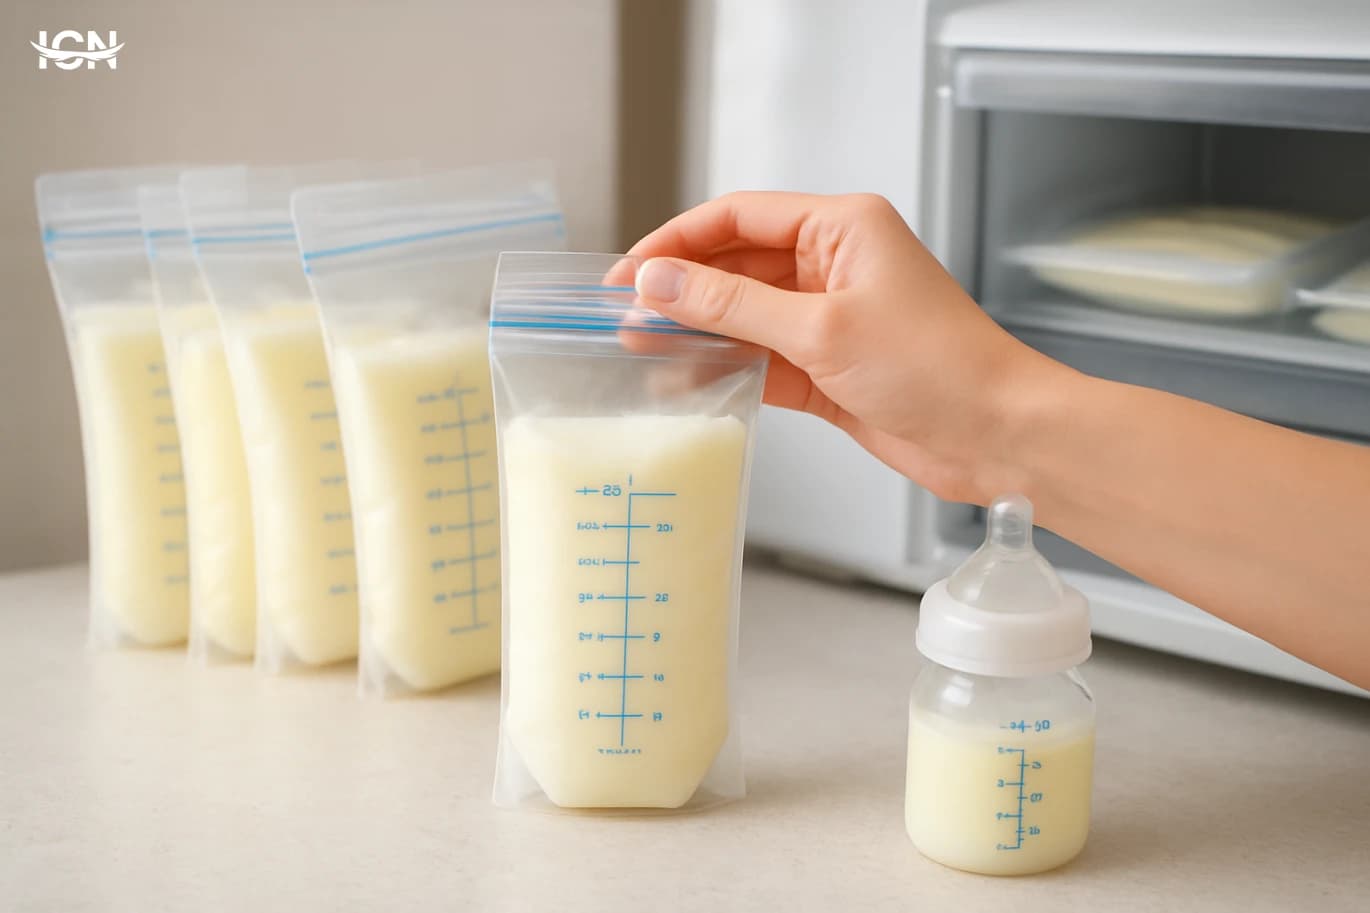
Food safety habits matter because breast milk is a food. Start with clean hands and clean pump parts. Follow the pump manufacturer’s instructions for washing and drying, and allow parts to fully air-dry to reduce bacterial growth. If you are pumping outside the home, bring a clean container with a lid and a way to keep milk cold until you can refrigerate it. Use breast milk storage bags or clean, food-grade containers designed for freezing. Label every portion with the date and the amount. If your baby is in childcare, add the baby’s name. Freeze milk in small portions, such as 2–4 ounces (60–120 ml), to reduce waste. You can always thaw more, but you cannot refreeze milk that has been fully thawed. Cool freshly pumped milk before combining it with already chilled milk. Mixing warm and cold milk can raise the overall temperature and may reduce storage time. If you pump multiple times a day, store each session in the refrigerator first, then combine once they are the same temperature. Place milk in the back of the freezer where temperature is most stable, not in the door. A deep freezer generally keeps milk longer than a freezer attached to a refrigerator because it is opened less often and stays colder. Keep a dedicated bin for milk so bags stay organized and protected from being crushed or punctured.
Freezing, labeling, and rotation
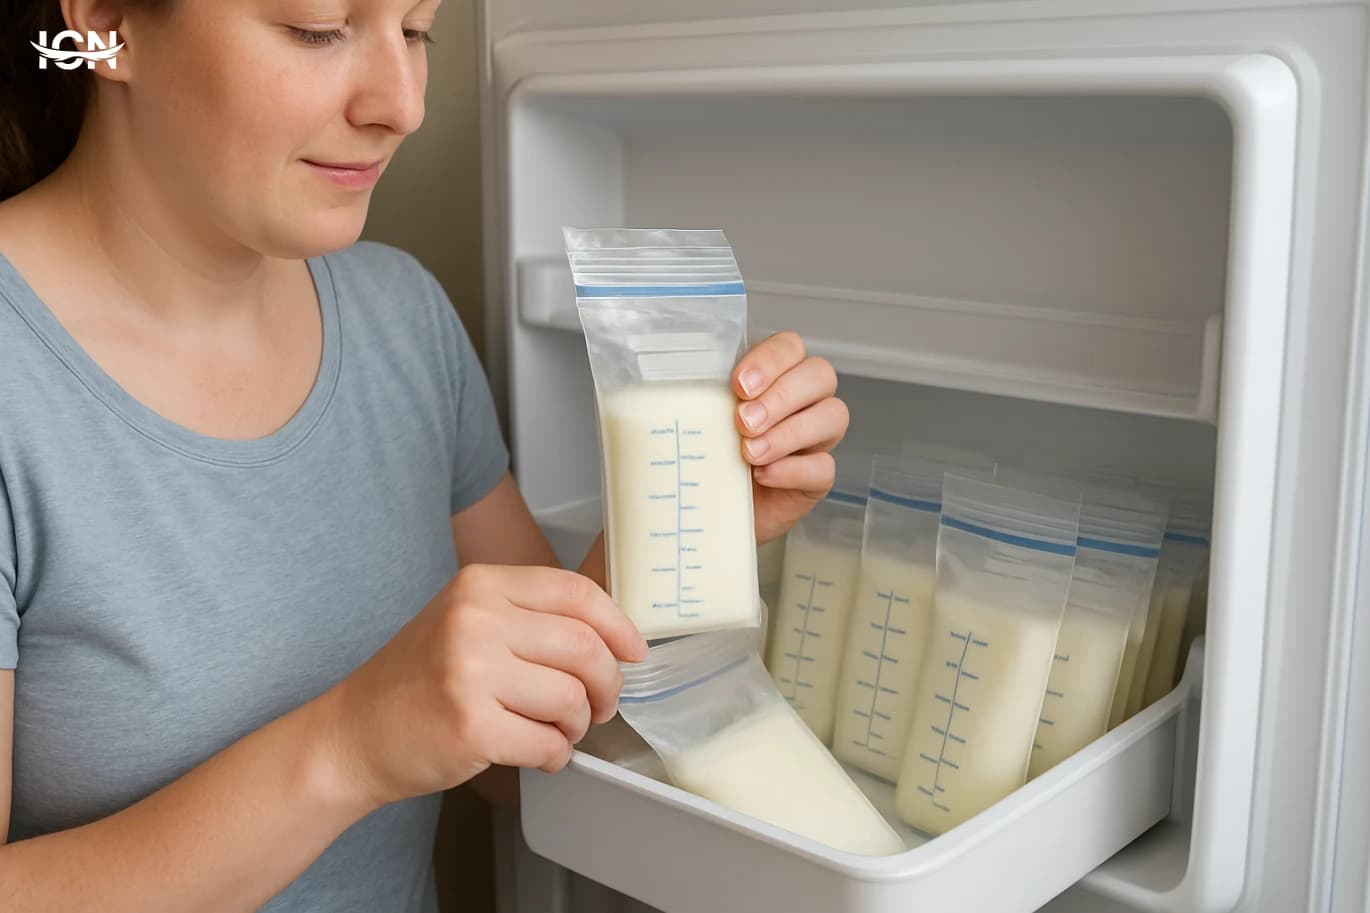
A freezer stash works best when it is organized like a simple inventory. Label clearly and use a “first in, first out” system so older milk is used before newer milk. Arrange bags flat while freezing so they stack like files, saving space and helping them thaw evenly later. Consider creating a weekly routine. For example, freeze what you pump on weekdays, then choose one day to move the oldest bags to the front and check dates. If you have a deep freezer, keep a small working supply in the kitchen freezer and store the rest in the deep freezer, bringing a few bags forward each week. Be realistic about how quickly your baby will drink the stash. If your baby rarely takes bottles, rotate by offering one bottle every few days so milk does not sit for months. This also keeps your baby familiar with bottle-feeding and helps caregivers practice. If you suspect high lipase (a soapy or metallic smell after storage), test a small frozen portion before building a large stash. Some babies accept it, others refuse. If your baby refuses, talk with a lactation consultant about options such as scalding freshly pumped milk before freezing, and confirm safe handling steps for your situation.
Thawing and warming without losing quality
Thaw milk gradually when possible. The simplest method is moving a bag from the freezer to the refrigerator the night before you need it. For faster thawing, place the sealed bag in a bowl of cool-to-warm water and change the water as it cools. Avoid microwaving breast milk because it can create hot spots and may damage some protective components. Once thawed, gently swirl the milk to mix the fat layer back in. Shaking vigorously is not necessary. If you warm milk, aim for body temperature or slightly cooler; many babies will drink milk that is not warmed at all. Handle thawed milk with a clear plan. If milk is thawed in the refrigerator, use it within a reasonable window and keep it cold until feeding time. After a baby drinks from a bottle, bacteria from the mouth can enter the milk, so leftover milk should not be saved for long periods. Prepare smaller bottles to reduce waste. If you are sending milk to childcare, pack it in an insulated cooler with ice packs and include written instructions: how to thaw, how to warm, and how to label bottles with the baby’s name and date. Consistent handling by all caregivers is one of the best ways to keep milk safe.
Common mistakes and quick fixes
One common mistake is building a huge stash early and then discovering the baby refuses bottles or prefers a different nipple flow. Fix this by testing bottles first, trying paced feeding, and keeping stash goals modest until bottle-feeding is reliable. Another issue is pumping too aggressively, which can trigger oversupply and discomfort. If you feel constantly full or get frequent clogs, shorten sessions, pump only to comfort, and prioritize direct nursing. If symptoms persist, seek help from a lactation consultant. Storage confusion also causes waste: unlabeled bags, mixed dates, or milk frozen in large volumes that are hard to use. The fix is simple systems: label immediately, freeze in small portions, and keep a dedicated bin with oldest milk in front. Finally, many parents underestimate the logistics of returning to work. Do a practice week: pump, store, thaw, and feed using your planned routine. This trial run reveals whether you need more bottles, different storage bags, a better cooler, or a schedule adjustment. A freezer stash should support breastfeeding, not add daily stress.