Field Recording for Modern Music Makers
- Why Field Recording Matters Now
- Choosing Locations and Timing
- Essential Gear Without Overbuying
- Recording Techniques That Translate to Music
- Editing, Cleaning, and Building a Sample Pack
- Turning Real-World Sound into Musical Parts
Why Field Recording Matters Now
Field recording has moved from a niche practice into a practical toolkit for producers, composers, and sound artists who want distinctive material without relying on the same preset libraries. A short walk can yield textures that instantly set a track apart: the rhythmic pulse of a train crossing, the airy hiss of a café espresso machine, or the layered ambience of a market at dusk. These sounds can function as percussion, pads, transitions, or subtle “glue” that makes a mix feel lived-in. The shift is also driven by workflow. Portable recorders and high-quality phone microphones have lowered the barrier to entry, while modern samplers and DAWs make it easy to slice, tune, and time-stretch recordings into playable instruments. For many creators, field recording is not about documentary realism; it is about collecting raw sonic material that can be shaped into musical elements. The result is a more personal palette, tied to places and moments that are unique to the artist.
Choosing Locations and Timing
Good field recording starts with planning, not gear. Location determines noise floor, reflections, and the character of the ambience. A narrow alley produces sharper echoes than an open park; an underground station adds low-frequency rumble and periodic announcements; a stairwell can create natural reverb that is useful for one-shot hits. Think in terms of what role the sound might play later: a steady loop, a transient hit, a long evolving bed, or a set of short accents. Timing matters as much as location. Early morning can provide cleaner ambiences with fewer voices and vehicles, while late afternoon can deliver dense layers that work well as cinematic beds. Weather is another variable: light rain can add a consistent high-frequency texture; wind can ruin takes unless you have proper protection. If you are recording in public spaces, consider practical constraints such as safety, access, and whether you can stand still for several minutes without interruptions. A simple checklist—what you want, where you will stand, how long you will record, and what backup location you have—often saves an entire session.
Essential Gear Without Overbuying
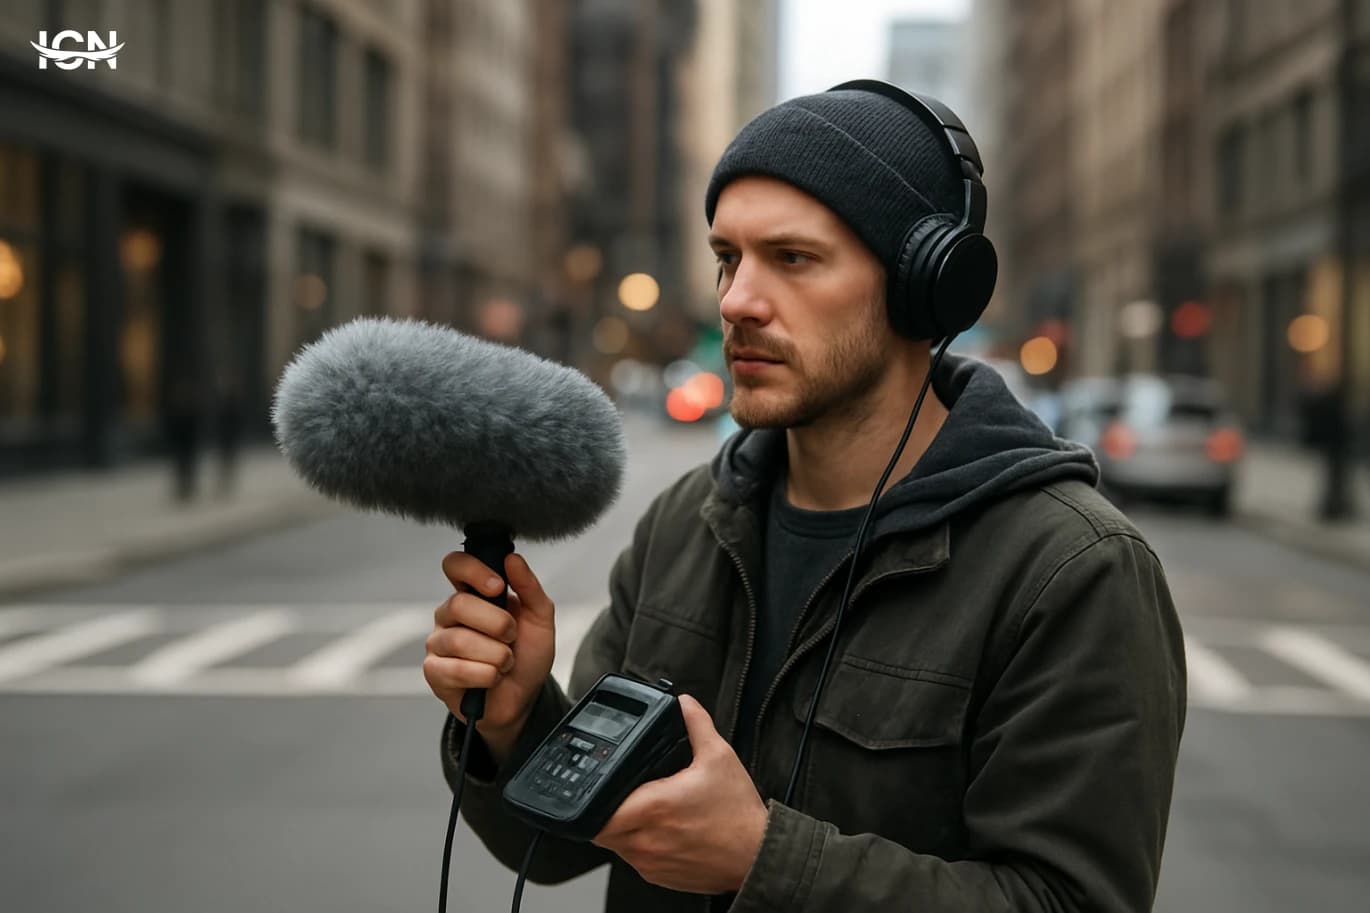
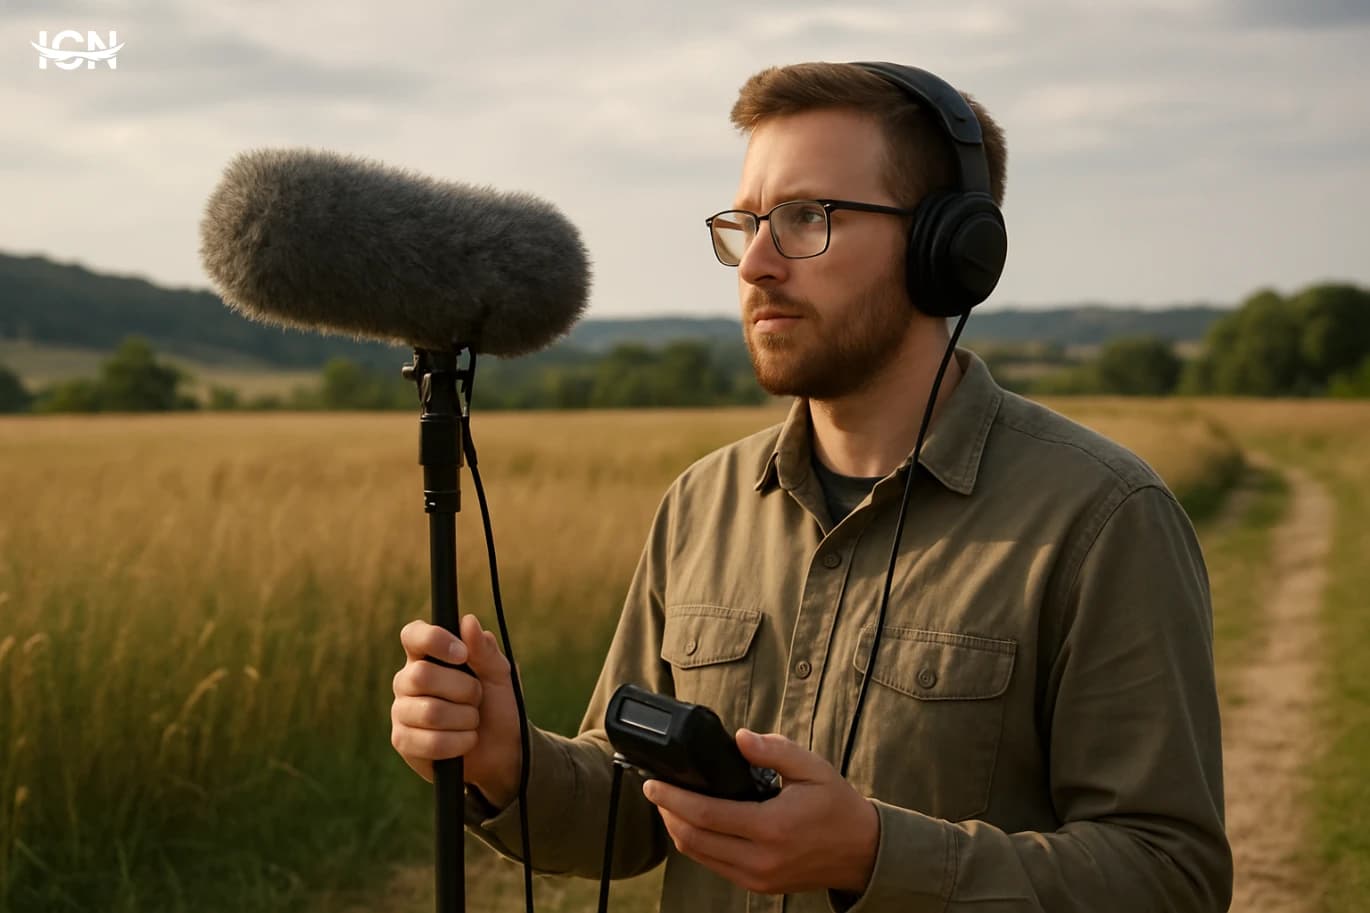
You can start with a phone, but a few targeted upgrades make a major difference. The first is wind protection. Even a modest foam cover reduces plosives and gusts, while a small furry windshield is often the best value purchase for outdoor work. The second is monitoring: closed-back headphones help you catch handling noise, clipping, or intermittent interference before you get home. If you move to a dedicated recorder, prioritize low self-noise and reliable preamps over extra features you will not use. A compact stereo recorder is enough for many musical applications, especially when you are building layers rather than capturing a single “perfect” scene. For more control, a small interface with a pair of microphones can work, but it increases setup time and attracts attention in public. Accessories matter: a short tripod or grip reduces handling noise; spare batteries prevent rushed takes; and a simple note-taking method—voice memo or a text file—helps you remember what each recording is and how you intended to use it.
Recording Techniques That Translate to Music
For music-making, consistency and editability often matter more than realism. Start by recording longer than you think you need. A two-minute ambience gives you room to find clean sections, build loops, and avoid obvious repeats. Keep levels conservative; clipping is difficult to fix and can ruin otherwise great material. If the environment is dynamic, capture multiple passes from the same position so you can later choose the most usable take. Micro-movements also create variety. Slowly rotating a stereo recorder can change the balance of a scene, giving you alternate perspectives for layering. For percussive sources—metal gates, wooden benches, gravel—record a set of hits at different intensities and distances, then leave a few seconds of silence between hits for easier editing. Capture “room tone” wherever you are; that neutral background can help smooth edits and make chopped samples feel natural. Finally, always record a spoken slate at the end: location, time, and a quick description. It is a small habit that saves hours when your library grows.
Editing, Cleaning, and Building a Sample Pack
A useful field recording library is organized, consistent, and easy to audition. Begin with basic editing: trim obvious handling noise, remove unusable sections, and apply short fades to prevent clicks. Noise reduction can help, but use it sparingly; aggressive settings often introduce artifacts that become more noticeable after time-stretching or heavy processing. High-pass filtering is a common, gentle step to reduce rumble from traffic or wind, especially for sounds you plan to use as percussion. Next, label files in a way that supports searching. A practical naming format includes location, source, perspective, and date, such as “Harbor_Waves_Close_2026-03-01.” Add tags in your sample manager or DAW browser for categories like “metal hits,” “ambience,” “mechanical,” or “footsteps.” When building a mini sample pack for your own use, include variations: multiple takes, different intensities, and a few processed versions (for example, pitched down, reversed, or lightly saturated). Keep the original raw files too. The goal is to create a repeatable system so your recordings become a dependable resource rather than a folder you never open.
Turning Real-World Sound into Musical Parts
Once your recordings are clean and organized, the musical transformation becomes straightforward. For rhythmic parts, slice transient-rich sounds into a drum rack and tune them so kicks, snares, and hats sit in a coherent key area. A metal latch pitched down can become a punchy kick; a bundle of keys can produce bright, irregular hats. For tonal material, find steady segments—air conditioners, distant engines, or sustained crowd noise—then use spectral tools or EQ to emphasize a narrow band and create a playable drone. Time-stretching and granular processing can turn short ambiences into evolving pads, while convolution reverb can imprint the character of a recorded space onto clean instruments. Try using a recorded stairwell impulse response to give a dry synth a realistic sense of depth. Automation is crucial: subtle movement in filter cutoff, stereo width, or reverb send can keep a loop from feeling static. The most effective results usually come from restraint. A field recording does not need to dominate the mix to make a track feel original; often it works best as a quiet layer that adds identity and continuity across sections.