A Weekend Zine Project for Your Neighborhood
- Why a neighborhood zine works
- Pick a theme and a tight scope
- Collect content in one afternoon
- Write and edit for clarity
- Design, print, and distribute
- Make it repeatable in future issues
Why a neighborhood zine works
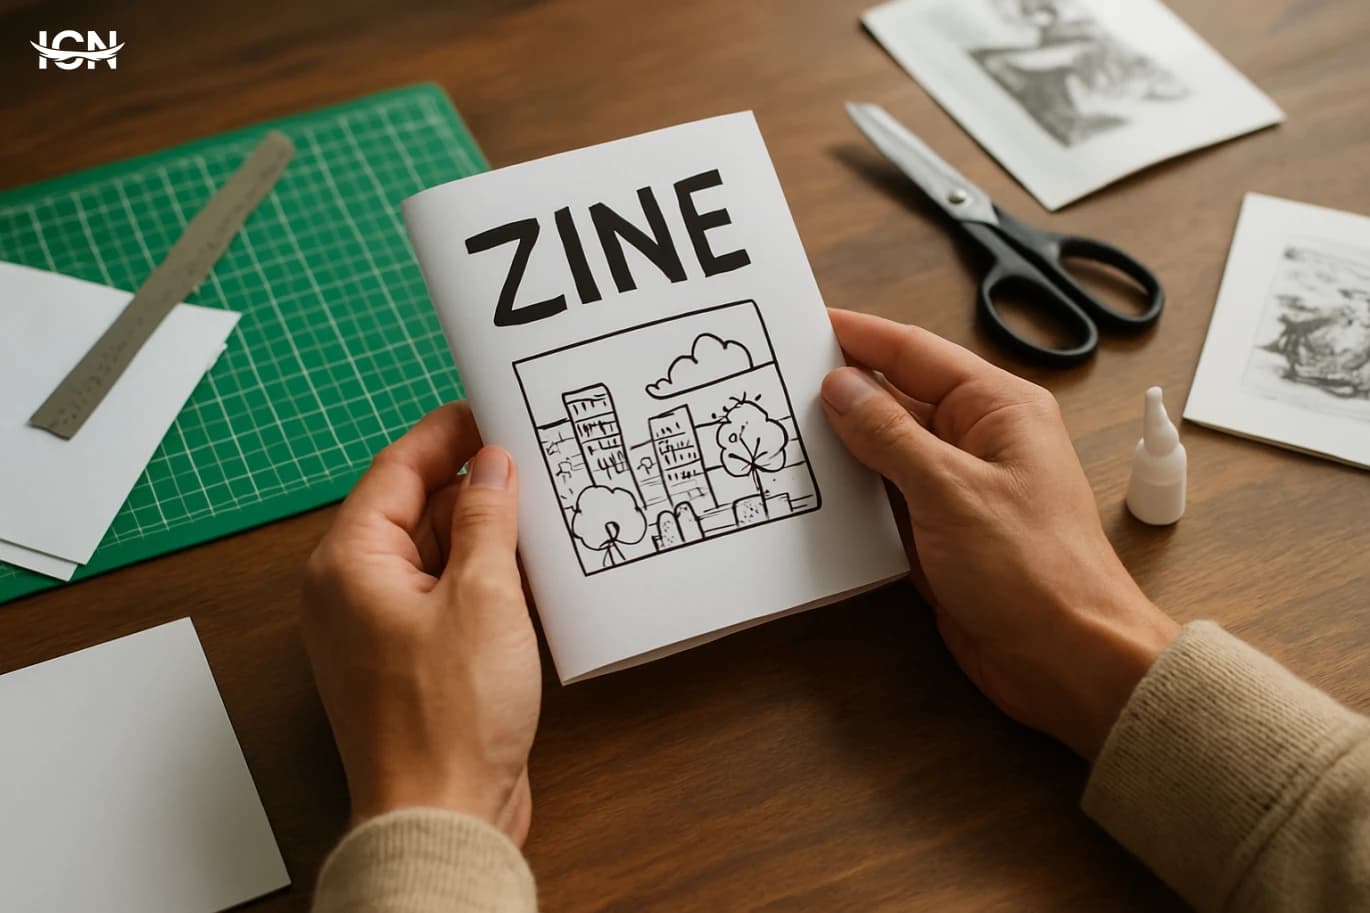
A neighborhood zine is a small, self-published magazine that captures local stories, practical tips, and everyday creativity. It works because it is specific: one area, a handful of pages, and a clear purpose. Unlike a social feed that disappears quickly, a printed or downloadable zine can be shared at cafés, libraries, community centers, and local shops, giving it a longer life and a more focused audience. This project is also realistic for a weekend because it relies on short formats: mini-interviews, photo captions, short lists, and simple illustrations. You do not need professional equipment. A phone camera, a free layout tool, and a basic printer are enough. The result is a tangible creative product that strengthens local connections while giving you a repeatable template for future issues.
Pick a theme and a tight scope
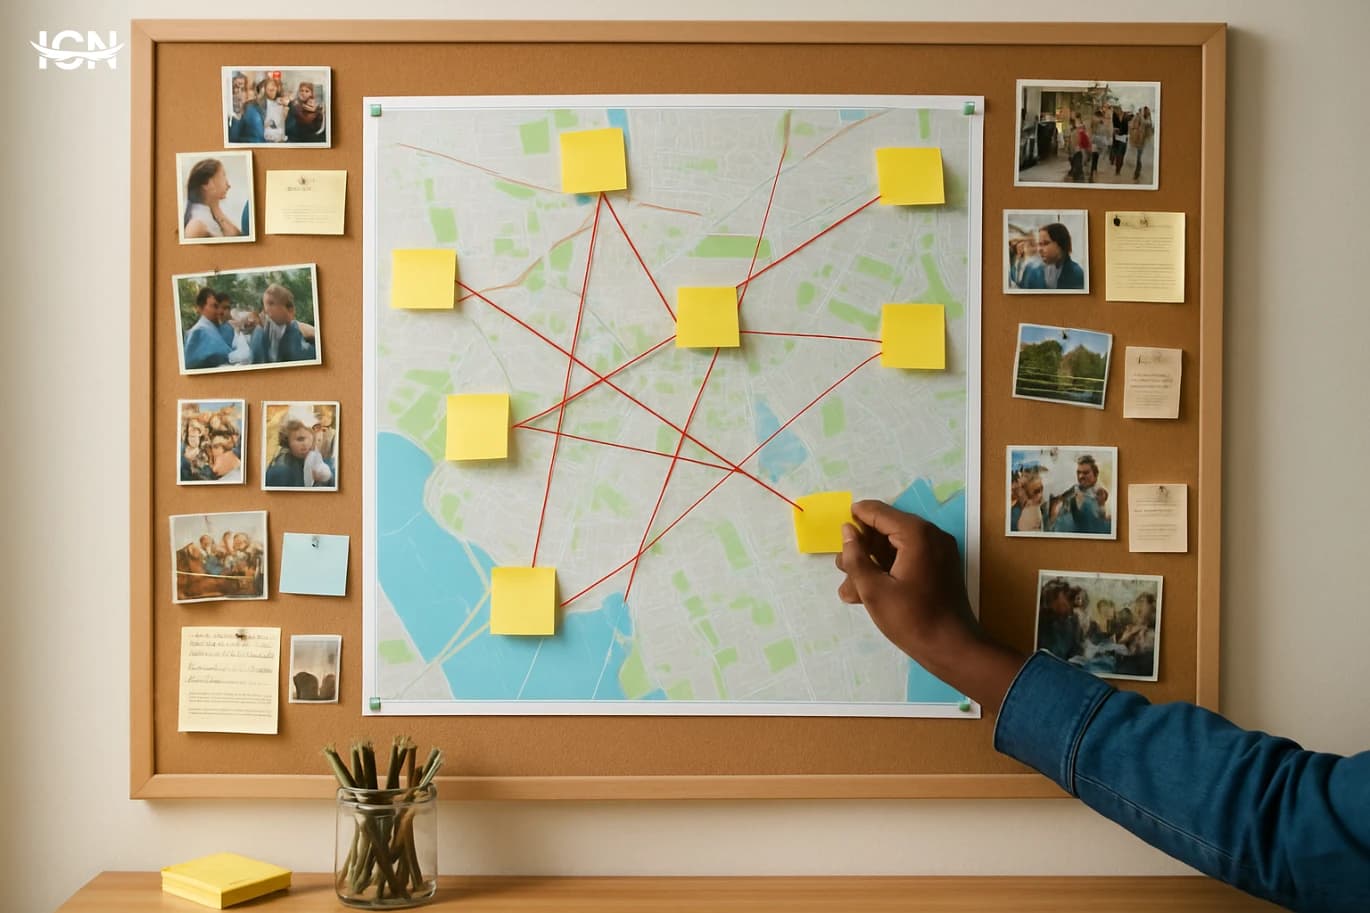
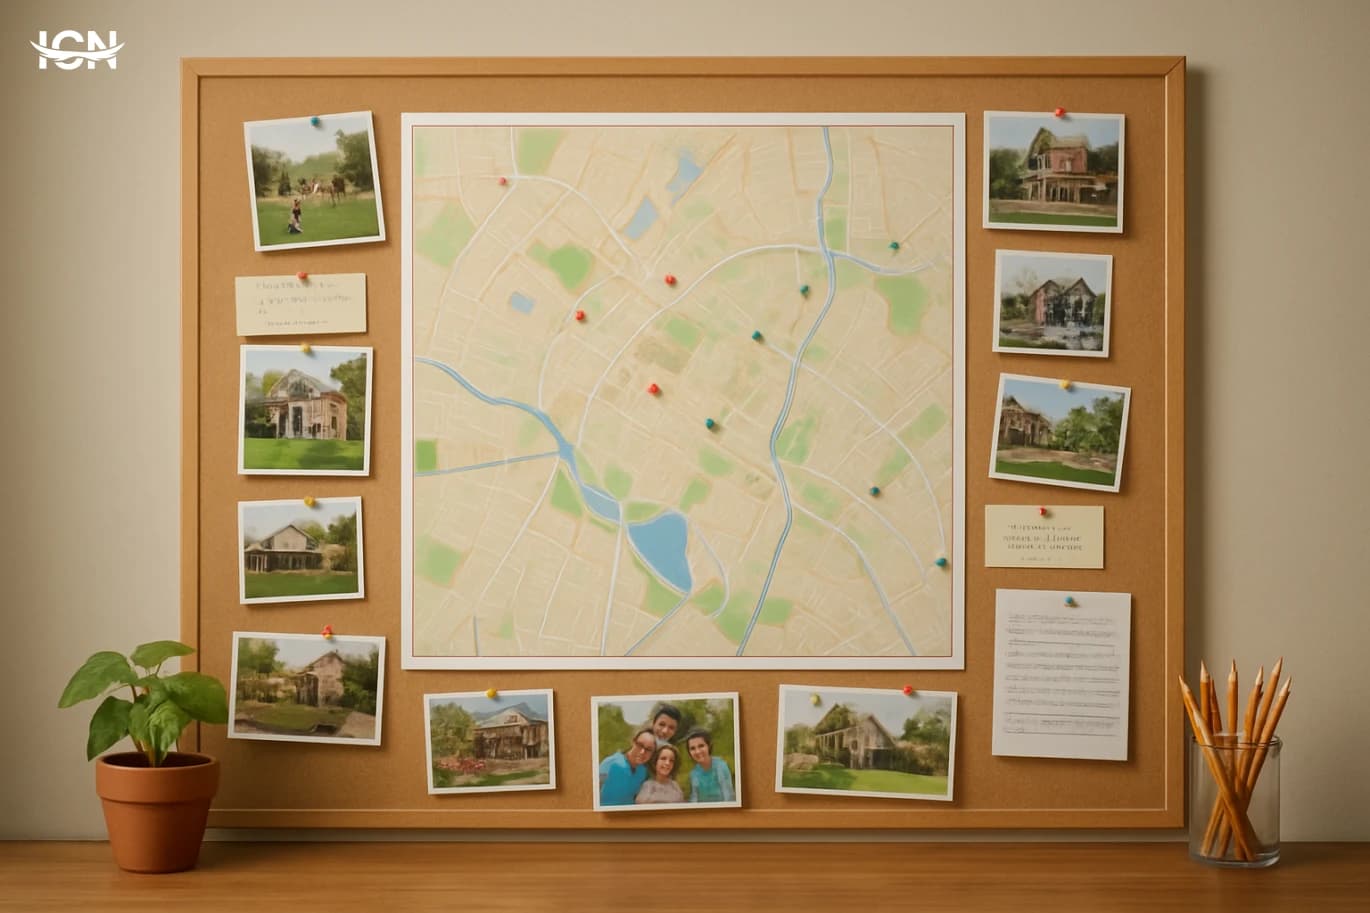
Start by choosing one theme that can be explored in 8–16 pages. Good themes are concrete and local: “Hidden breakfast spots within 10 minutes,” “Small businesses started in the last year,” “A walking route for shade and quiet,” or “Local makers and repair skills.” Define the geographic boundary in one sentence, such as “everything within three blocks of the main intersection.” This boundary prevents the project from expanding beyond what you can finish. Next, decide your zine format. A common option is an A4 sheet folded into an A5 booklet, which keeps printing simple. Set a page plan before you collect content: a cover, an editor note, 3–5 short features, a map or route, a calendar of upcoming community activities, and a back page with credits and contact details. A clear plan helps you gather only what you need and avoid last-minute gaps.
Collect content in one afternoon
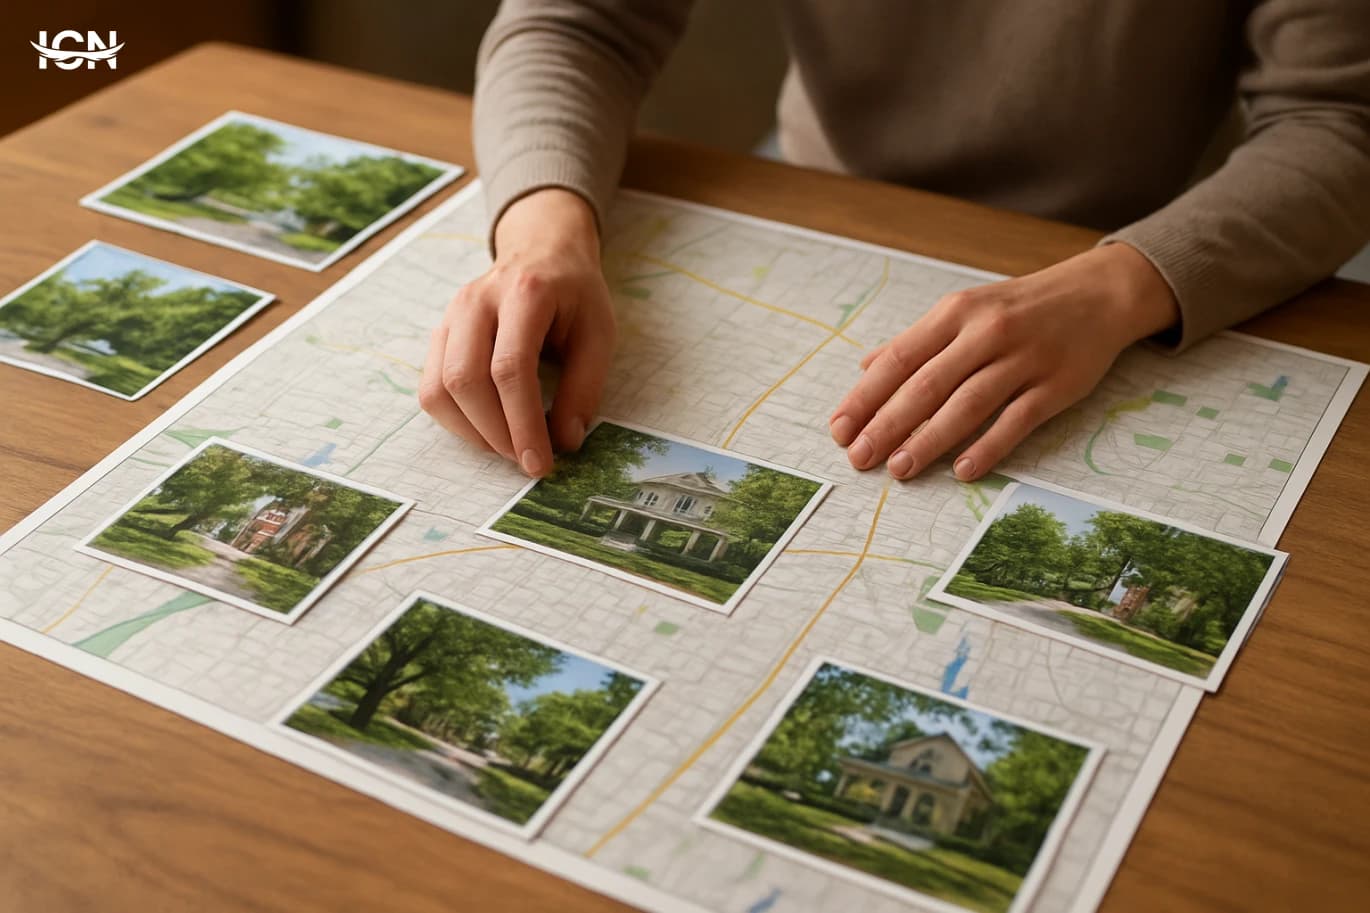
Plan a two-hour walk with a checklist. Aim for variety: one shop owner, one long-time resident, one student or remote worker, and one person who provides a service people rely on (tailor, bicycle repair, bookshop, florist). Keep interviews short and consistent: ask three questions, record answers on your phone, and request permission to quote. Example questions include: “What do people misunderstand about this area?”, “What is one practical tip for newcomers?”, and “What is one place you recommend and why?” Capture 15–25 photos: storefront details, street signs, a favorite bench, a community noticeboard, and textures that represent the area. Take notes on prices, opening hours, and accessibility details such as ramps or quiet seating. These specifics make the zine useful, not just decorative. If you cannot interview people, collect micro-stories by observing: a short description of a morning routine at a bakery, a list of the most common items on a community board, or a “before 9 a.m.” snapshot of the street.
Write and edit for clarity
Write in short blocks that fit a zine’s pace. Keep each feature to 150–250 words, and use subheadings or bold labels like “Where,” “Cost,” “Best time,” and “One tip.” This structure helps readers skim and also makes your editing faster. Avoid vague praise. Replace “great coffee” with a concrete detail such as “filter coffee served until 11 a.m.” or “quiet tables near the window.” Edit with a practical checklist: confirm names and spellings, verify opening hours, and remove anything that could be misunderstood. If you include a map, keep it simple: a hand-drawn route with 5–7 stops is enough. Add a short note on how you collected information and the date, because local details change. This transparency builds trust and makes the zine feel like a reliable local reference.
Design, print, and distribute
Choose one free tool and keep the design minimal. Use two fonts at most, a consistent grid, and plenty of white space. A strong cover can be as simple as one photo, the zine title, issue number, and month. For printing, start small: 20–50 copies on standard paper is enough for a first issue. If you prefer digital, export a compressed PDF that opens quickly on phones. Distribution should match your theme. Ask three local spots if they will place a small stack near the counter. Include a short line on the back page: where to find the next issue, how to submit a tip, and an email address or QR code. Track what works by noting where copies disappear fastest. This turns the zine into an ongoing project rather than a one-time craft.
Make it repeatable in future issues
A zine becomes easier after the first issue if you standardize a few elements. Keep the same page plan, reuse recurring columns, and set a realistic schedule such as monthly or every six weeks. Create a simple folder system for photos, quotes, and permissions. Save a template file so you only replace content next time. To keep the project engaging, rotate the angle: one issue can focus on “repair and reuse,” another on “quiet study spots,” and another on “local walks for different times of day.” Invite contributions with clear guidelines: word count, photo size, and a deadline. Over time, your zine can become a practical archive of local knowledge and a portfolio piece that shows your ability to research, edit, and publish a complete creative project.